A Quick Look Ahead
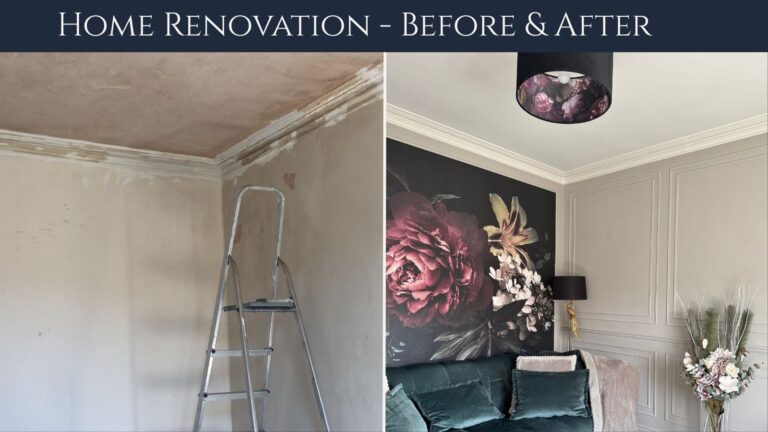
Welcome To My Living Room Renovation
This room was once dark and dated but it’s now my favourite transformation in the whole property. Read on to find out how I changed it from a wood-chip papered ceiling into a cosy room with a bar nook and velvet textures.
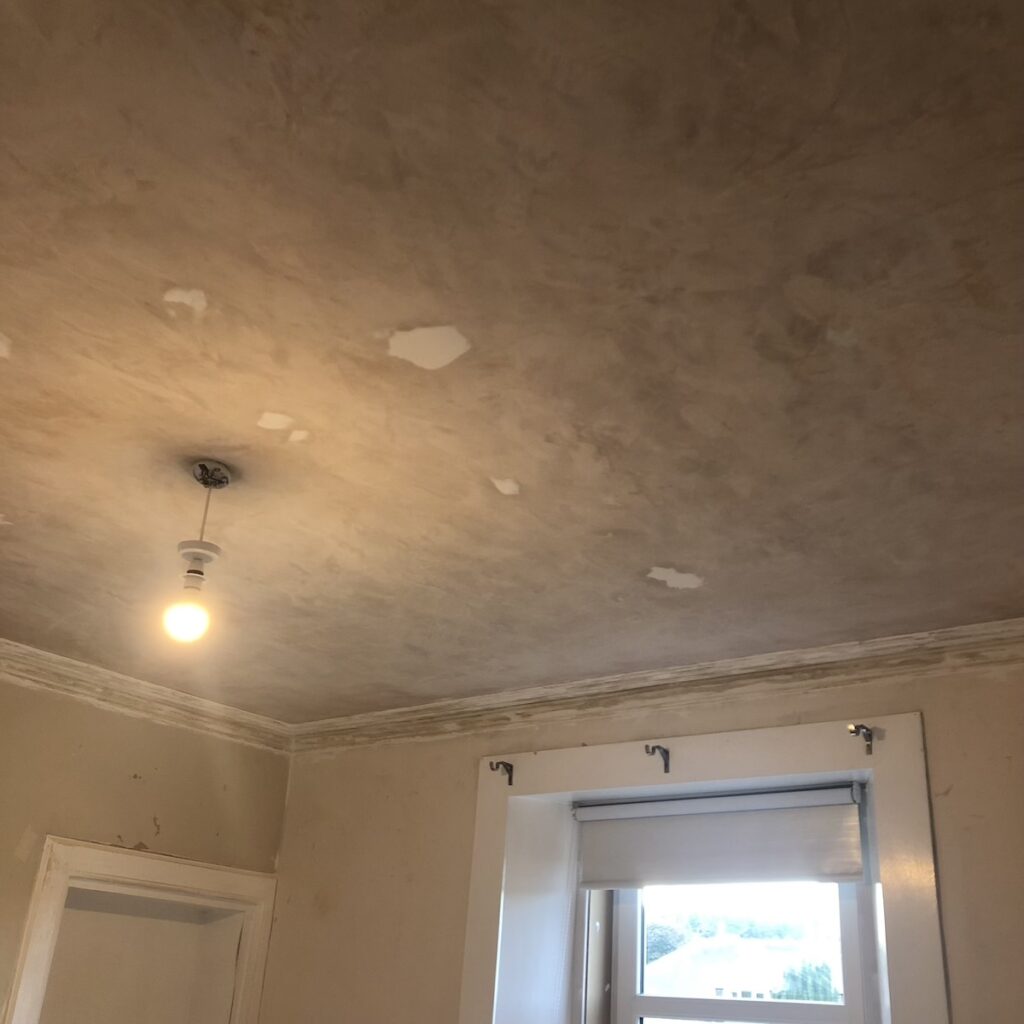
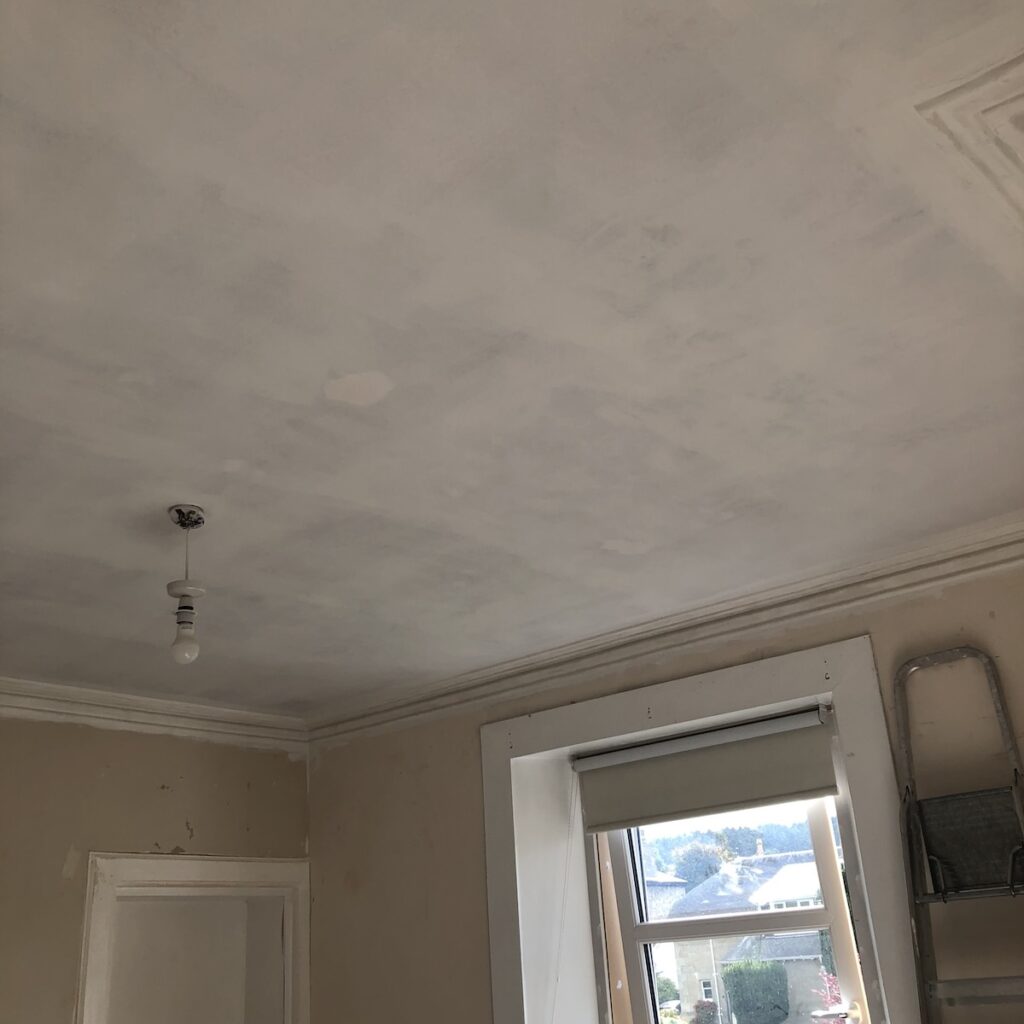
The living room required a complete overhaul – as well as the wallpapered ceiling (the photos hide that don’t they 😉) the coving was original but was thick with old paint and all the woodwork needed updated.
It was a project but I knew I could get it looking great and I think you’ll be amazed at how it turned out. If you’re looking for before and after living room renovation inspiration, this Victorian property makeover shows exactly how I achieved it.
(A side note – some of these images were taken on an old iPhone so apologies if they aren’t the best quality)
This post may contain affiliate links. This means if you click and buy I may receive a small commission with no cost to yourself. Please see my full disclosure policy for more details.
How It Began – The ‘Before’
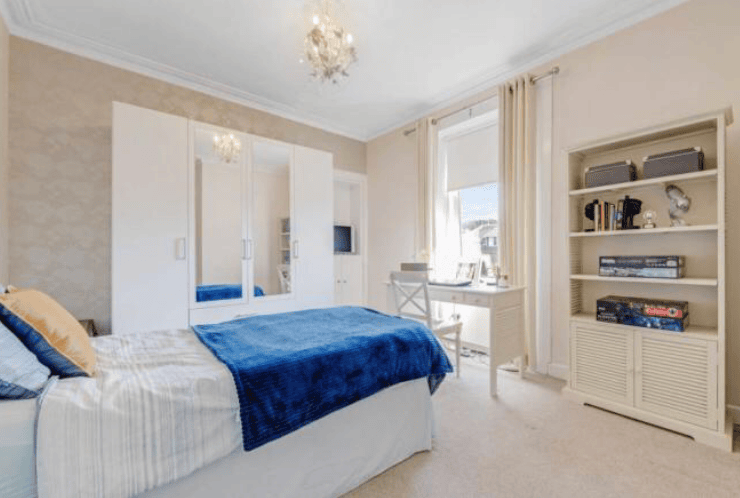
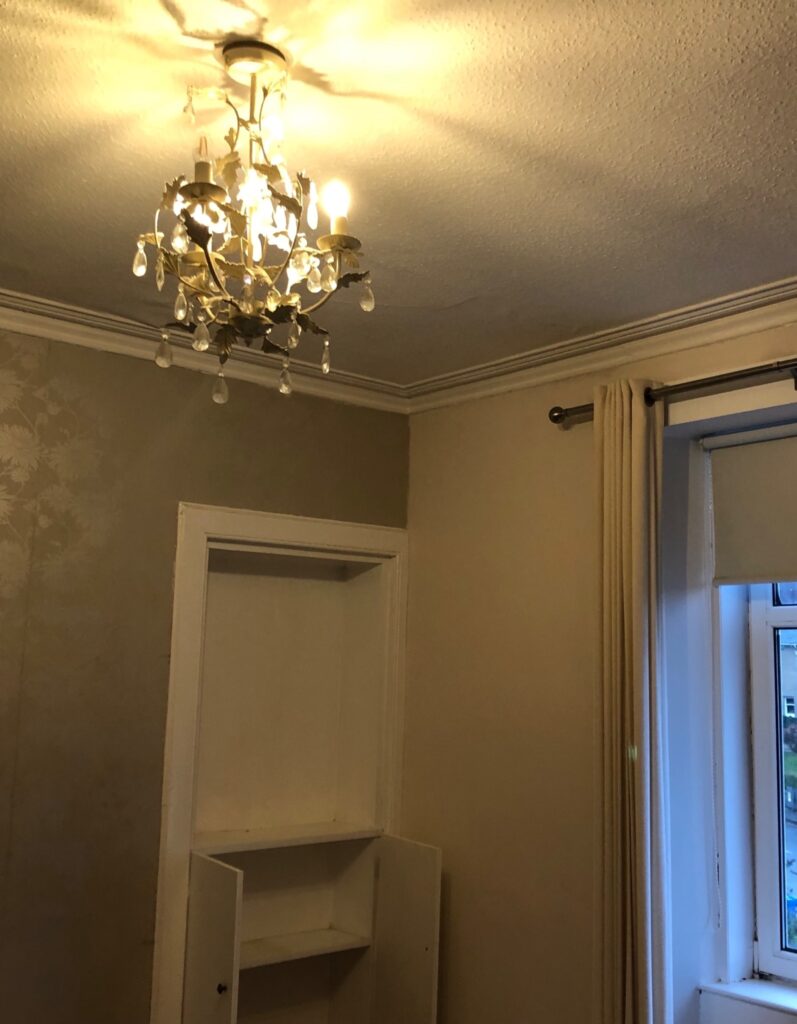
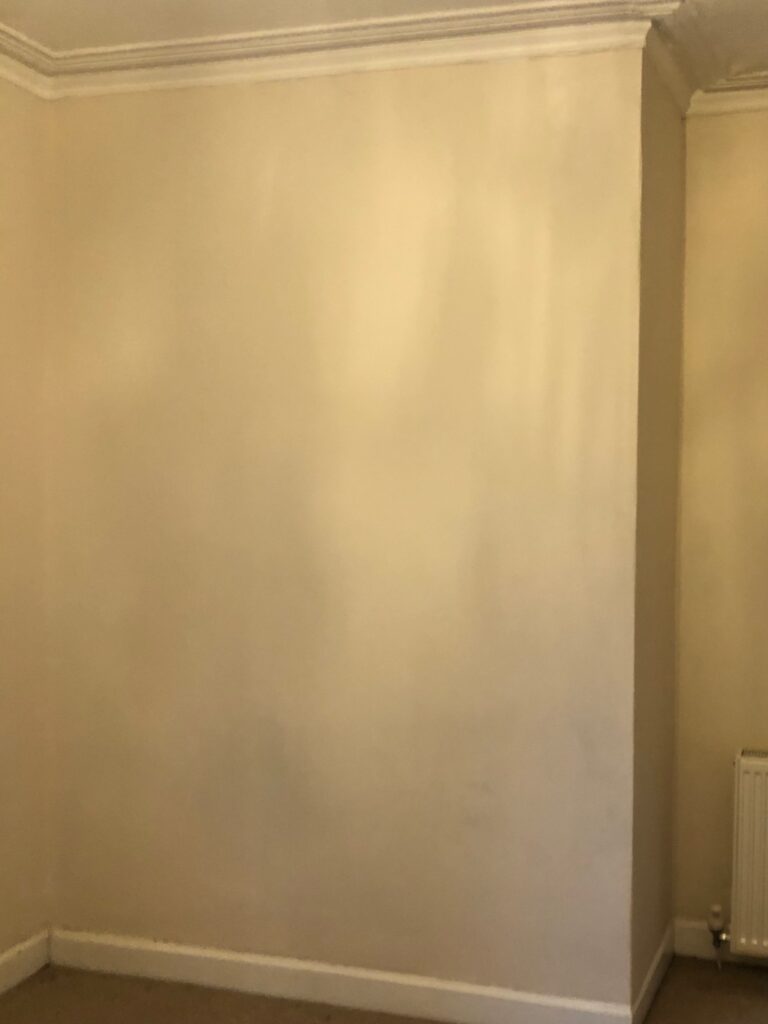
This room was previously used as a bedroom, but I knew I’d change it back into a living room as it had great views from the window. And as you’ll see below, it wasn’t liveable long-term in it’s gloomy state.
What The Living Room Looked Like At The Beginning
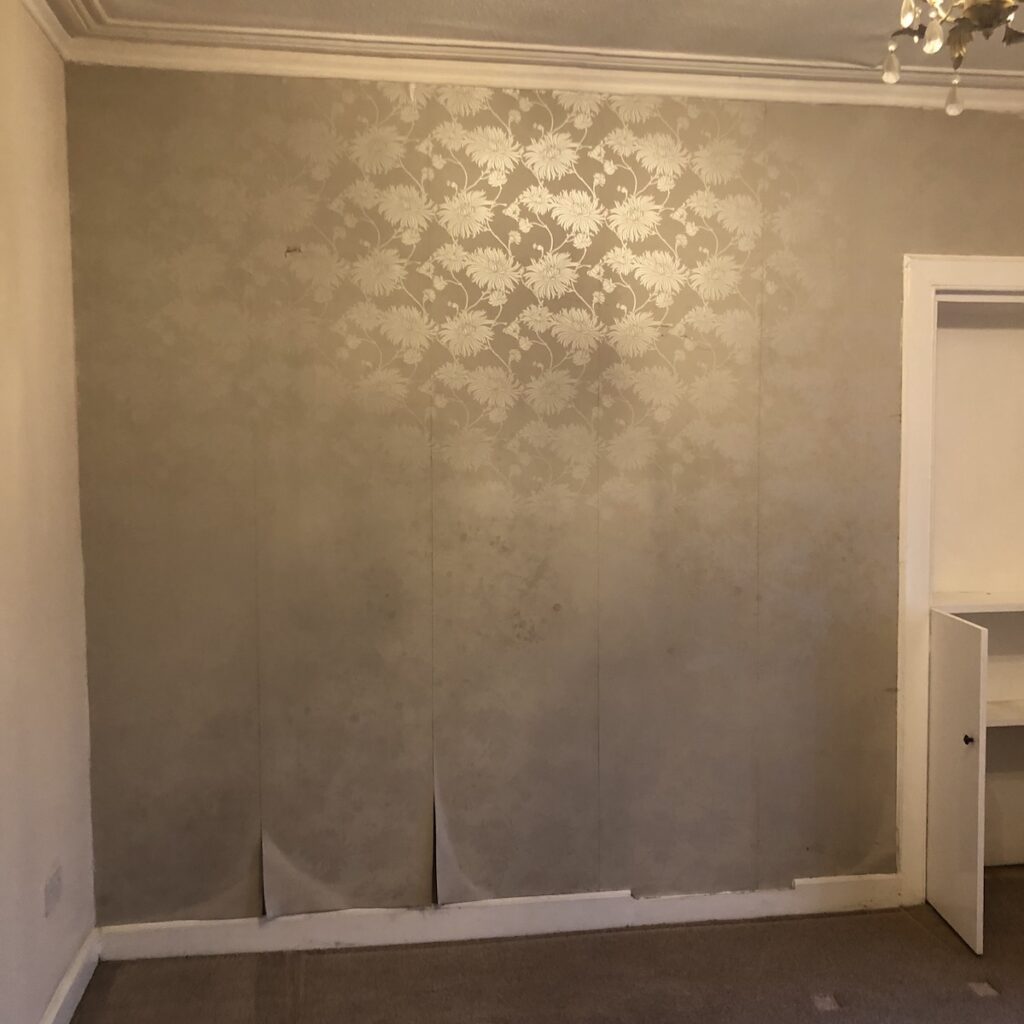
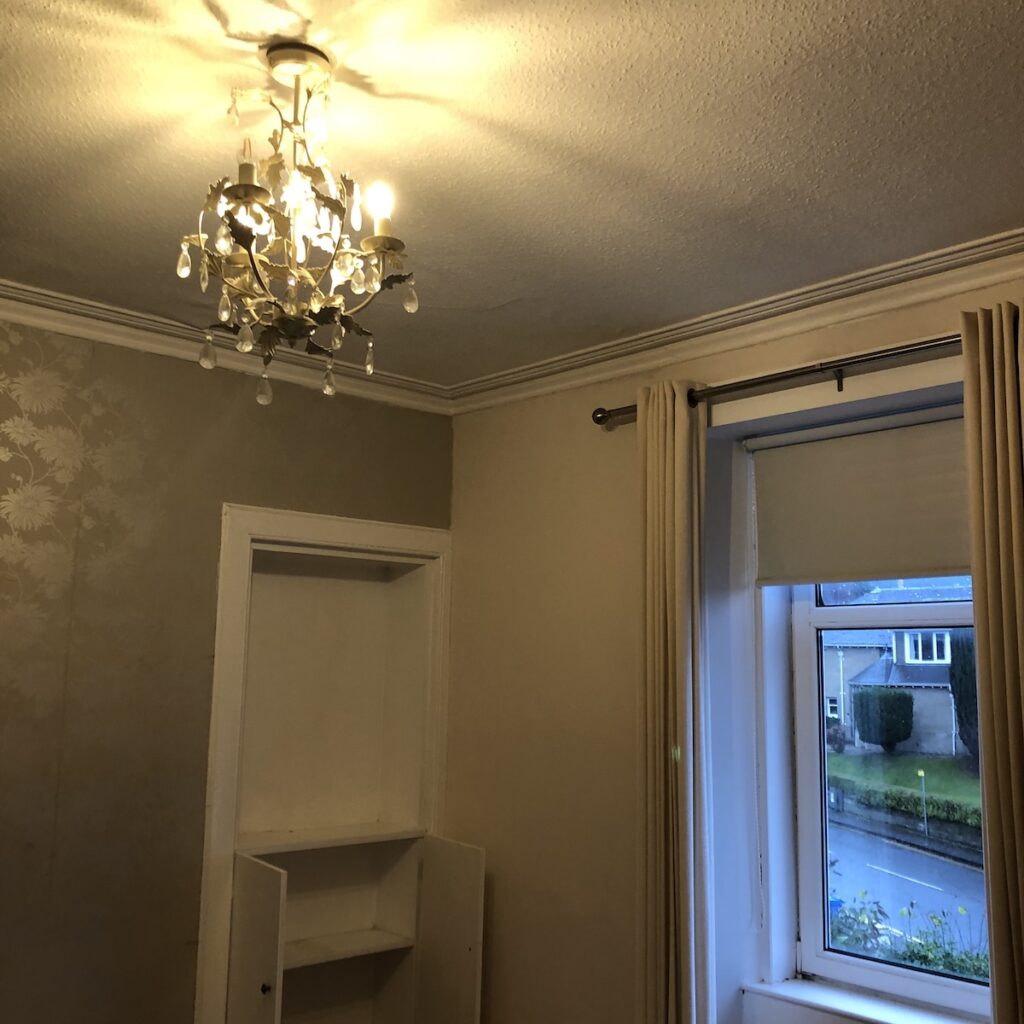
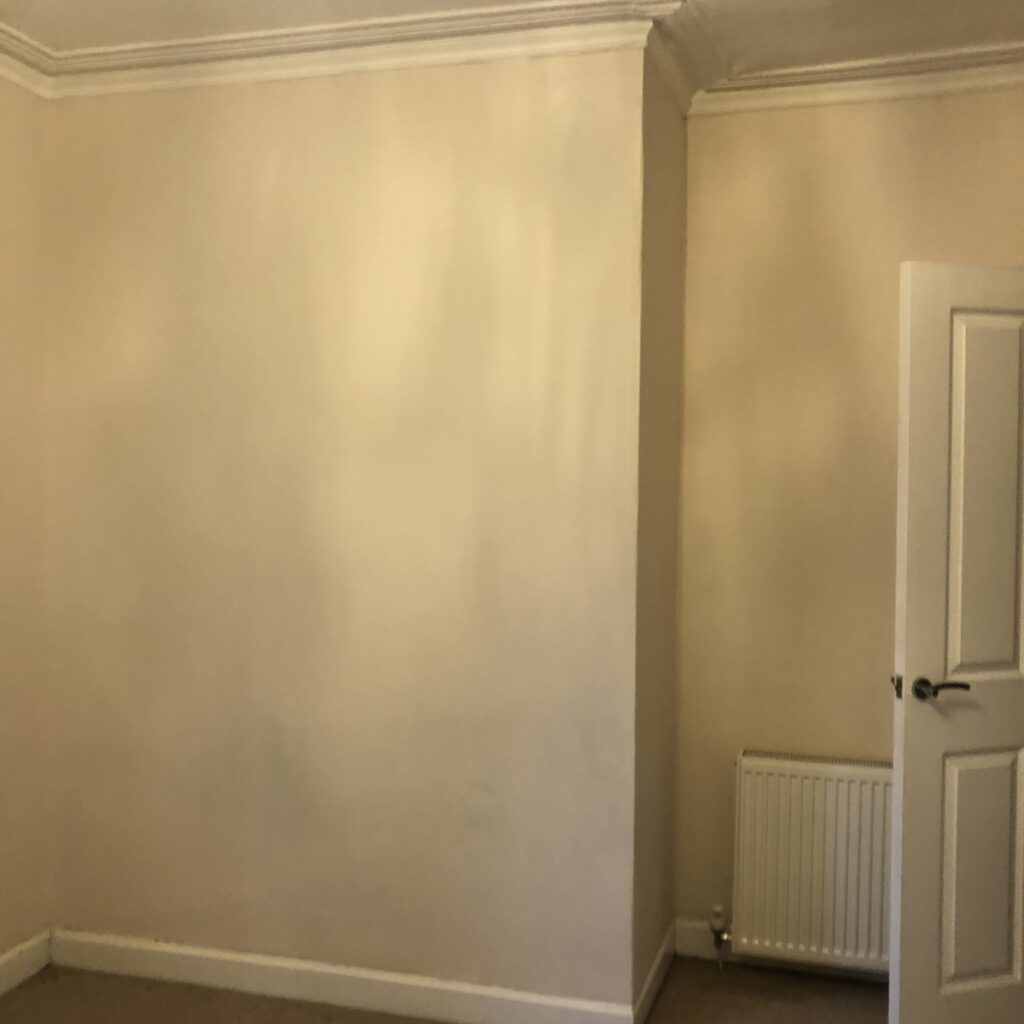
Images from moving in day.
Timeline & Renovation Challenges
The living room renovation started in August 2022 and the main work was completed late November 2022. Finishing touches like the glass and mirrored bar area, ceiling rose and deciding on the last accessories happened over the next few months until around late February 2023.
The main hold-up of this room was my crazy idea of stripping the old paint off of the coving which I will never do again in my life! I can’t even count how many late nights I spent up a ladder with a dust mask on.
I also removed the paint in the guest bedroom coving at the same time……I do not recommend….ever.
As the coving was in a bad state, it needed quite a bit of work to fill in the plaster that was missing in parts and smoothing it all back out again. But, I got there and then the more exciting parts could get started on.
Mood Boards, Samples & Inspiration
For this living room I had so many ideas that I really had to let my gut take over during the creative research part. There were a few items that I really wanted to use in this space (certain fabrics, chandelier and wall mirror details) but I just couldn’t squeeze them in as the design direction was taking me down other routes.
Originally, I thought I would be using a metallic style wallpaper (this ended up being used in the guest room) with my existing silver furniture from my previous property. Unfortunately, the scale of the silver furniture was wrong for the height of the ceilings so the search for new side and console tables began.
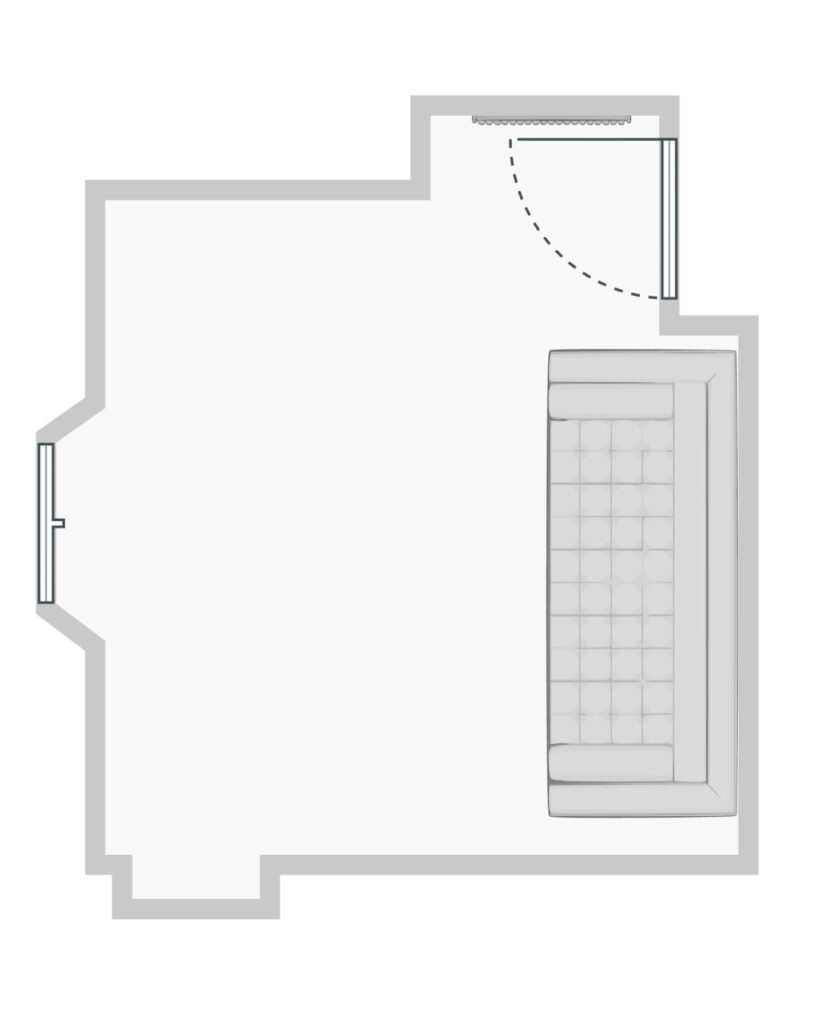
2D Plan & Design Sketches
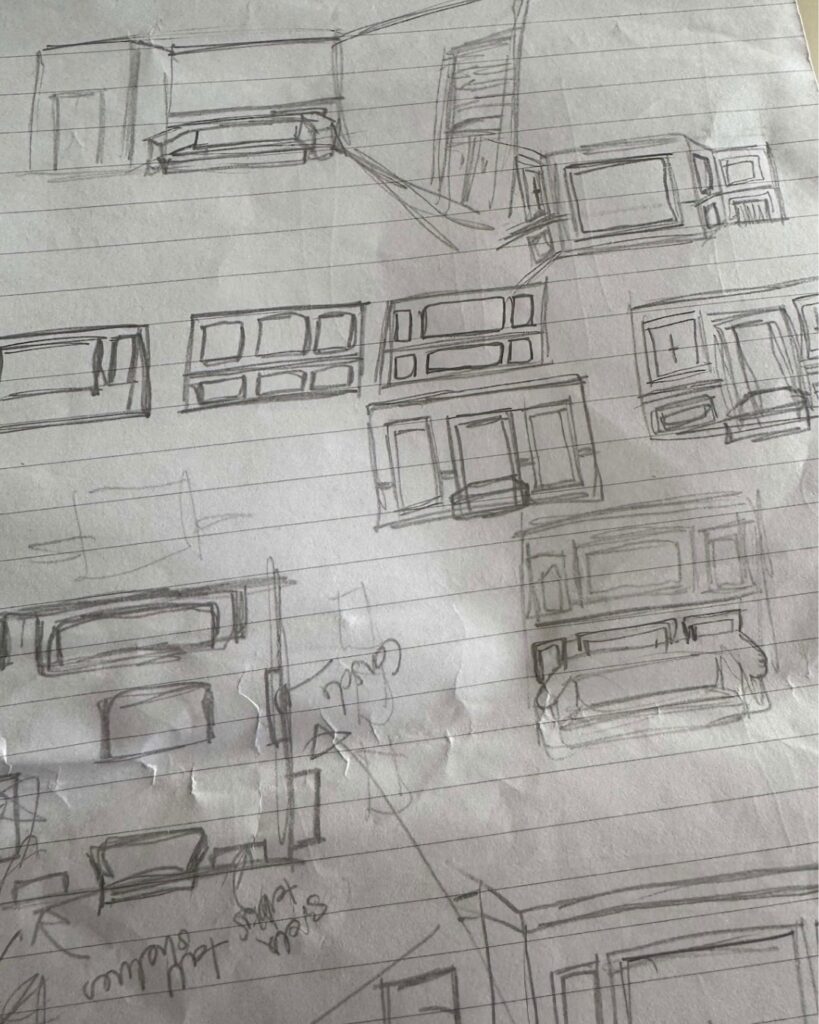
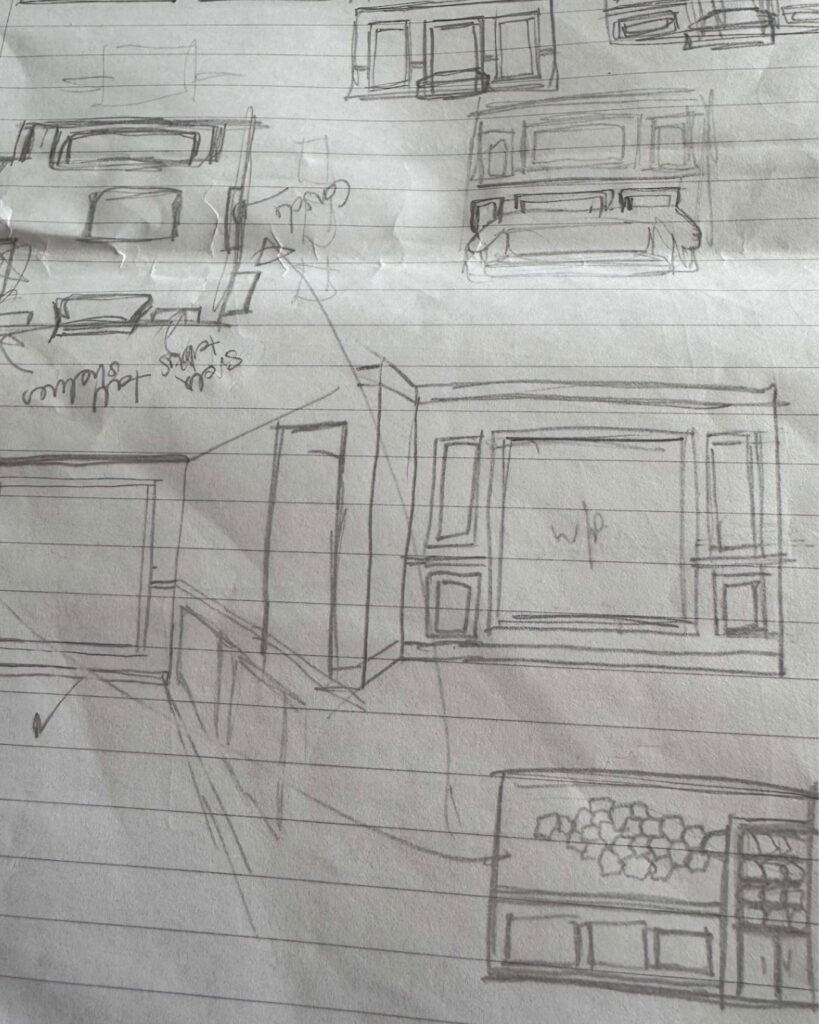
These are messy, rough sketches – probably done late at night in bed. But, I wanted to share that sometimes getting it sketched out can help to dismiss ideas, even the ones with ticks next to them changed again before the final decision.
This living room has a large window and is south facing so it’s lovely and bright all day.
Where I Found My Bedroom Decor Ideas
Before I get into where I found my ideas – if you’re struggling for inspiration, check out my Pinterest account where I have 150+ boards covering all styles of home decor and ideas. I looked for inspiration on Pinterest and Instagram as well as a few shops visits.
My advice is to screenshot or take pictures of everything that you like, so you can pull them together within a mood board or even just a folder on your computer that you can gather them in one place.
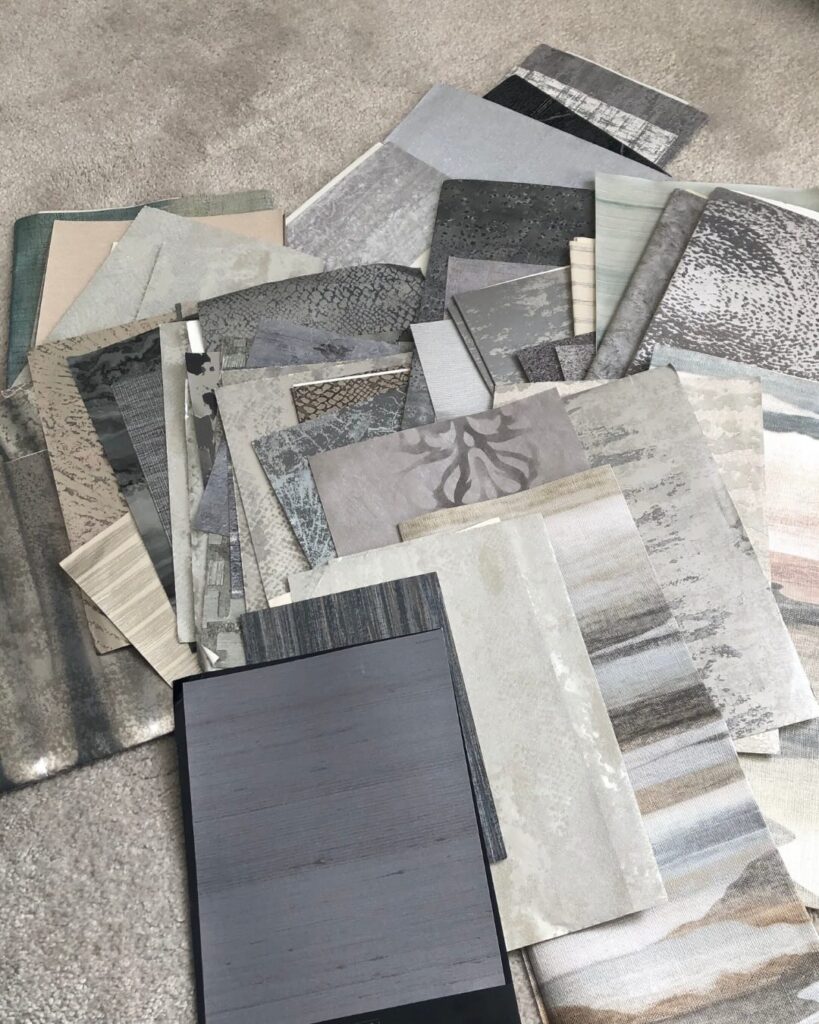
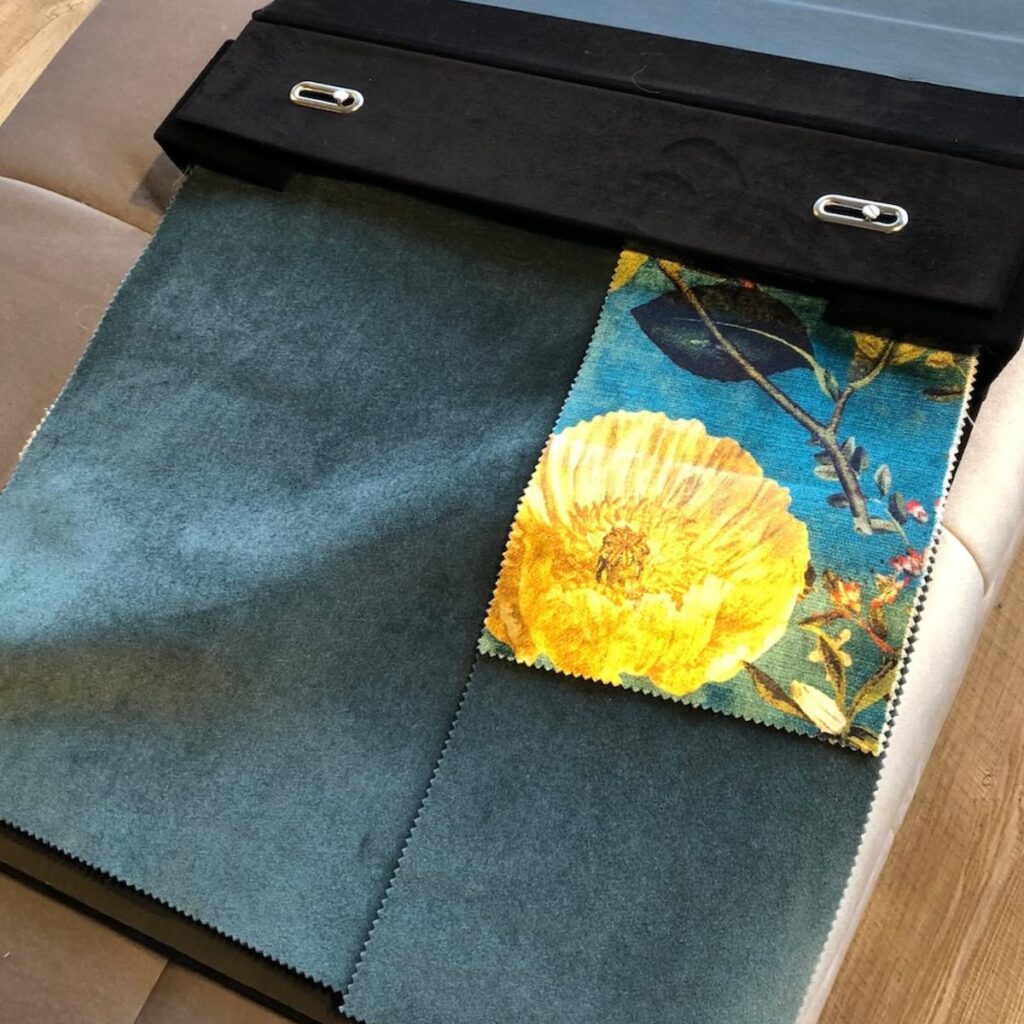
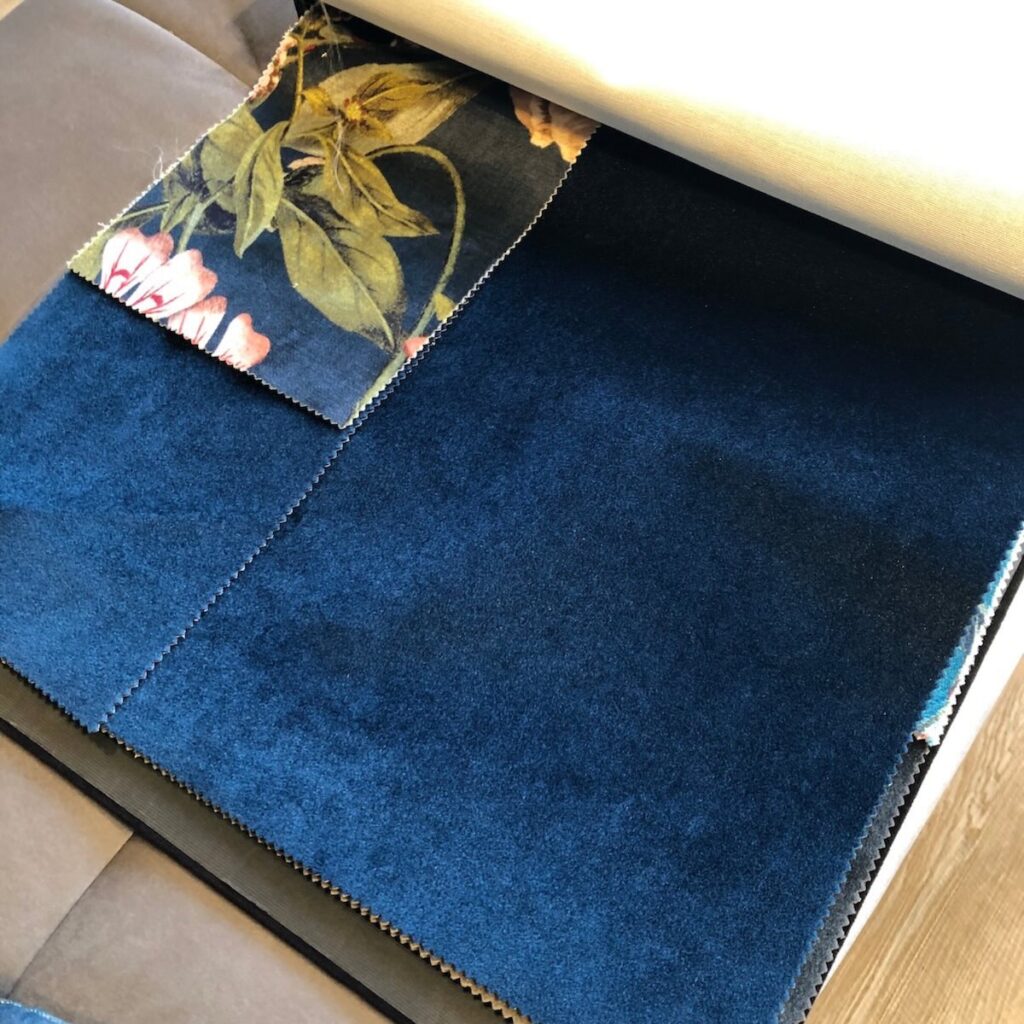
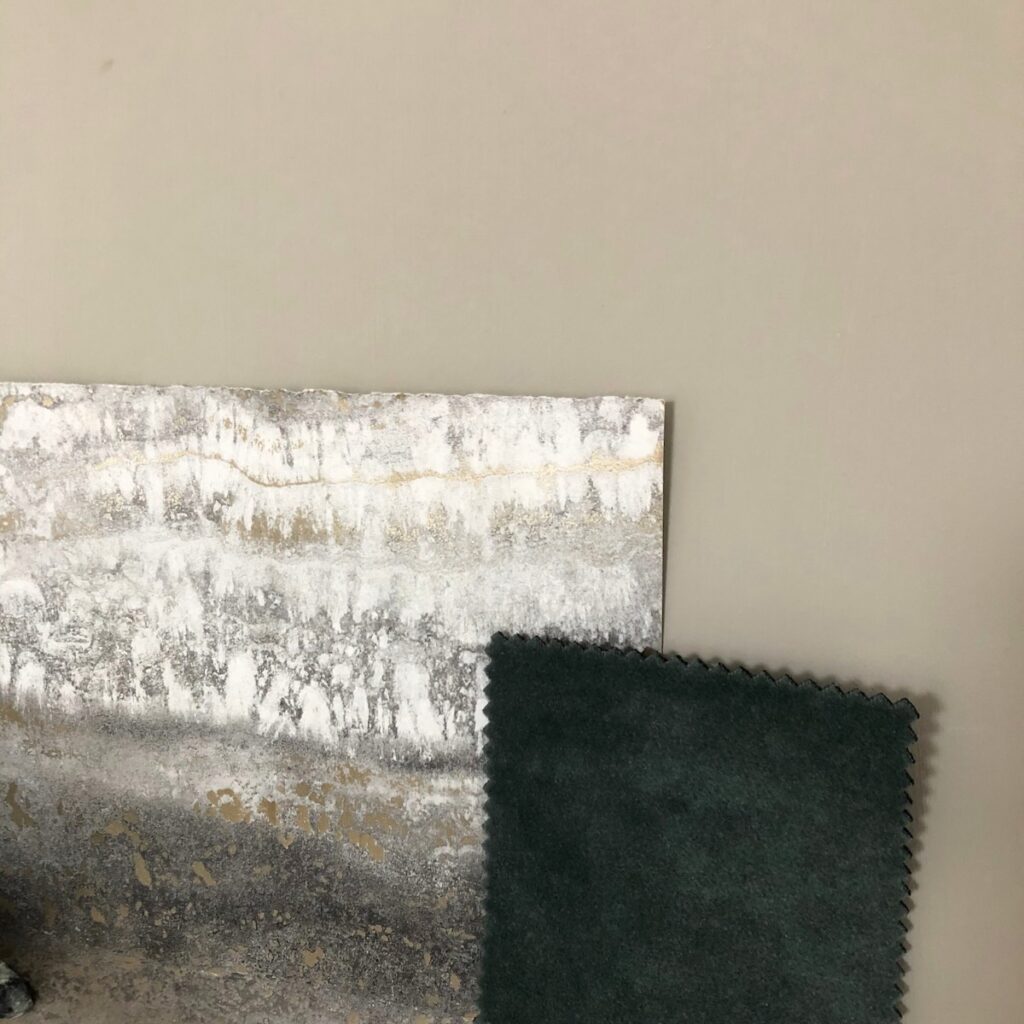
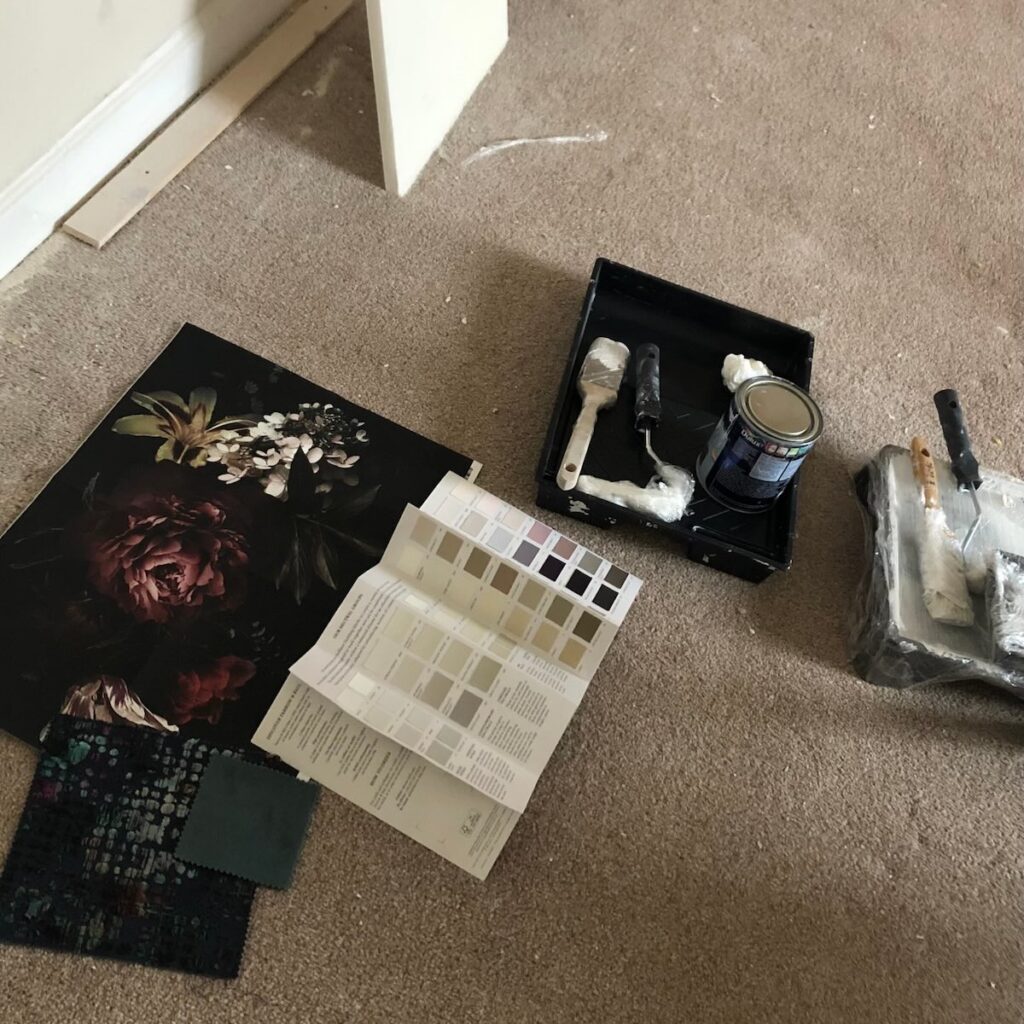
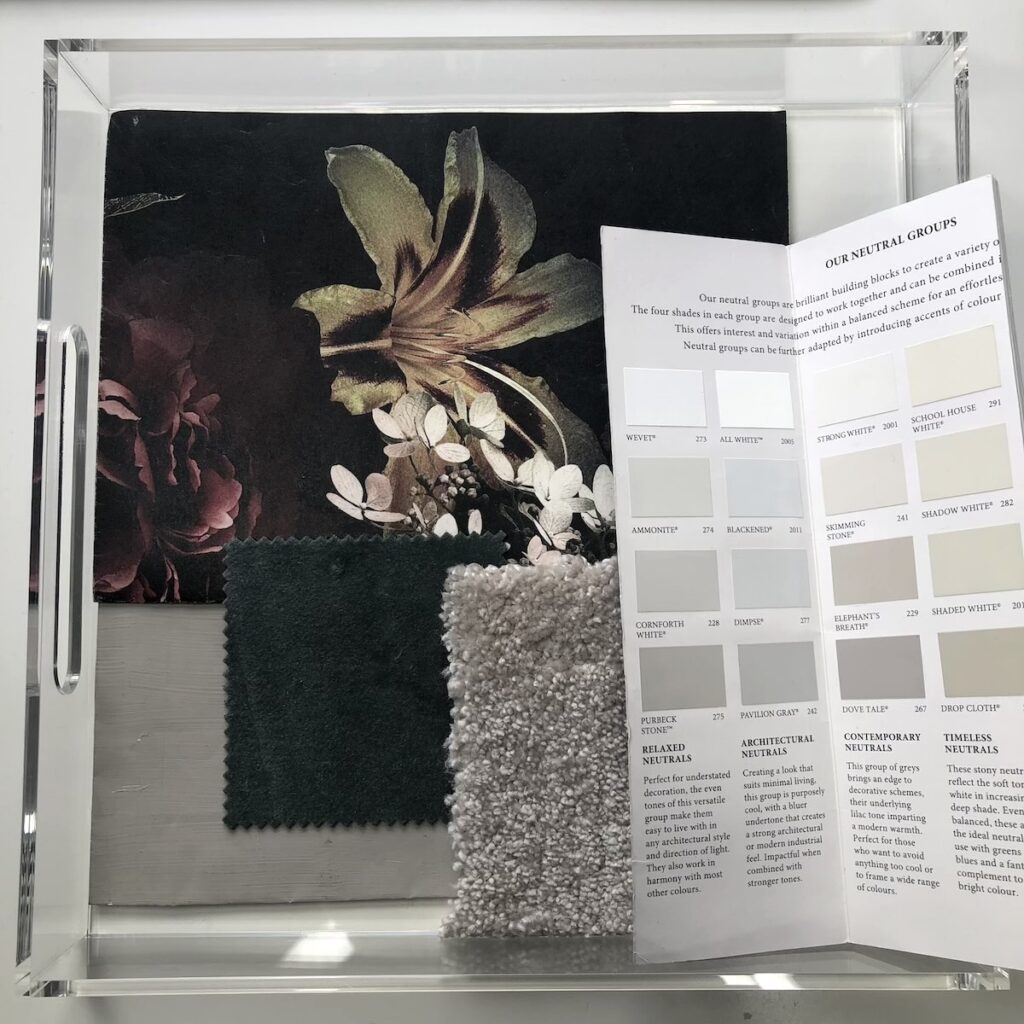
Here is a small collection of samples that I used to help me narrow down on the style I wanted. Luckily, I had a large collection of wallpaper samples that allowed me to decide if I wanted pattern, stripes or texture in the living room.
Even if these samples weren’t exactly right for the room, it was a great exercise to do that helped me to visualise what would work in the space.
The Inspiration Board
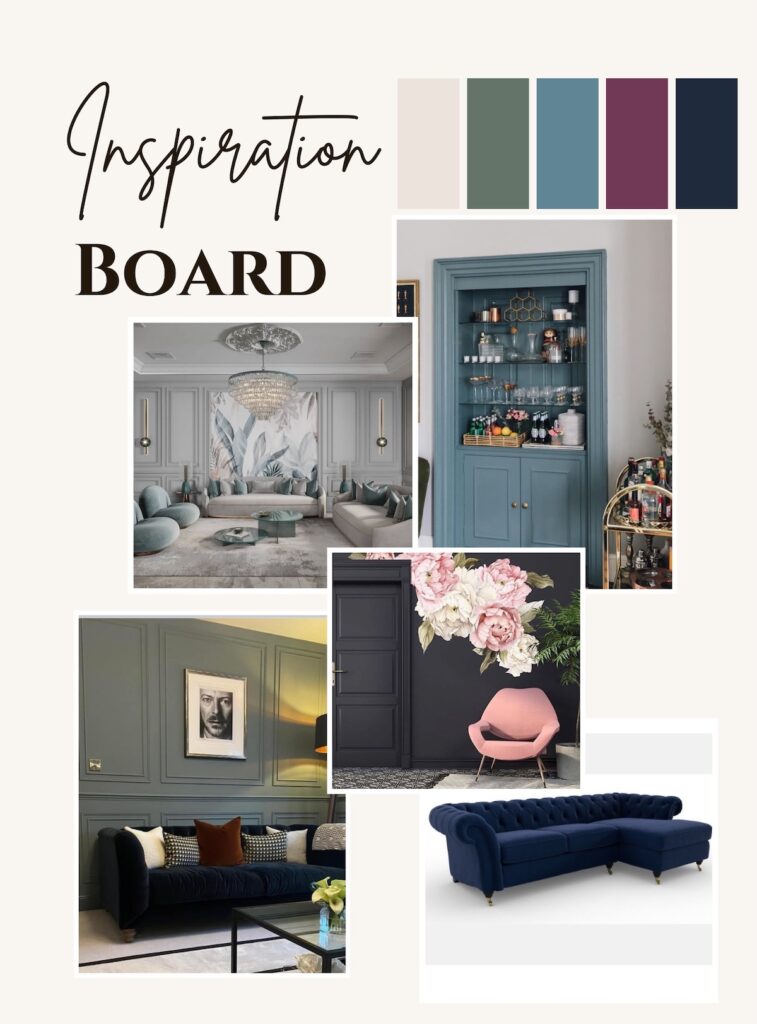
I knew I wanted wall panelling but not the style that was starting to creep into Instagram. I wanted a twist and fell in love with the double beaded style.
I loved the idea of wallpaper inside the panelling so I sketched out the different ideas that I had for each wall in the living room until I had a combination that worked – I even used masking tape at one point to map the layout directly on the wall as I wanted to see it not just use my sketches.
Colour Schemes & Paint Choices
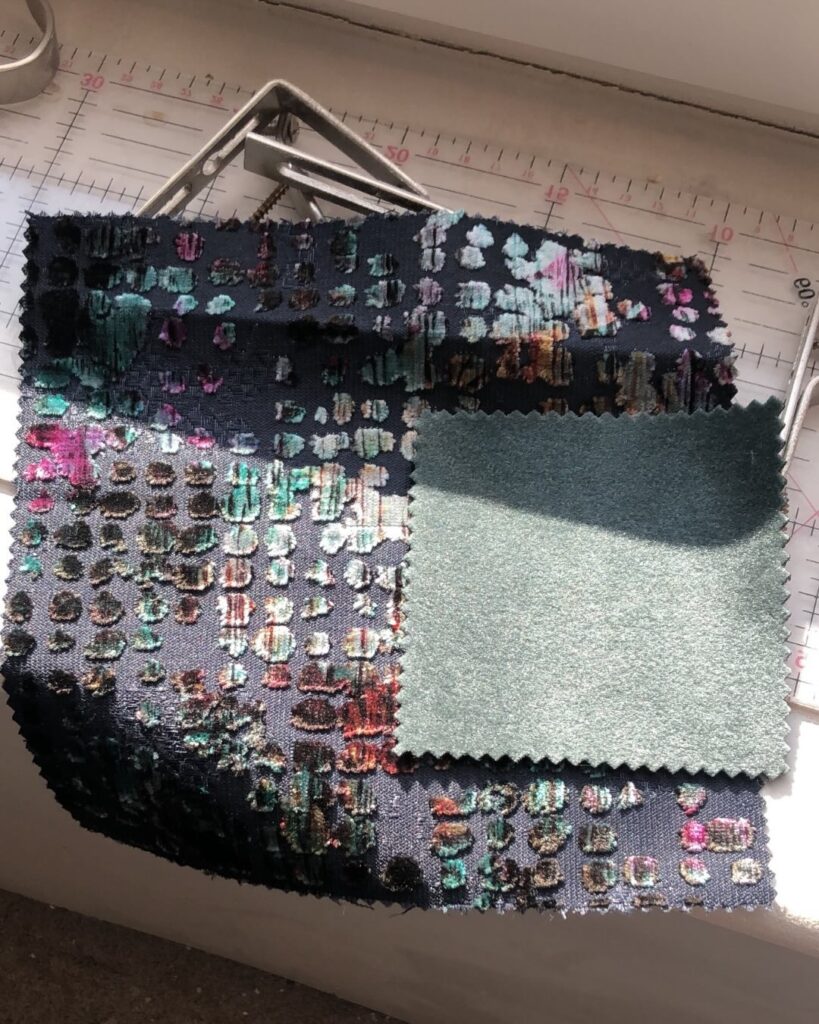
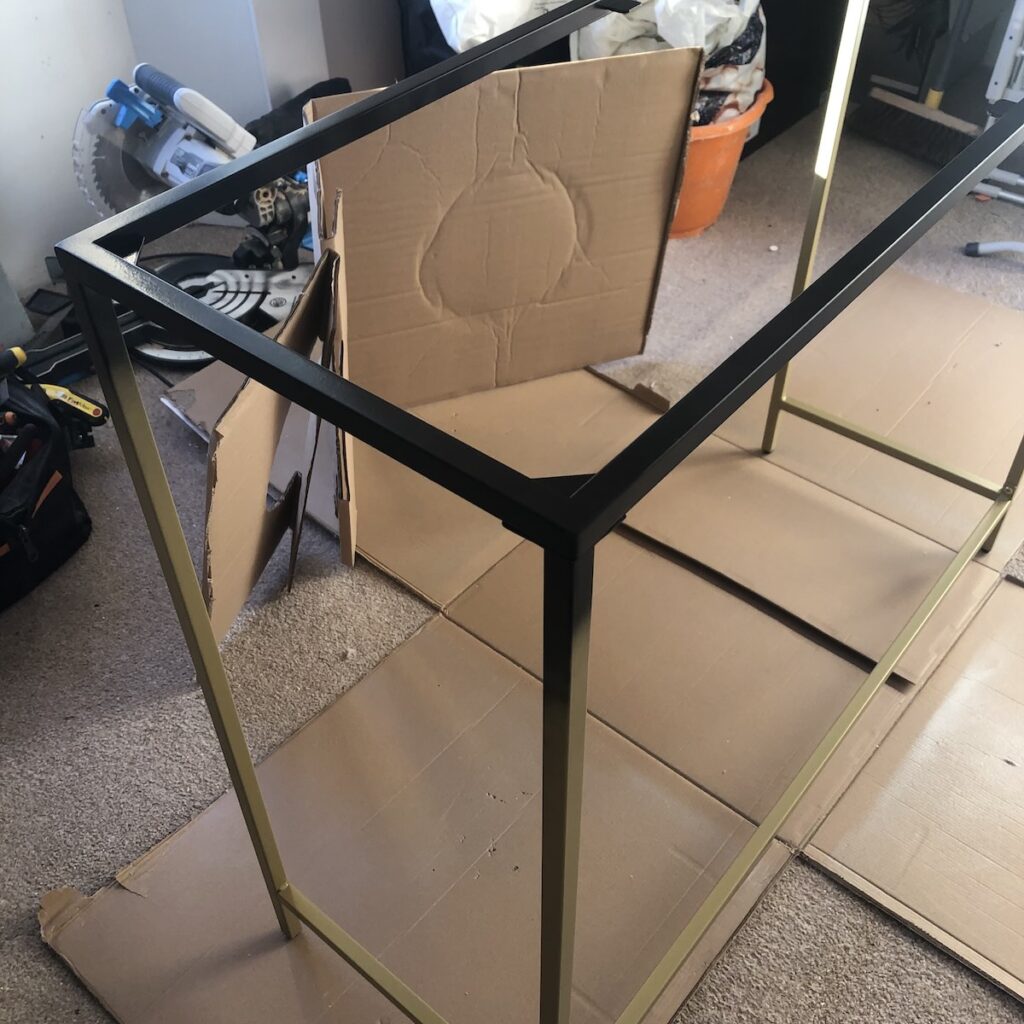
I was still renovating another room when I came across this sofa, I was no where near ready to start the living room but I had to have it……
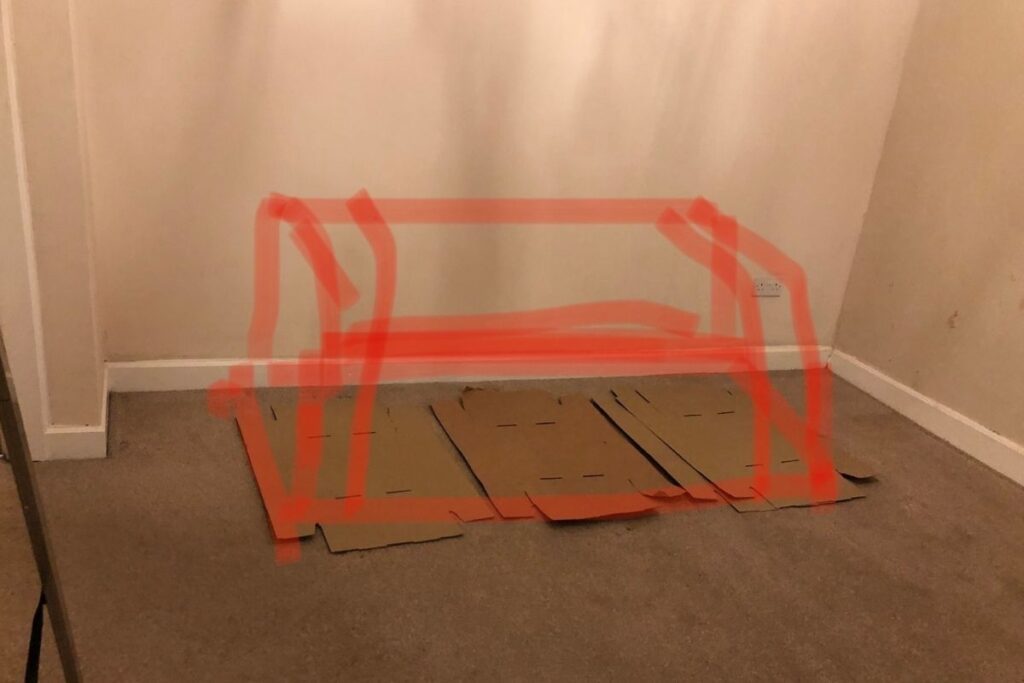

Here I am trying to decide the size of the sofa. I hadn’t considered a larger sofa but due to access to the property I needed the sofa to split into two parts.
Who loves my cardboard cut out designs and my knuckle sketches over the photo? 😂 The things you do sometimes to feel comfortable with the decision.
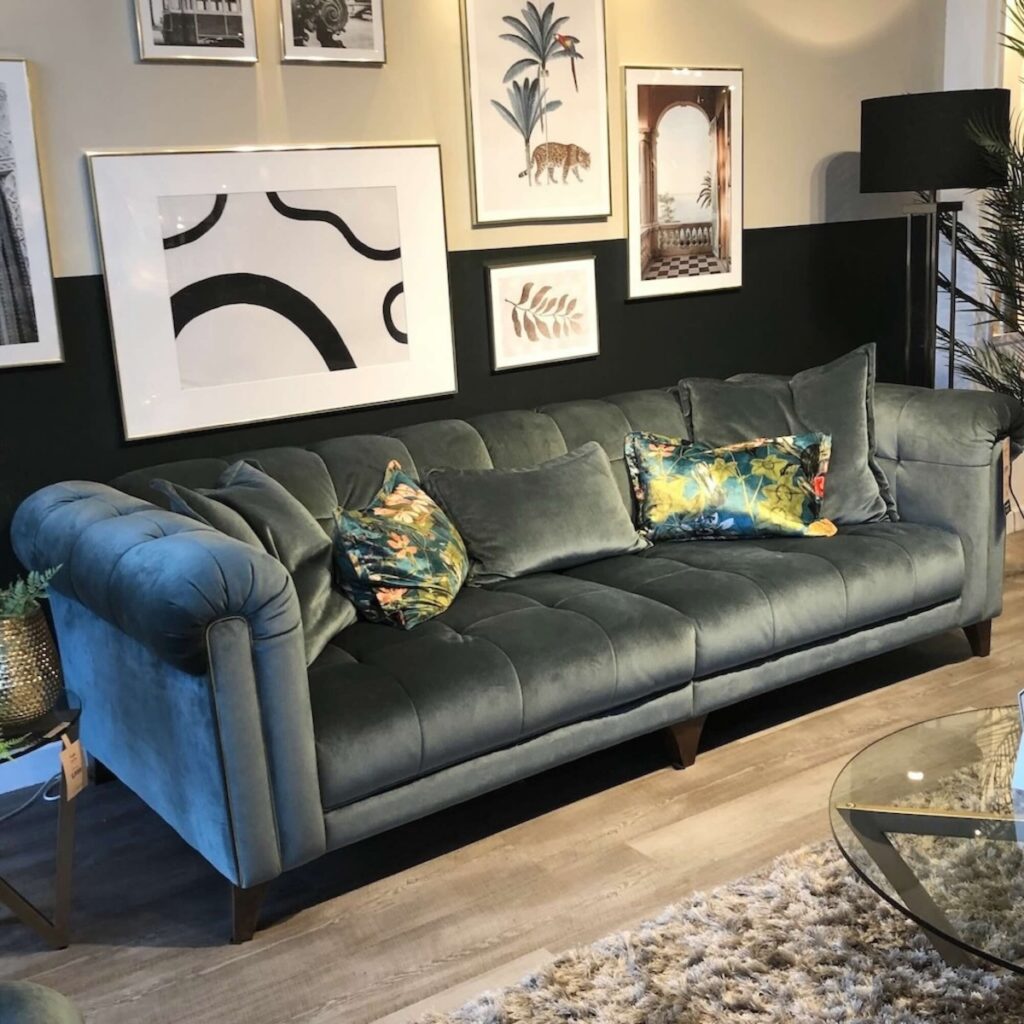
I had decided I wanted a navy velvet sofa for this living room as per the inspiration board…..until I saw this green/teal colour. And, so the colour scheme changed again! It’s always so much easier to make decisions on client room designs than it is in your own home.
Tip: Ensure your new sofa will fit through all the doors and angles of your property before purchase. I had to have a sofa returned at my previous property as the delivery guys couldn’t fit it through the front door – my measurements and the delivery guys both confirmed it would fit as well!
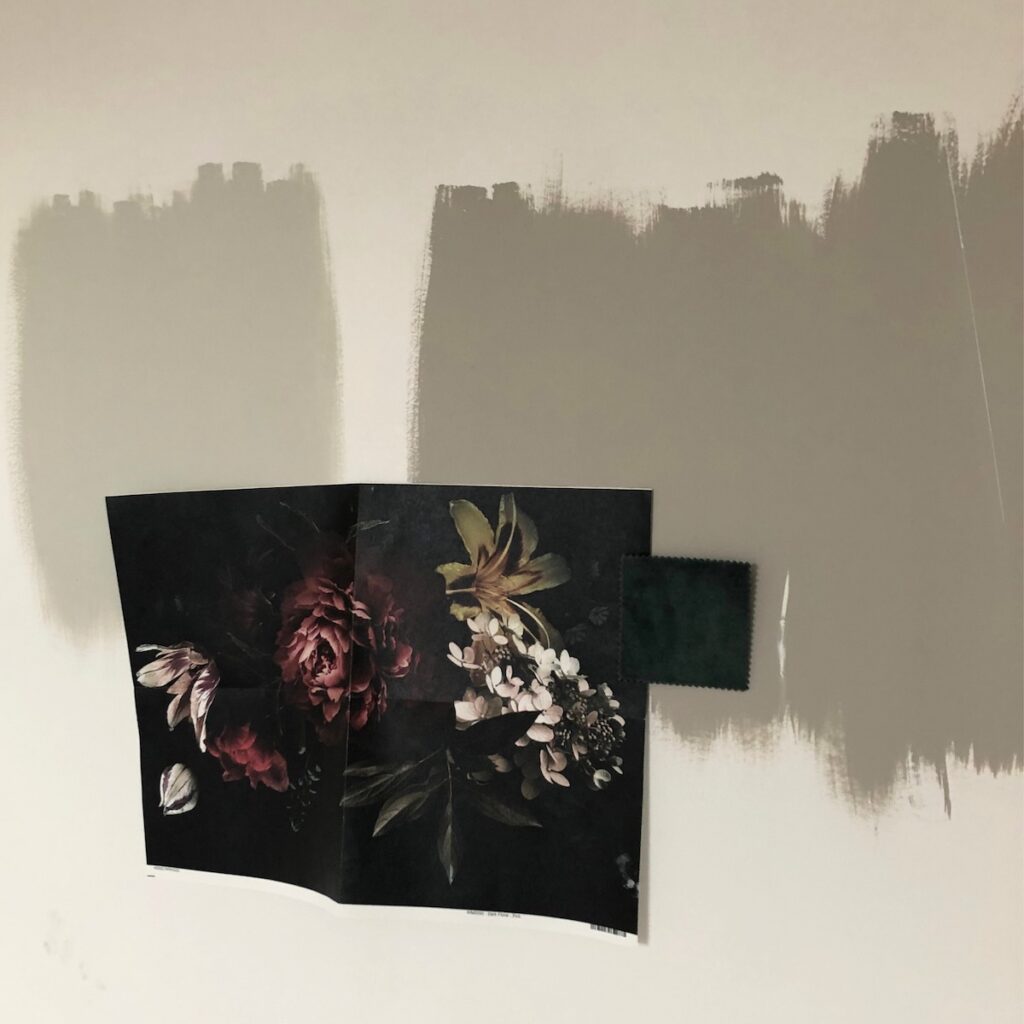
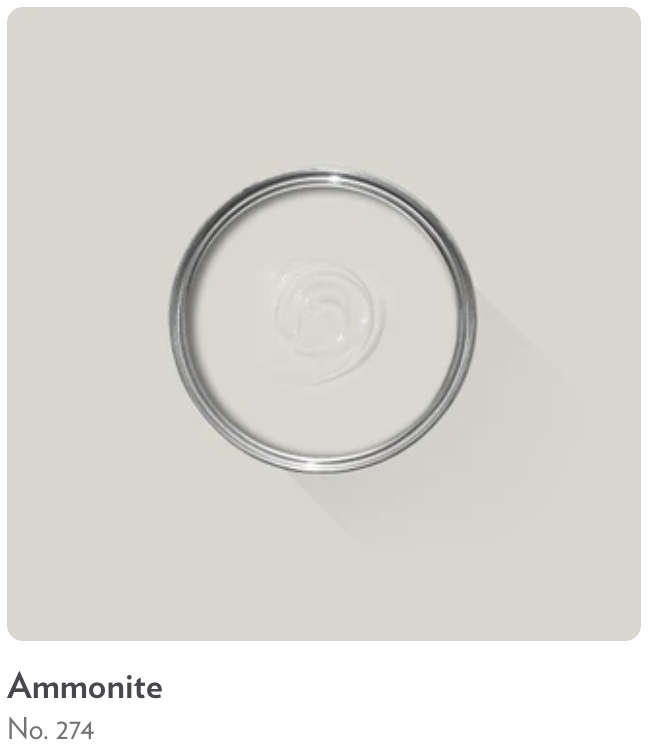
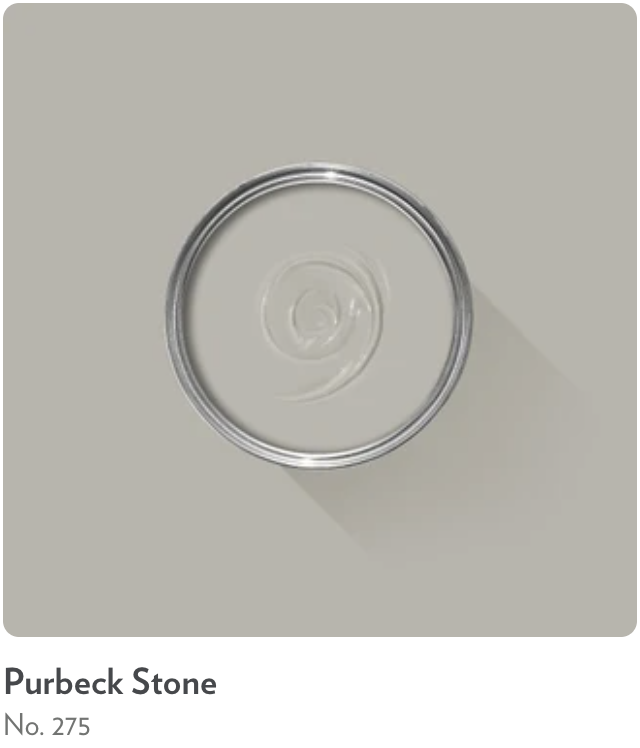
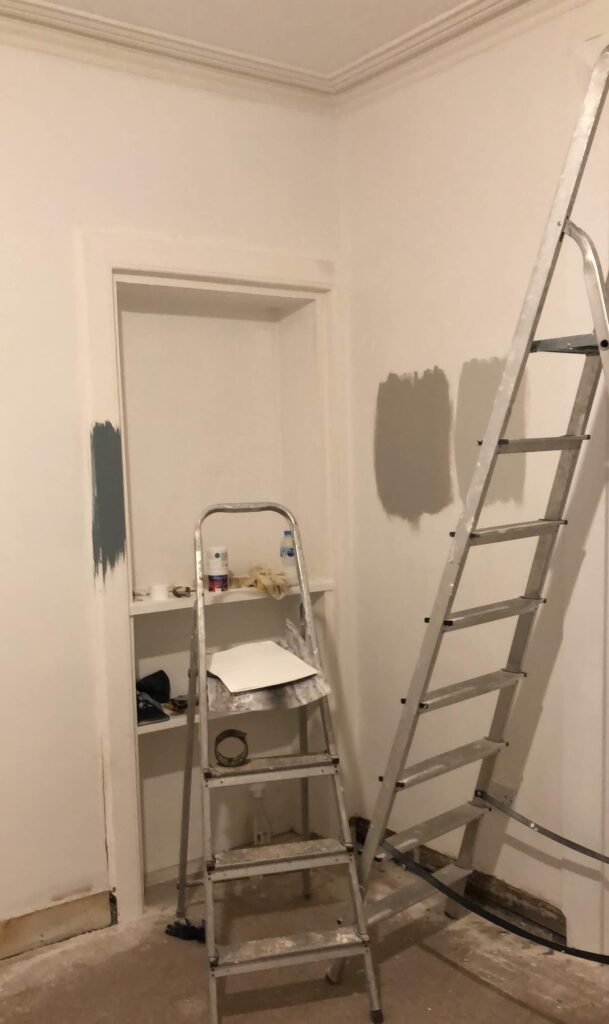
Next, was making the final decision on the wall colour and wallpaper. I knew I wanted to colour drench the walls and skirting boards but I was stuck between two colours from Farrow & Ball – Ammonite and Purbeck Stone.
Deciding between these two colours was probably the most debated decision I made in the full home renovation.
I painted swatches of both colours on every wall so I could check each area in both day and night light.
Tip: In my experience, all colours that I have used have looked lighter once all the wall is painted. So, be brave if you start to paint a colour, freak out then question all of your choices – just give it time.
I finally decided on Purbeck Stone from Farrow & Ball, and I’ll admit it took me a few days to be fully comfortable with my decision. But, once the carpet went in and all the furniture was placed, I knew it was the perfect colour for the space and the vibe that I wanted to create – I just needed to believe in my own choices.
If you’re needing some inspiration, visit my Mood Board page for more ideas.
The Renovation Process – Step By Step
This room took the longest to renovate and time was creeping into the autumn months which made painting and airing the rooms a lot harder.
Another thing I learned about this old property is it likes to be kept warm (a bit like myself!). Open windows and colder months made heating any room take twice as long to get it to a nice temperature.
Tip: I decided to experiment with leaving my boiler on constantly at a set temperature and the results were – for me, slightly cheaper bills and a home that felt warm 24/7.
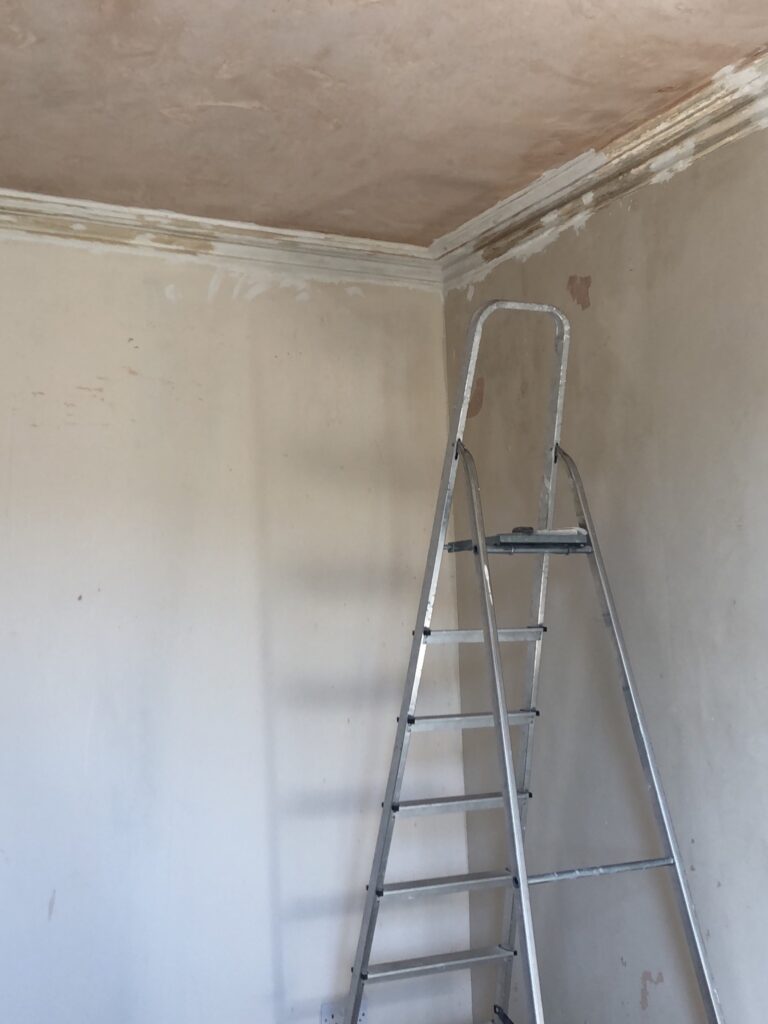
Stripping Back And Preparing The Space
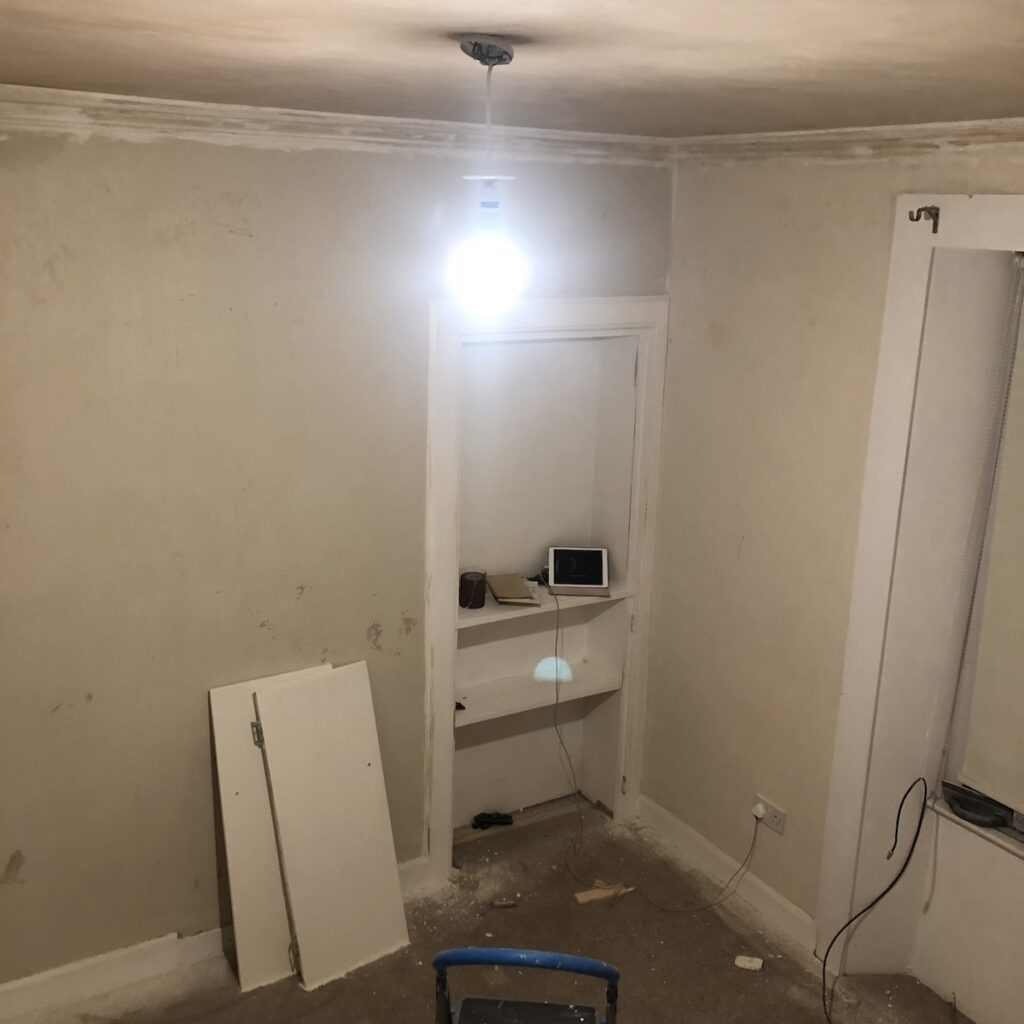
At first, it was hard to see past the dated peachy-beige walls and wallpapered ceiling. But, once I decided to paint everything white, my vision finally started to evolve. I also painted the hall area as it was so dark and uninspiring.
This worked perfectly. It gave me a fresh start and clarity to start pulling my ideas together quicker. Sometimes, you’ve got to acknowledge what is blocking you from moving forward and addressing that first to get the project moving along.
Everything that needed done in the room –
- Old wood-chip wallpaper removed from ceiling
- Old paint on coving removed and reconditioned to replace missing/loose pieces
- Coving repainted
- Ceiling re-plastered and painted
- Old skirting boards off and replaced with a more decorative and height appropriate style for the ceiling height
- Walls painted, wallpapered and new carpets
- Window surrounds painted – the windows were tall with a wooden frame surround
- Shelving/cupboard turned into a bar area with mirror back panel and glass shelving
- Radiator painted to match the wall colour
- New ceiling rose to compliment the building era
Design Details That Made The Difference
Even though I hated every second, reconditioning the coving did make the room look much better.
Due to the ceiling height, any existing furniture that I had didn’t work in this living room. I’m glad I choose different furniture as this lead me to adding black accents, which I had seen in show homes and also written posts on how to add it into homes but I didn’t think the style was for me.
Now, I love adding black accents into my rooms. See my upcoming post re. DIY dining room shelving unit.
DIY Learning Curves
- For sure – the coving, I underestimated the work there
- Fitting glass/mirror into tight spaces – measure twice and give extra space to manoeuvre into place if adding it into an alcove
- For me, my existing silver furniture didn’t suit the space – it could’ve worked but I knew there was a better solution – so I spray painted it black and it was perfect
- Not to go into sofa shops until I’m ready to order – it arrived whilst still in mid renovation and had to cover it with old duvet sheets and hide it in another room which was full to the brim
Tip: If you are changing an item with spray paint, research online the best way to prep the surface, especially if it’s a high traffic area or will be touches often. Also, check the reviews of the spray paint to pick to ensure it is good quality.
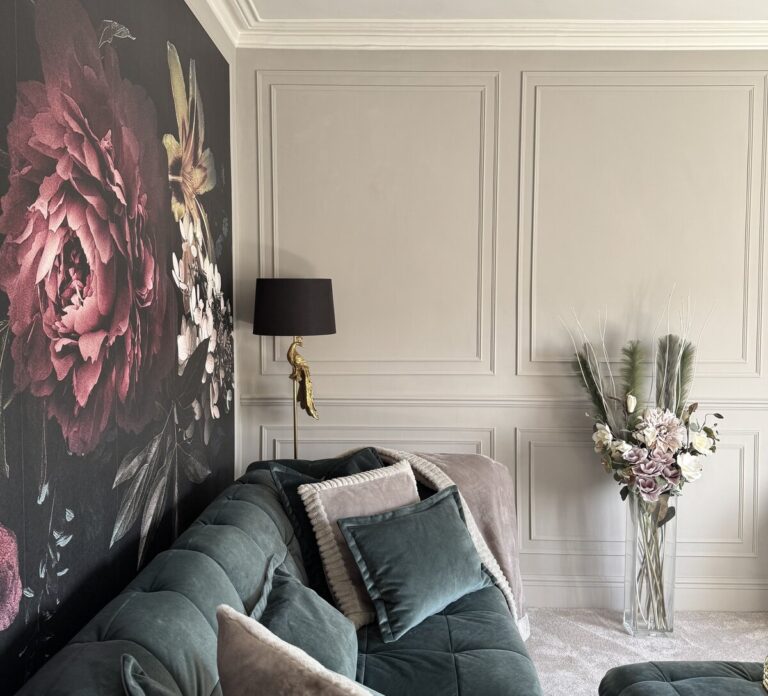
The ‘After’ – Living Room Decor & Styling Choices
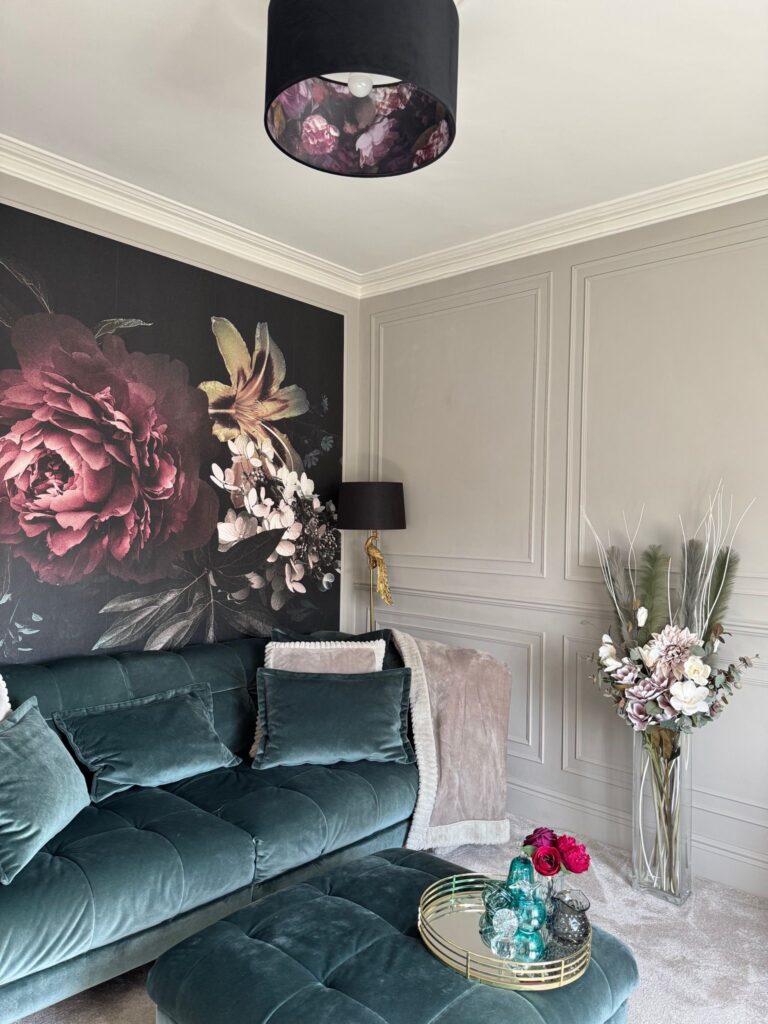
I love how this living room renovation turned out. The paint colour looks so much lighter once the room was completed and in the evening it makes the space so warm and inviting.
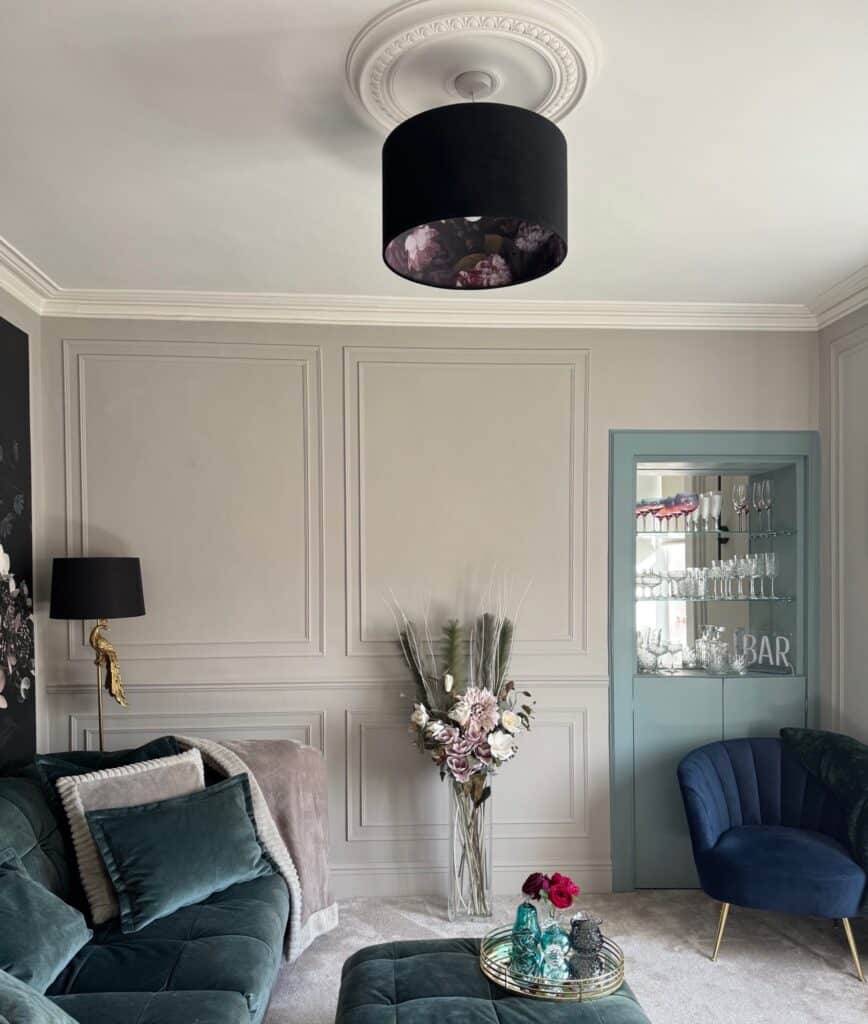
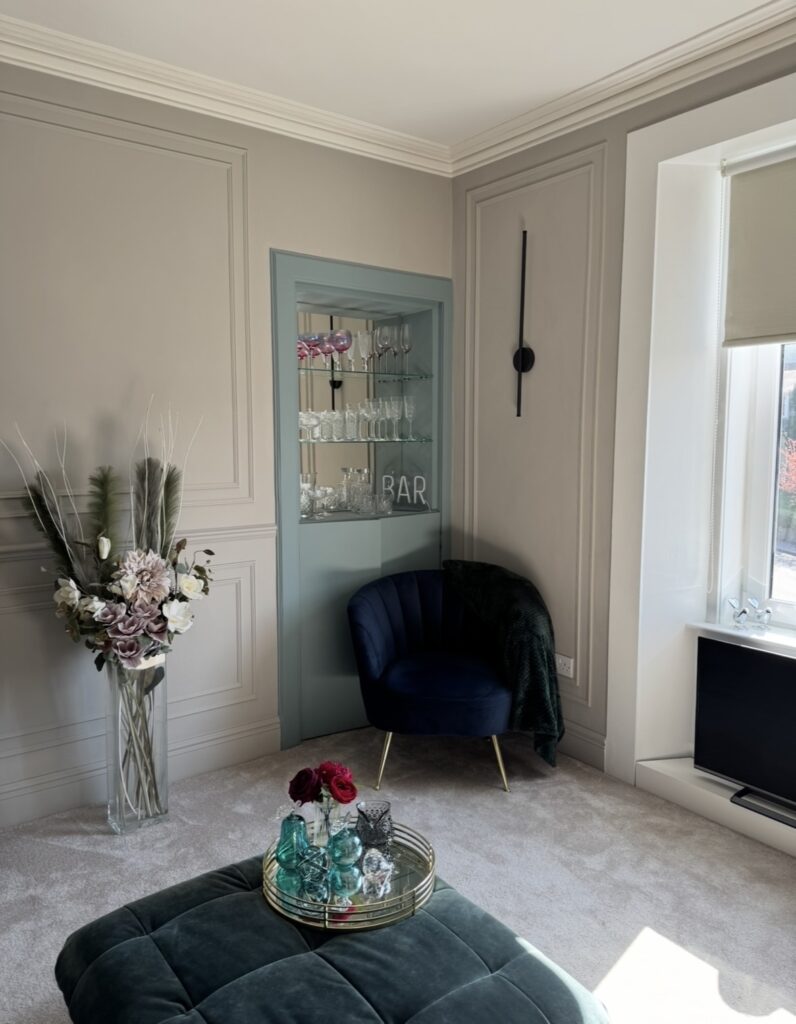
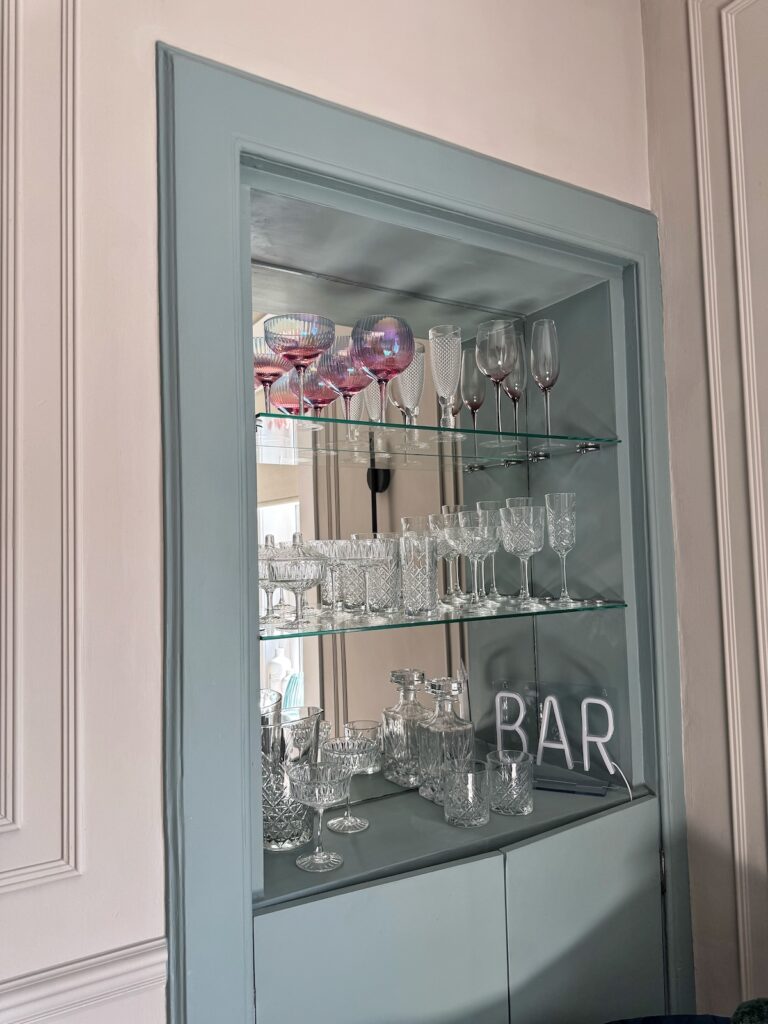
I managed to incorporate a bar nook inspired by an image that I had seen on Pinterest – see inspiration board. I wanted the colour – Oval Room Blue, even though it didn’t fit into my colour scheme. So, it helped me decide to carry that colour through the hallway so the colours were connected throughout the property.
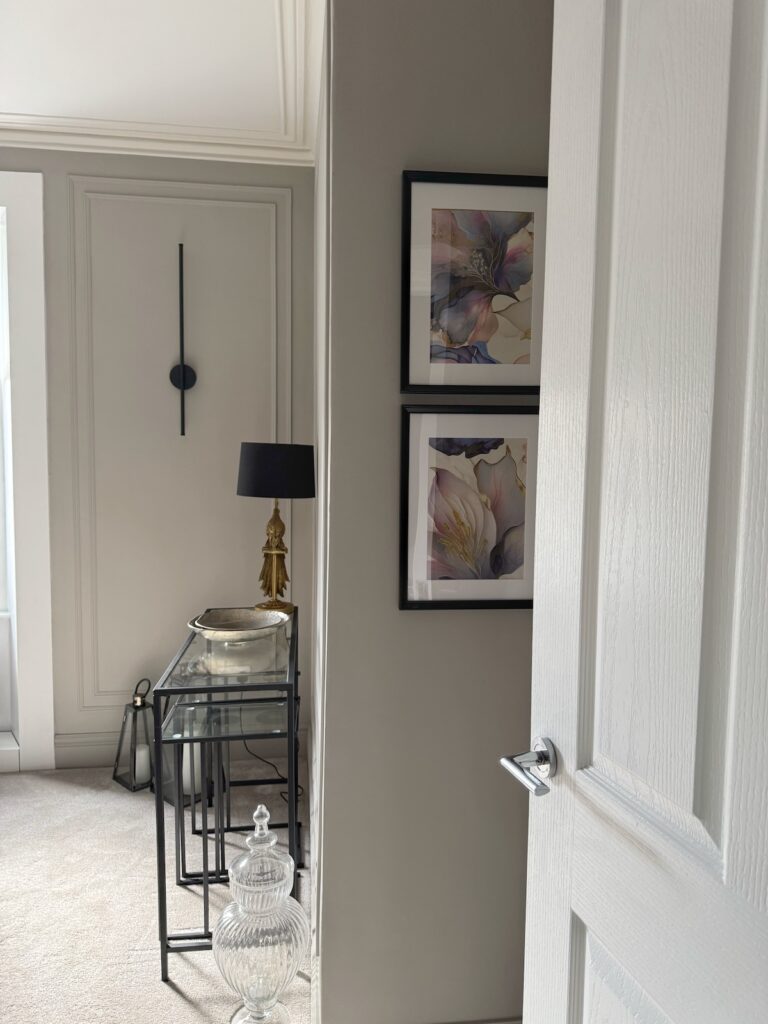
Because I have large statement frames around the windows, I changed the style of the wall panelling to a full height design for each side of the window. These chargeable wall lights had been on my wish list for a while and they create such a lovely ambience at night, with a few other candles lit.
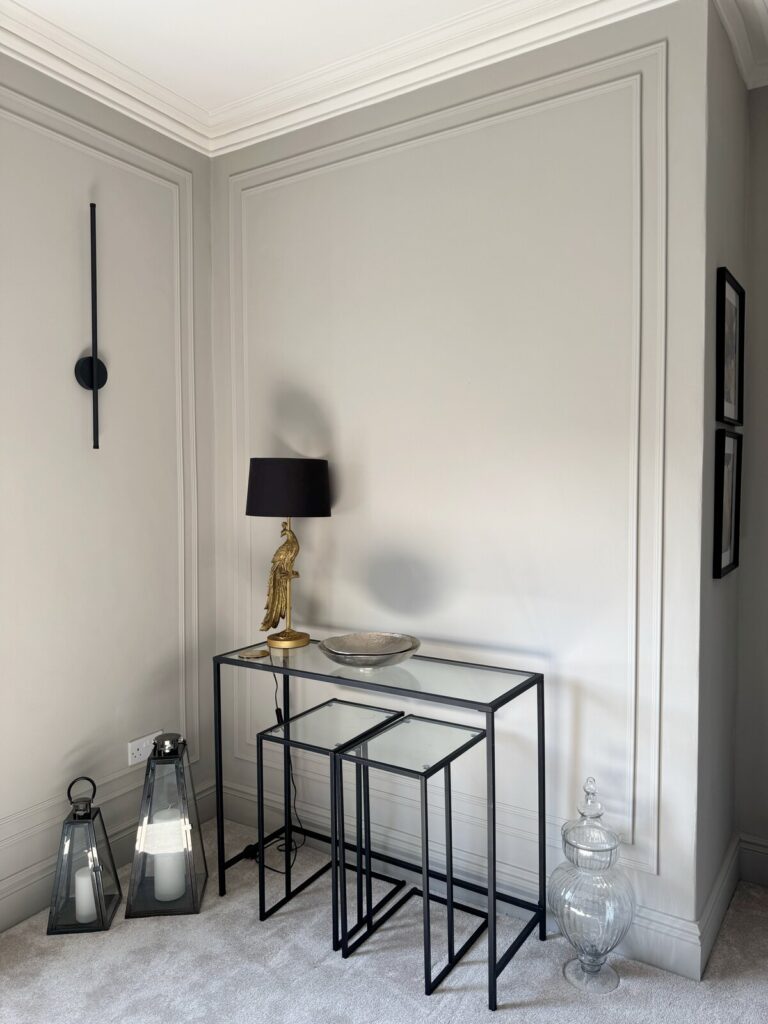
I found matching side-tables to go with my spray painted console table and you would never know they weren’t a set. I had originally planned to put my television on the wall above the console but I don’t watch much TV so settled on placing the TV under the window so it didn’t take over the room.
Living Room Design Ideas You Can Try
I enjoyed changing the colour of some items with spray paint. If you have any items that you could update, maybe try something similar – as well as this console table I’ve also sprayed accessories to update a room.
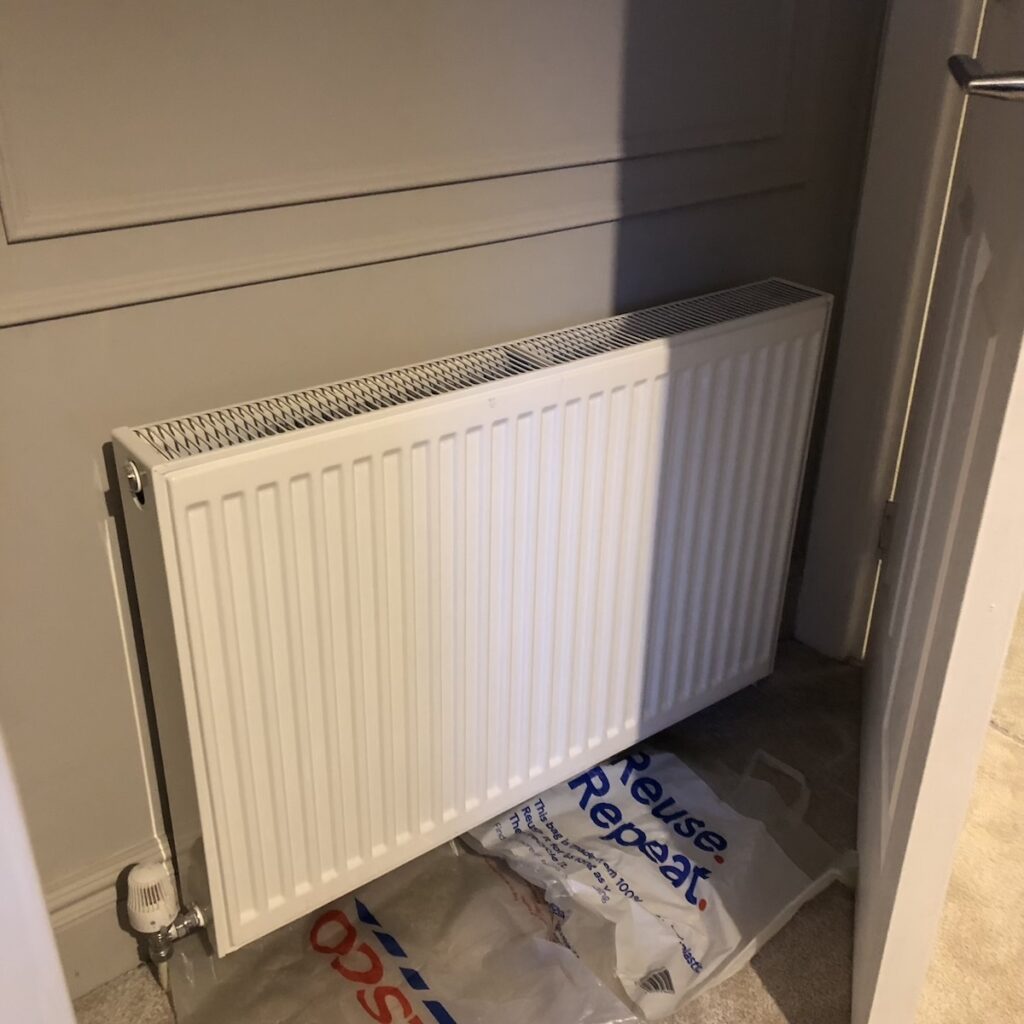
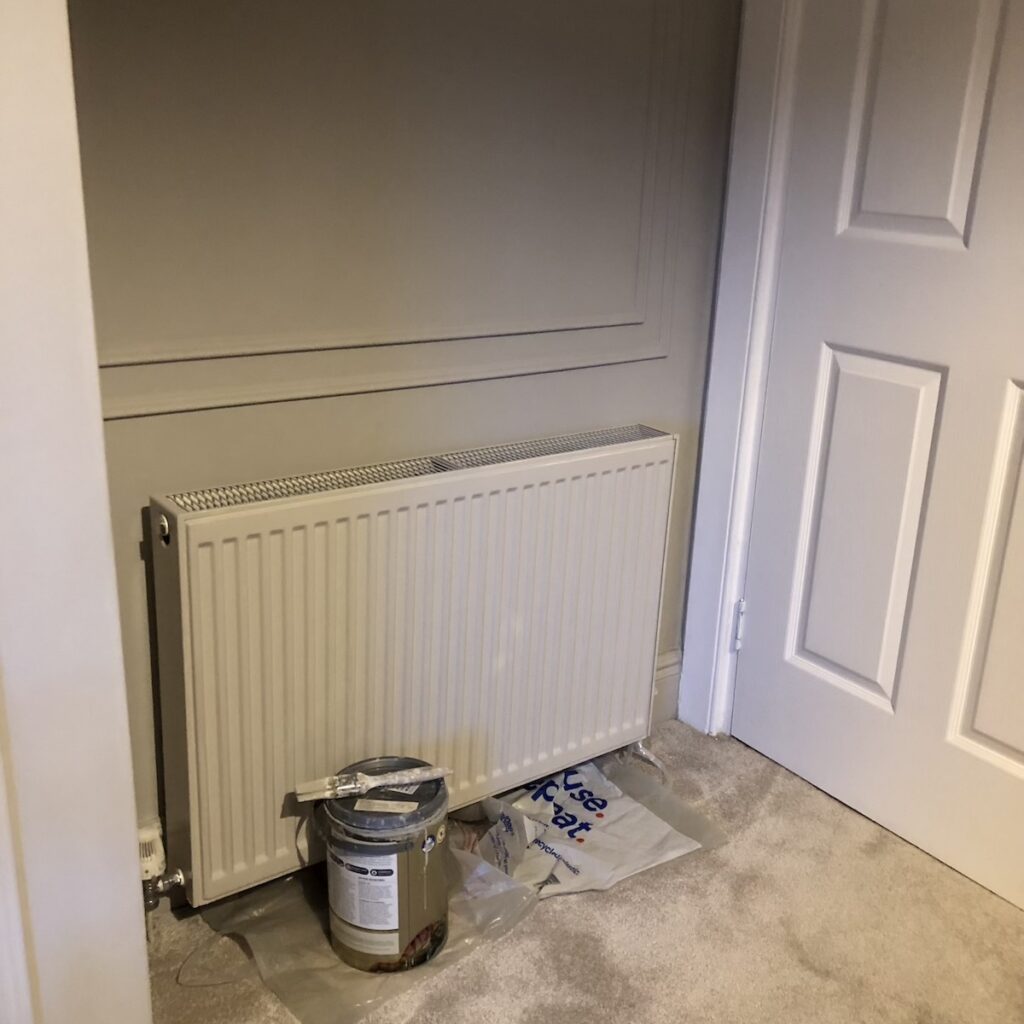
I initially didn’t paint the radiator but over time it was the one thing left that looked out of place. So, I decided to paint the radiator the same colour as the wall and so happy I did.
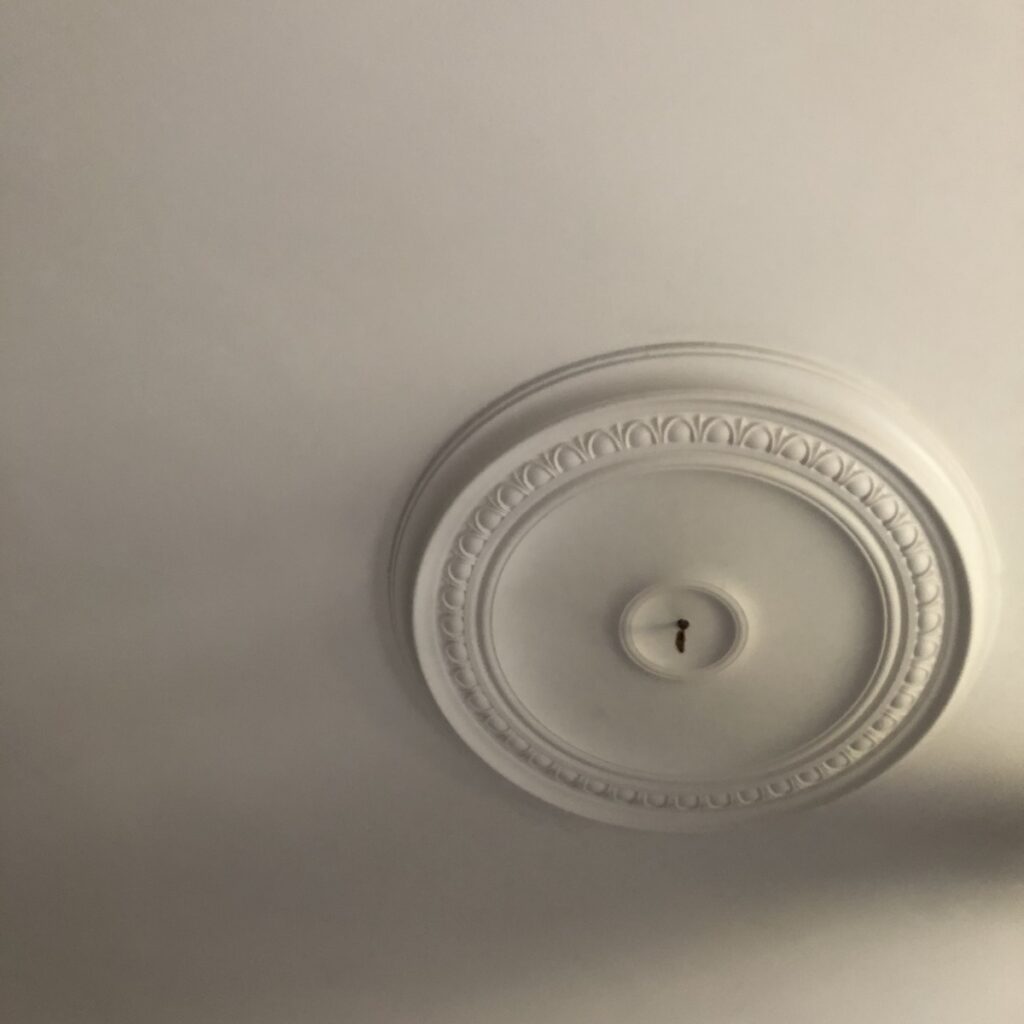
Adding a ceiling rose to the living room just felt like an obvious thing to do to add character back into the room. They aren’t cheap and I did debate it for a while but I am glad I stuck with my instincts as it really does suit the space.
Finishing Touches
For me your home should have personal touches of your favourite things. They should fill a space but also add interest, and most of all – make you smile. It’s your home, it should feel comfortable and relaxing.
Before & After Photos
It’s great to be reminded of the before and after images, as so much work went into this room.
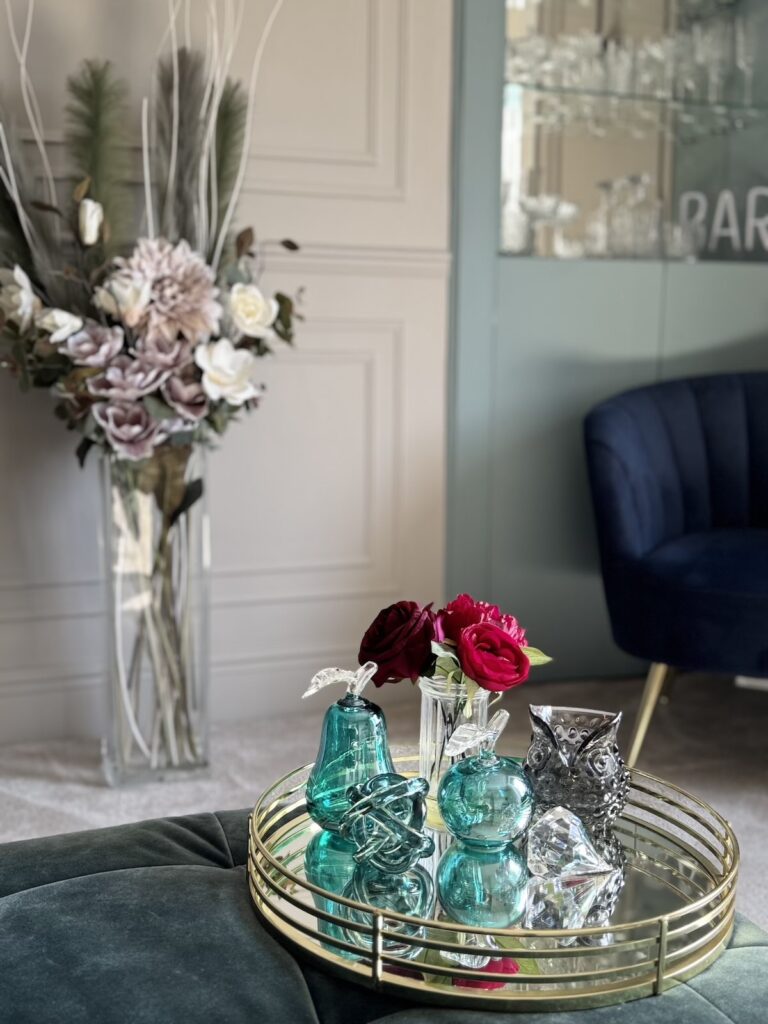
I love this corner of the living room, especially choosing which glass I wanted to use when it hit Friday night!
From a boring corner to a stylish home.
The colours used in this living room were navy blue, teal/green, greige for the walls and carpet and contrasted with crisp white. Adding black details to make certain items pop was my unexpected surprise. Mixing lots of colours is about getting the balance right, it may take some tweaking but it gets there in the end.
Living Room Furniture & Storage Ideas
Throughout the property I kept visible storage to a minimum. In this living room I had storage in the cupboard under the bar area but overall didn’t need any other storage. I much preferred keeping this space minimal.
Tip: If you require more seating, consider small footstools or ottomans with storage inside. They can be placed to the side of your sofa and double up as a side table also.
Lighting & Accessories For A Cosy Living Room
I used velvet throughout the property to give a luxurious look and used fairy lights in most rooms to add to the comfort factor. Also, only having the fairy lights and the candles on at night created the best atmosphere to relax in.
Final Thoughts
I always prefer to make things a little more dramatic than the norm – I certainly don’t think I’ll ever have plain magnolia!
I loved how this room turned out, and since I have now sold this property – I truly miss this living room, but I’ve got a lot more decorating plans coming up soon so I’m sure I’ll be knee deep in more wallpaper samples again soon. I’ll be sharing more of this Victorian home renovation project soon, so stay tuned.
Source List & Shop the Look
Paint, Furniture & Decor Pieces
- Wall Paint Colour
- Mural Wallpaper – discontinued but here’s similar
- Woodwork
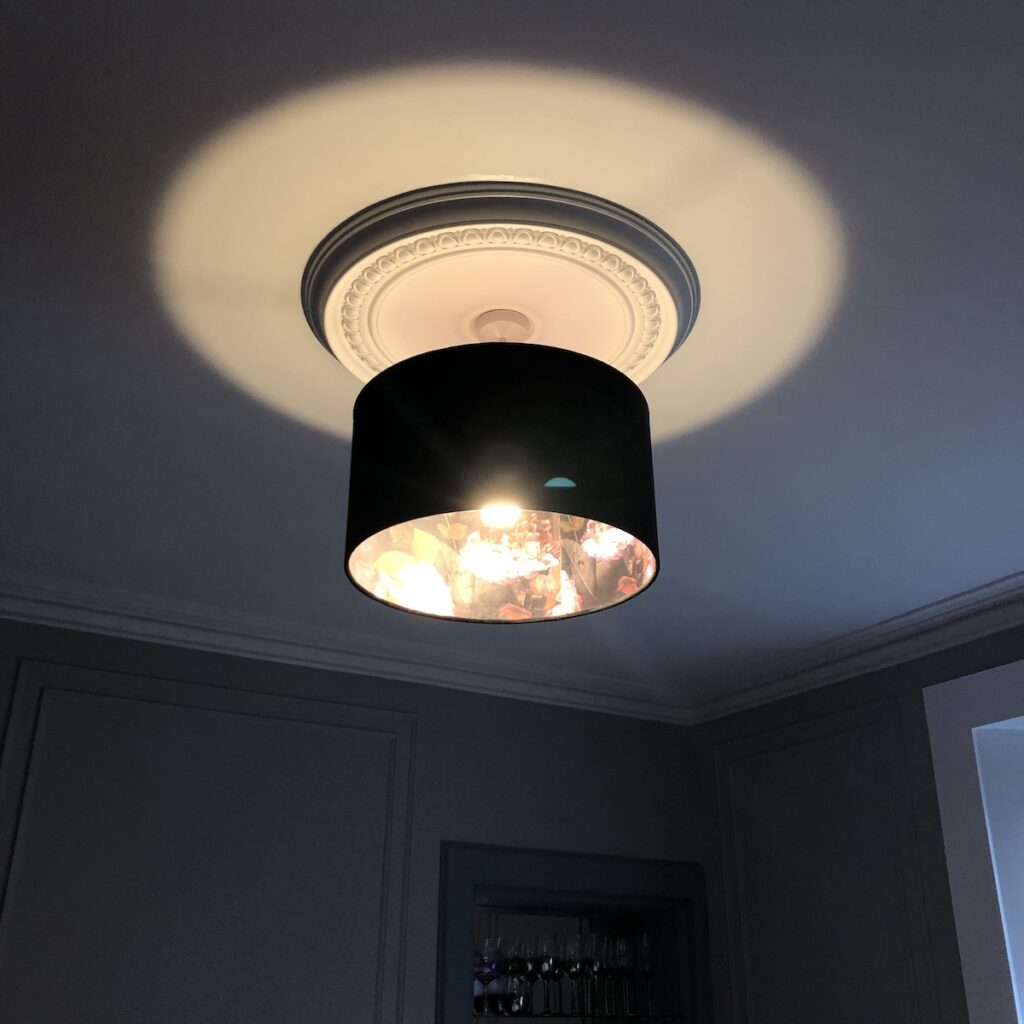
- Ceiling Light – discontinued but here’s similar
- Sofa – discontinued from Sofology
- Accent Chair – discontinued but here’s similar
- Black Frames – Ikea
Overall, I love this room. It was the one that took the longest to renovate but it was worth it to see a space that shows personality and is such an inviting room to spend time in.
If you loved this transformation, explore the rest of my home renovation journey here.
And for regular inspiration, follow along on Instagram, Facebook and Pinterest. Here’s to creating a home that feels like you.
Take care
Pin it for later 🖤