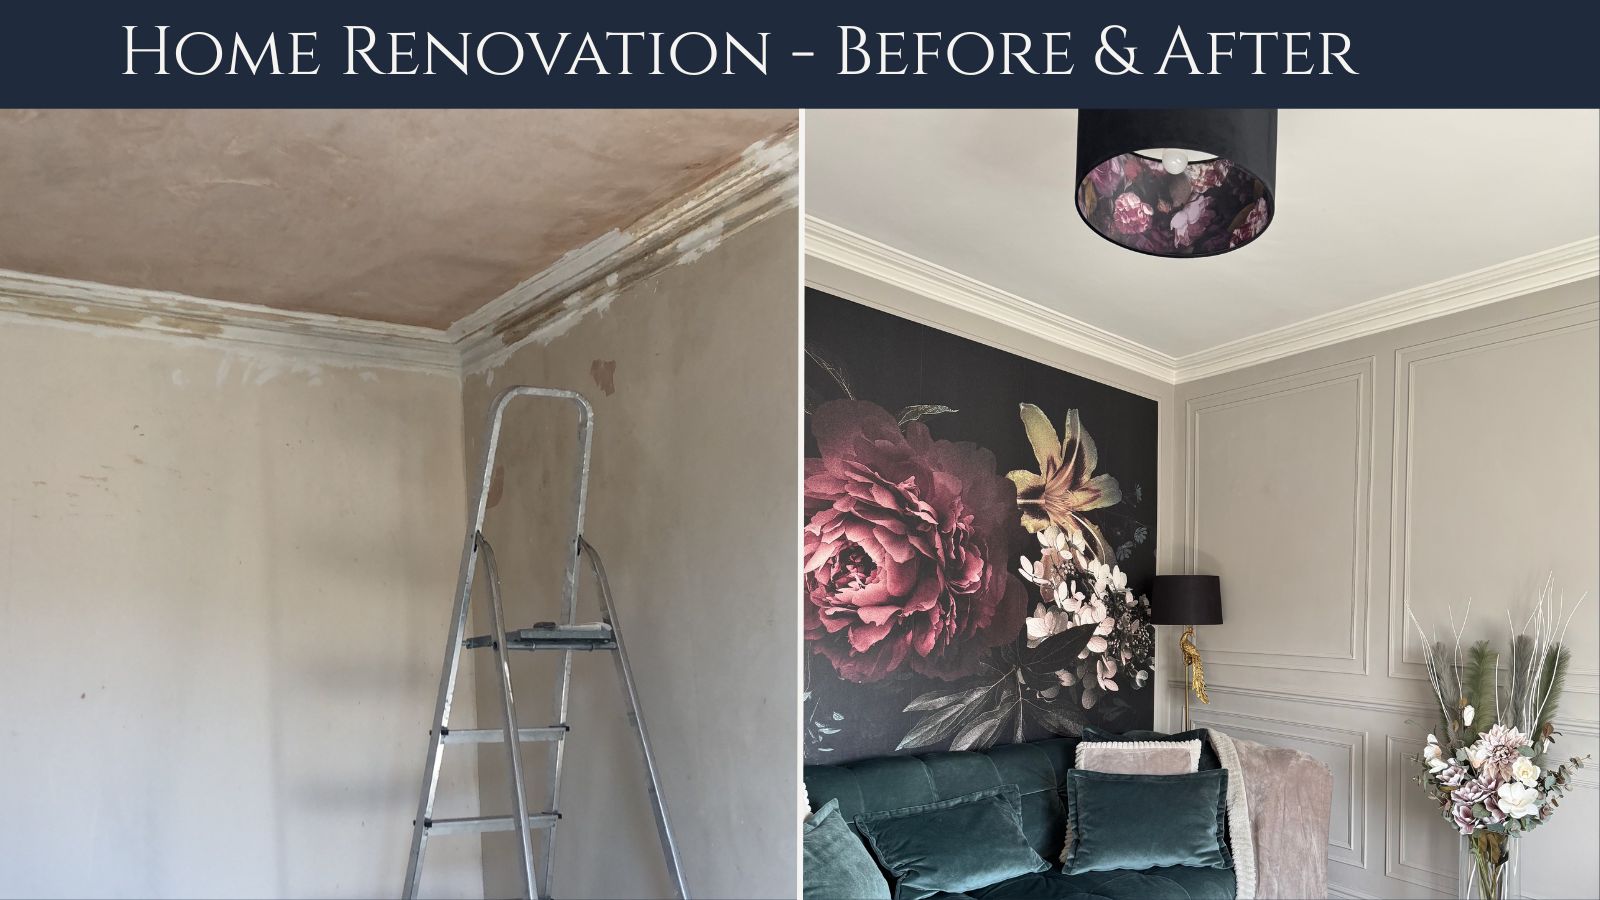
Welcome To My Property Renovation Journey
Hi there, and welcome to my latest home renovation journey. It’s finally complete! I’m so excited to share the transformation with you – along with plenty of real-life before and after photos from every room.
I’m that (slightly crazy) person who once said, “I love old properties!” and “I’d love a doer-upper!”
Ha! Well, I did it – a Victorian upper villa built around 1900 – but would I do it again? Hmmm……..I’m still thinking about that one.
Back in early 2020, I’d just sold my previous home and planned to take my time finding the next one. But then the world turned upside down, and what was supposed to be a temporary stop-gap, turned into a two-year pit stop. Whilst property prices were skyrocketing across the UK and buyers were bidding insane amounts of money, I managed to find something that needed a whole lot of TLC…..and then some!
There’ll be a series of blog posts sharing my home renovation journey in more detail with lots more before and after photos, but here’s a general overview of what I thought would be a few months of work which turned into a two-year DIY marathon. Turns out weekend DIY is not quite so fun when it’s nearly every single weekend 😥
This post may contain affiliate links. This means if you click and buy I may receive a small commission with no cost to yourself. Please see my full disclosure policy for more details
Home Renovation Timeline
To anyone thinking of renovating a property or interested in the timeline of this project, I’ve added a timeline below. There were some weekends where I couldn’t face doing any work or scrolling through websites for items so it felt like the longest journey ever!…..but I got there eventually.
- August 2021 – Offer accepted on a Victorian upper villa property (c.1900)
- December 2021 – Moved in….finally 2 wks before Xmas, and the planning started
- May 2022 – Majority of windows replaced (unexpected expense)
- June 2022 – Main bedroom renovation started
- July 2022 – Bathroom renovation started
- August 2022 – Living room renovation started
- November 2022 – Hallway renovation started
- February 2023 – Entrance area renovation started
- March 2023 – Guest Bedroom/Office renovation started
- May 2023 – Kitchen renovation started
- November 2023 – Circled back to the Main Bedroom to make/install a wall-to-wall headboard
- December 2023 – Completed the renovation and finished all the finishing touches
I would’ve loved to have shared this process in real-time over on my socials (btw – pop over and follow me if you want to see what’s coming next – Instagram, Facebook), but I was just too exhausted. I was probably exhausted for the full two years if I’m honest!
Hence, why I now only have the time to pull all the images, timelines (…..my sanity….) and all my notes on the scraps of paper.
Overall, the outcome was worth it. I love that I got to carry out some ideas that had been floating around for a while (my headboard – I’ll be doing a DIY blog for this soon).
I have renovated a property before, but only now I realise that was nothing compared to what this old Victorian upper villa took to renovate. Let me share with you my home renovation before and after photos. Remember to save this post to your Pinterest board if you want to keep it for inspiration. The Home Tour is here, incase you want to see extra photos.
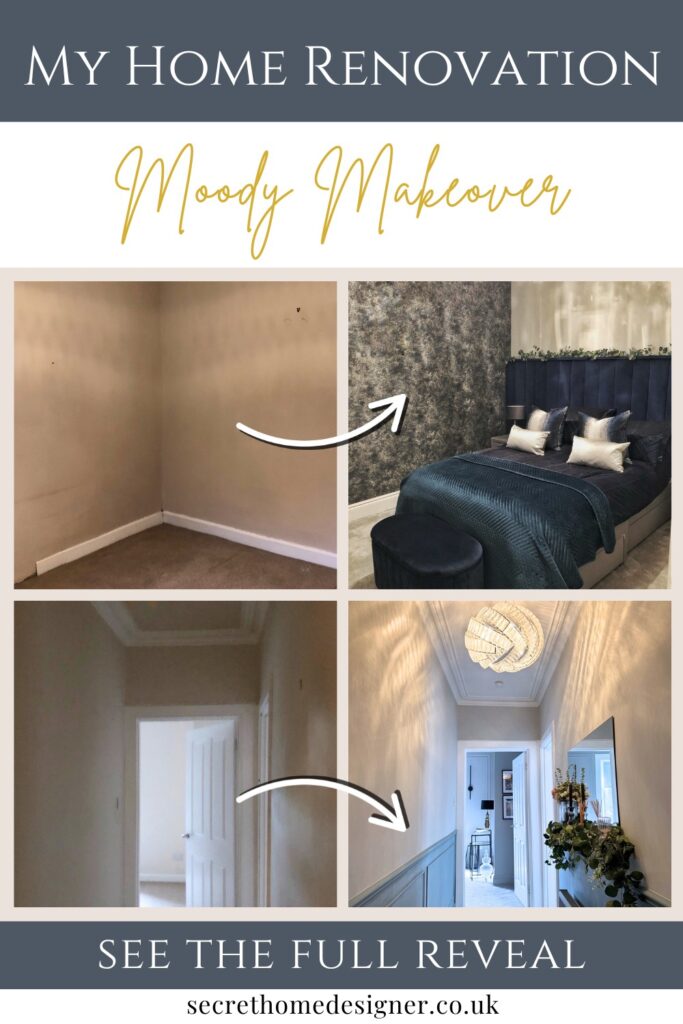
Master Bedroom Renovation
This room was the first to get started on its makeover. It really is amazing what the estate agent photos (and two viewings) don’t show. 😫 But, everything got gutted out. The bedroom got a new plastered ceiling, decorative coving, nicer skirtings boards that were appropriate for the ceiling height, carpet and everything else in between.
The bedroom was then decorated with soft grey paint, and the soft furnishings were navy and dark green tones. I added a navy and champagne textured wallpaper and tied the fluted wall-to-wall headboard with the fluted ottoman. It is such a dark, moody and cosy room.
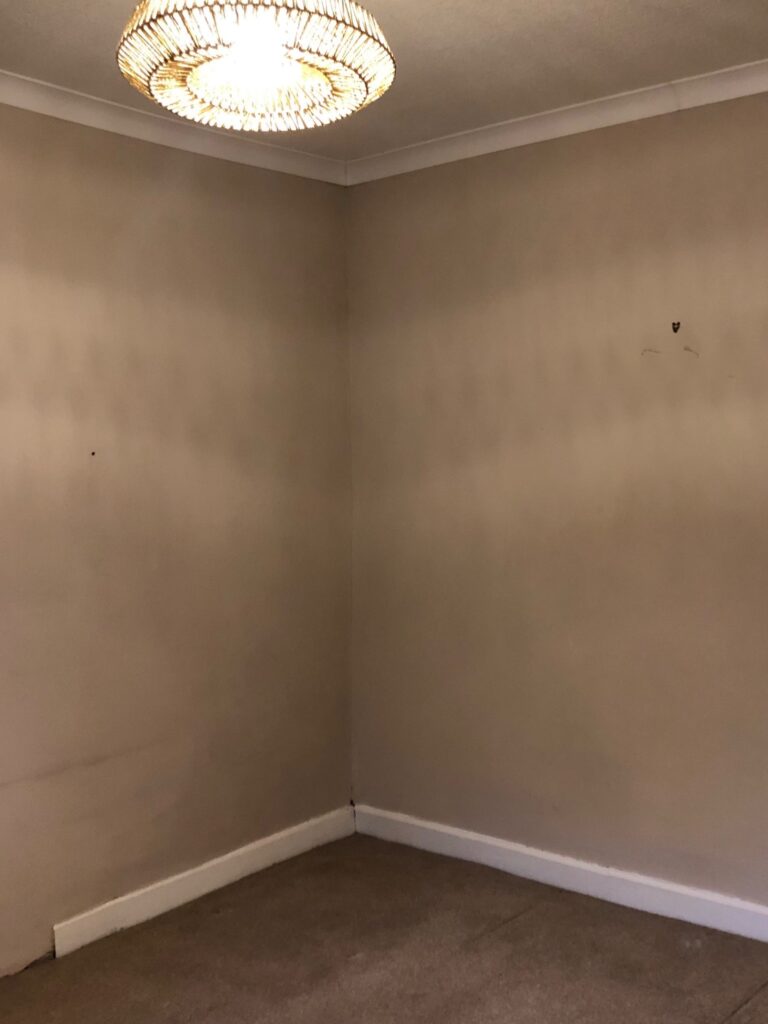
Before
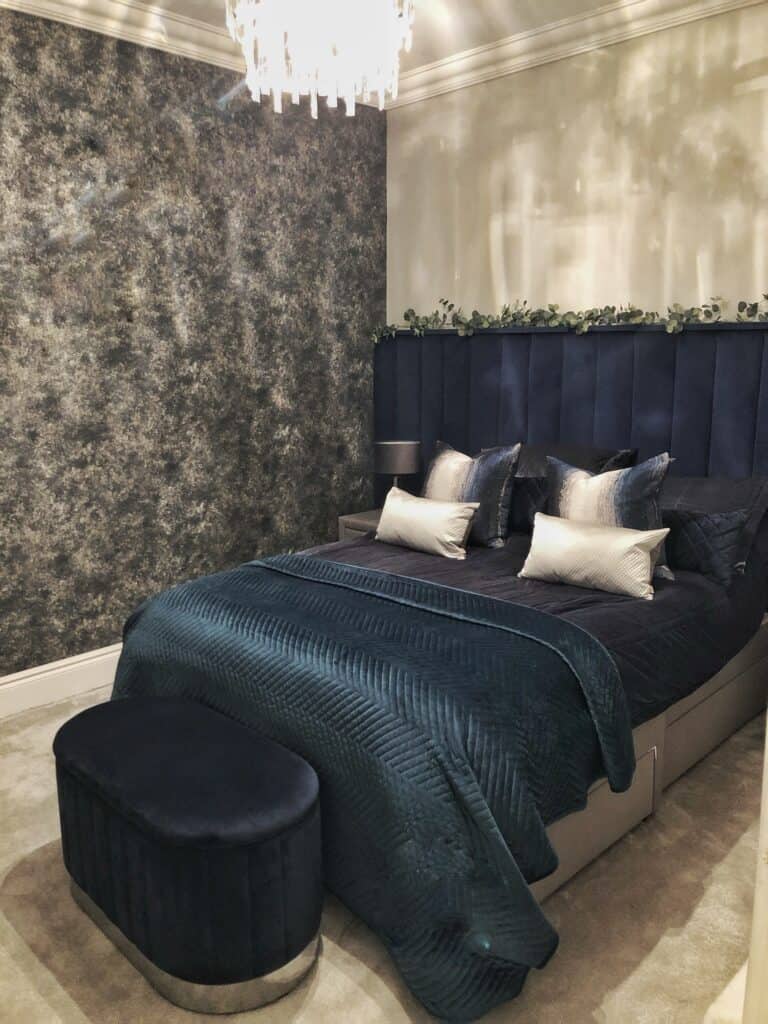
After
I will refrain from showing you behind the cupboard door below, before I took it off. Let’s just say move-in day was full of surprises!
Before – Move In Day
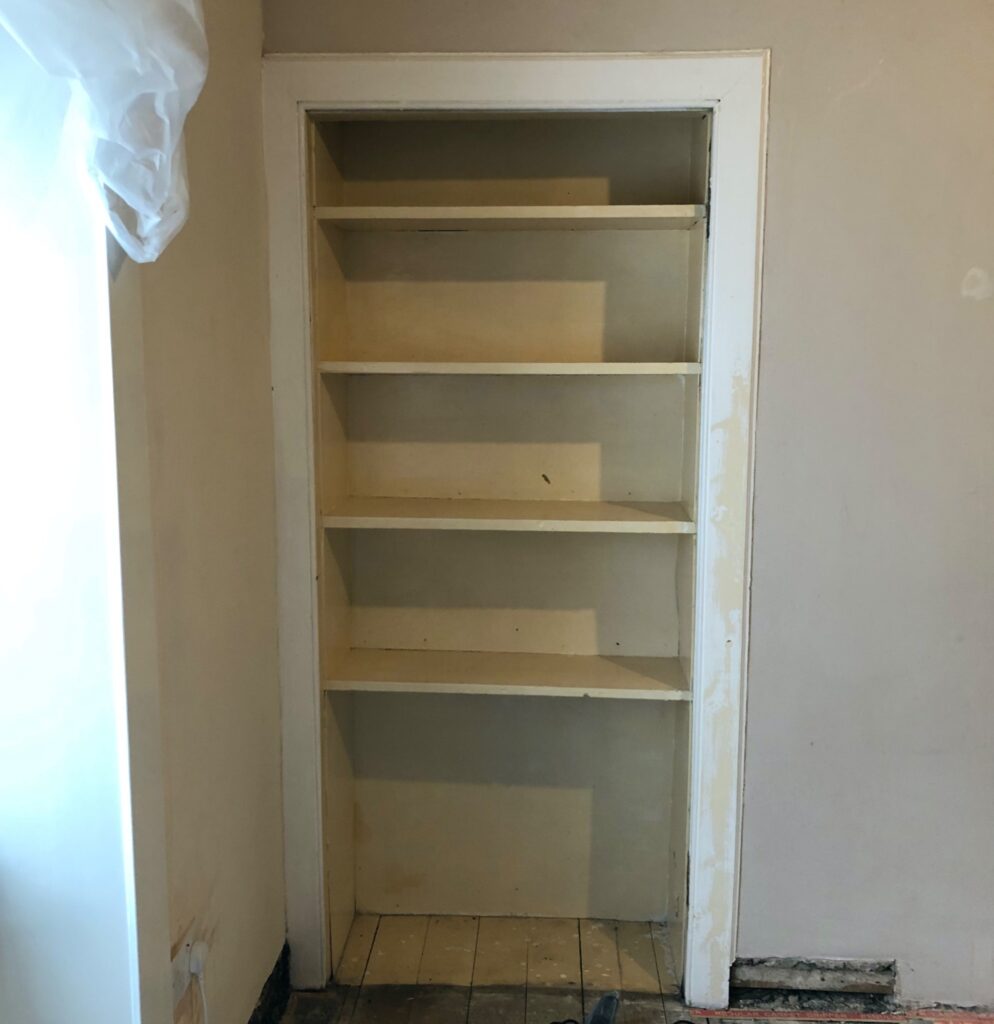
Before – Skirtings & Door Removed
After a lot of hard work, it was looking much better. With my main bedroom, I had so many ideas that it was really hard to make a decision. From memory, I’m sure it all started with the wallpaper and then developed from there. Once I visualised the headboard, I knew that was a must but I didn’t want both the headboard and the wallpaper on the same wall. It’s funny now when I look back over my bad sketches, all the ideas that were running through my head at the time. Also, with the pressure of it being the first room getting done – but I love the vibe of that room.
If you’re needing help deciding on paint colours, check out my paint posts or head to Dulux or Farrow & Ball for ideas.
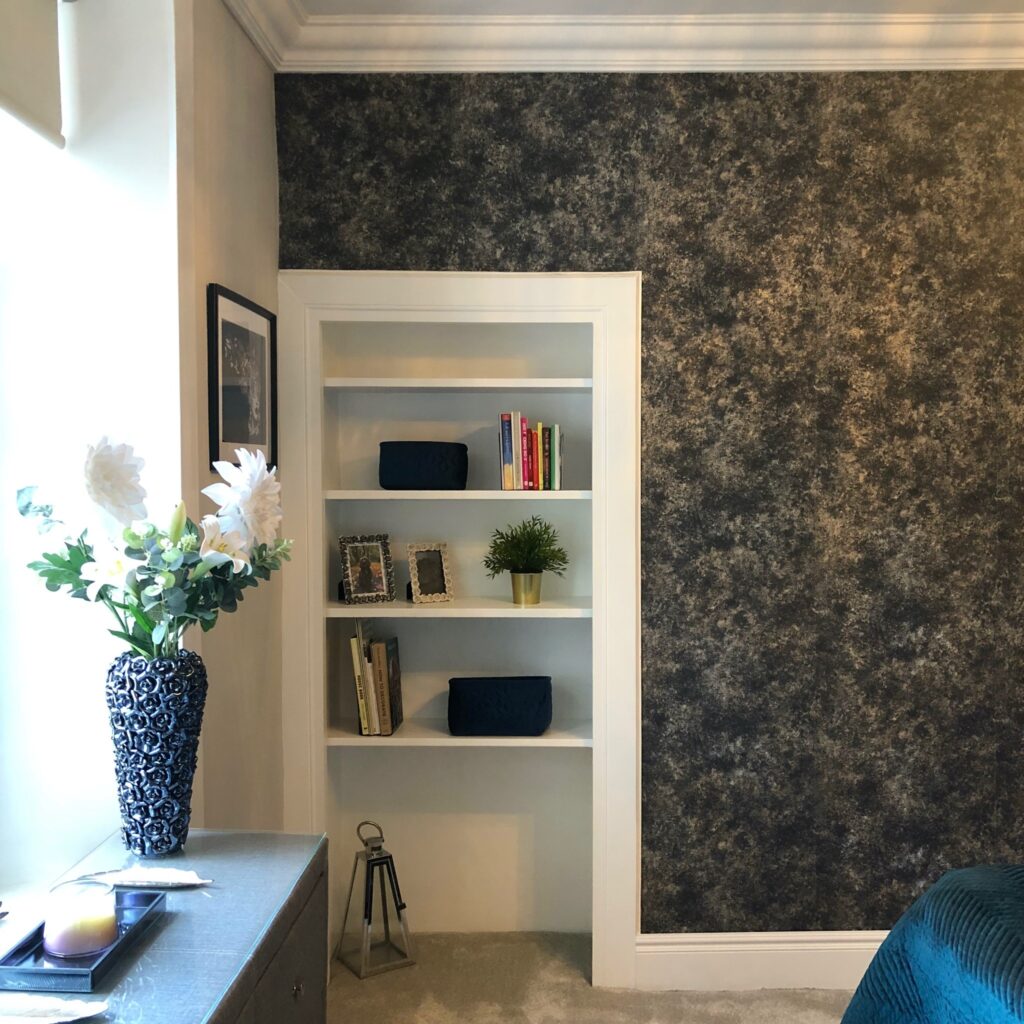
After
If you want to dive deeper into the main bedroom renovation, then check out the full renovation post here.
Bathroom Renovation
Oh this bathroom……😱 Let’s just say it required a full rip out asap. I don’t think you can tell from the photos, but this room was a strange shape due to the angle of the exterior wall. But once the renovation and the finishing touches were added, I absolutely loved it!
I used small mirrored tiles for one full wall above the panelling. Added lighting inside the vanity area, which it didn’t have before. I was determined to get a bath to fit and luckily managed to source a space-saving bath which has a slight angle, and it fitted perfectly. (I’ll be writing individual room blog posts where I go into more of the renovation details – you’ll see how I came to love a cardboard cut-out!)
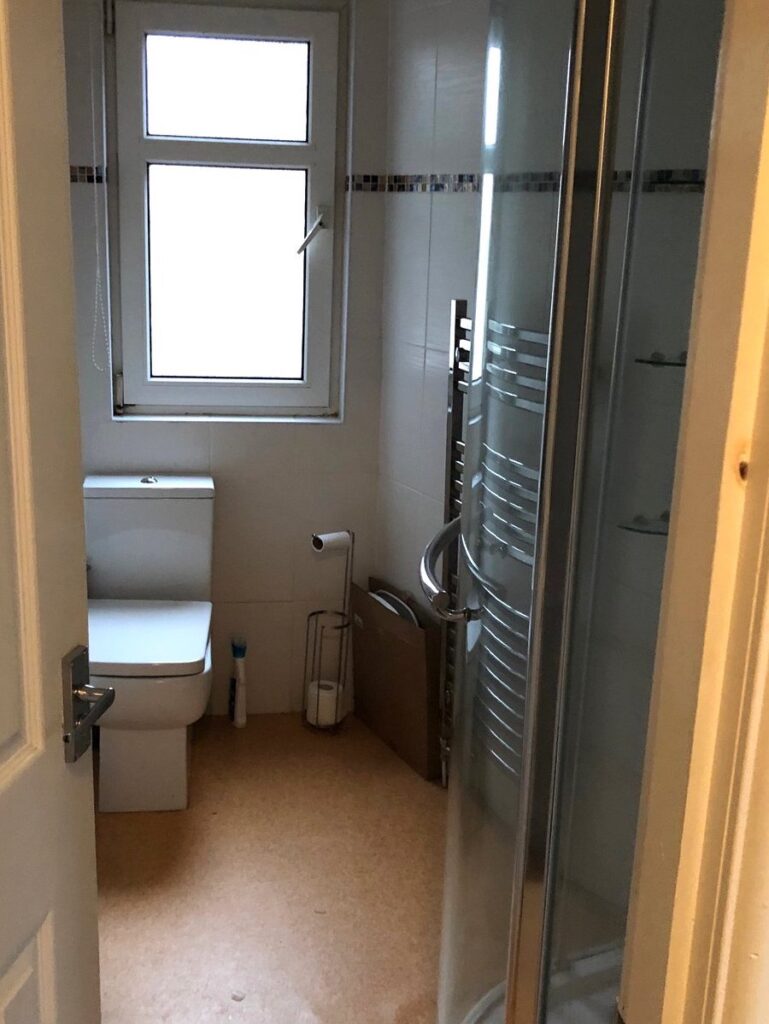
Before- (the toilet of nightmares!)
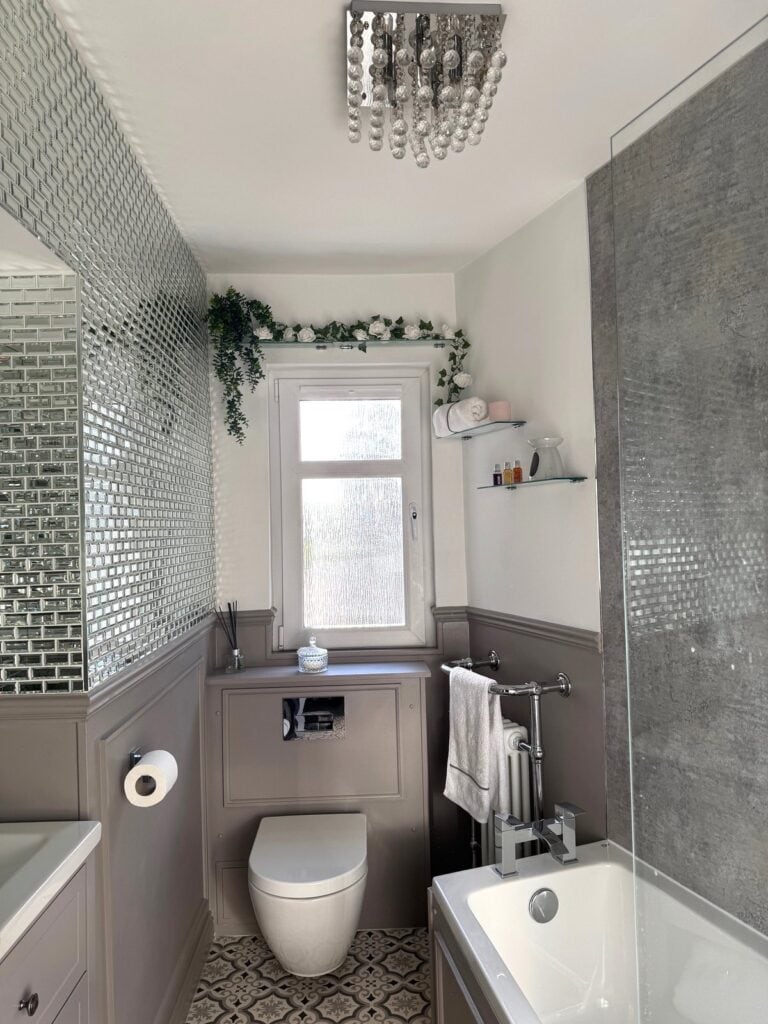
After
I absolutely love the bathroom. It was a quirky shape and a challenge every step of the way but for me, it was a glam, relaxing space perfect for candles, wine and some Netflix.
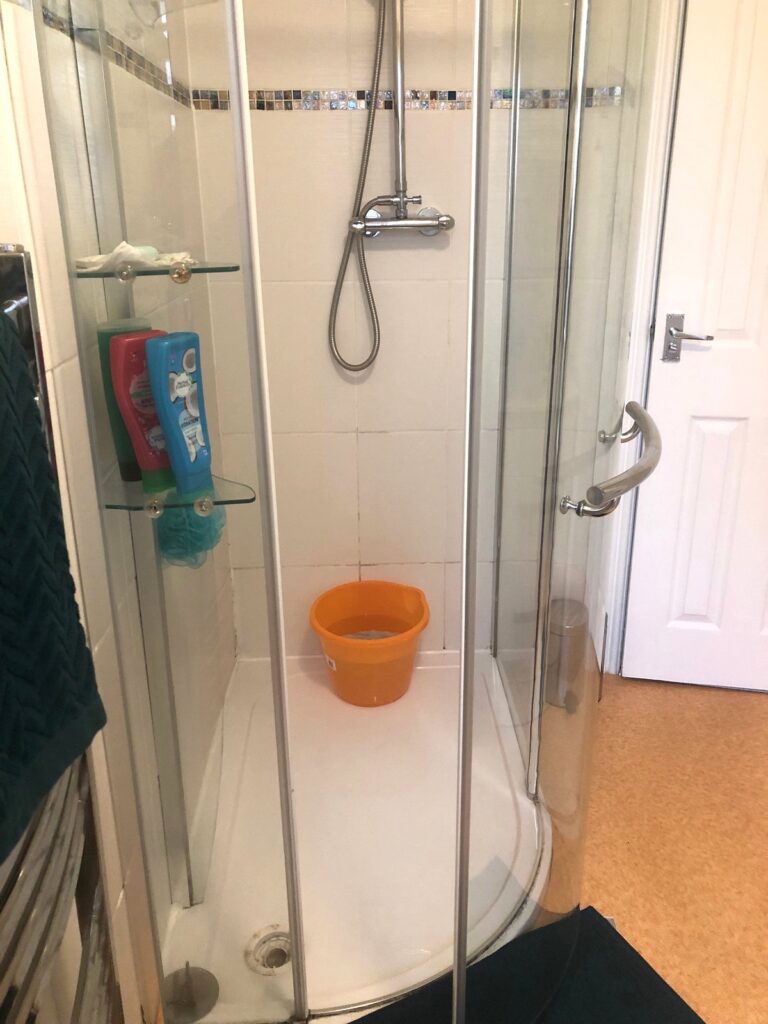
Before – (more nightmares!)
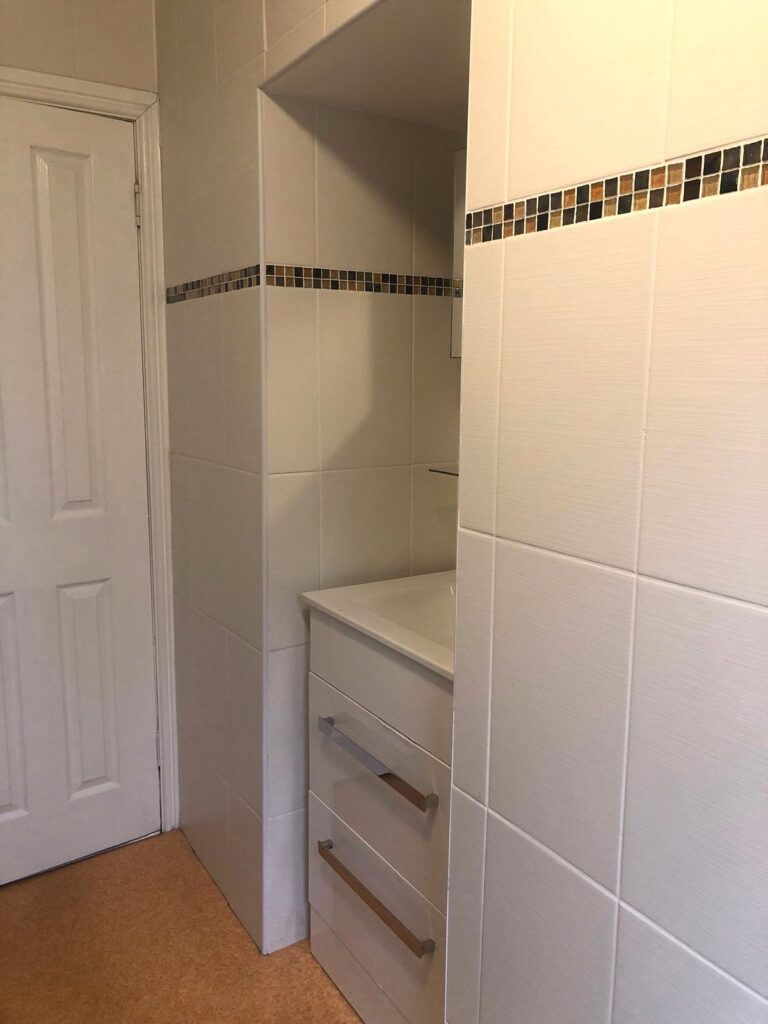
Before
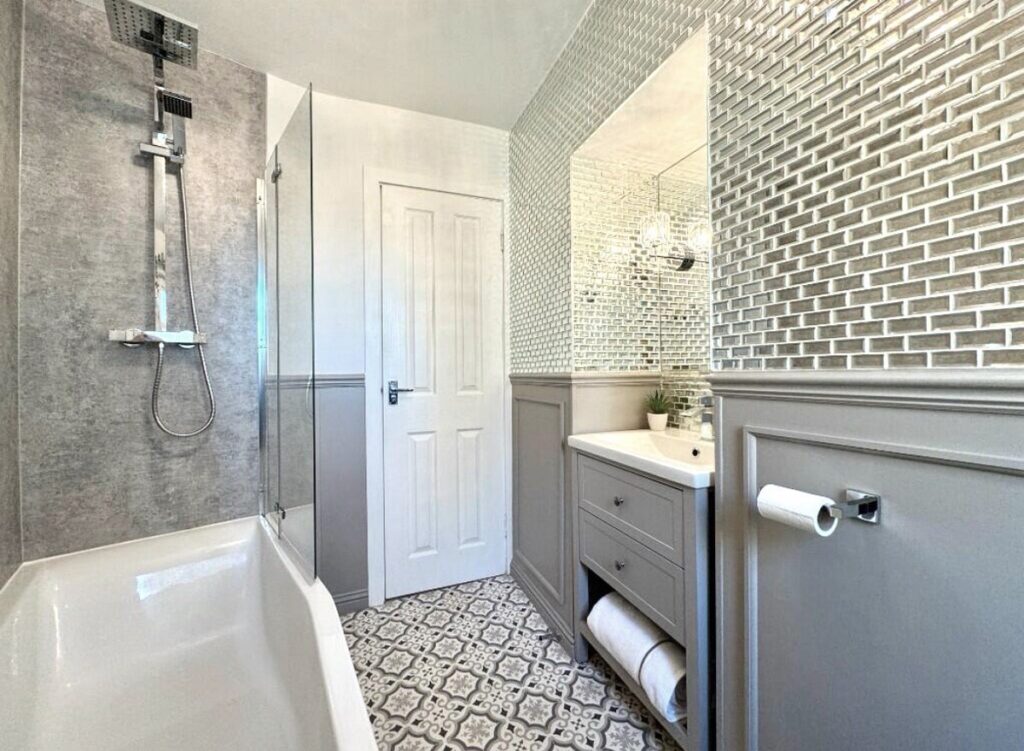
After – Image by Lindsey Archibald Estate Agents
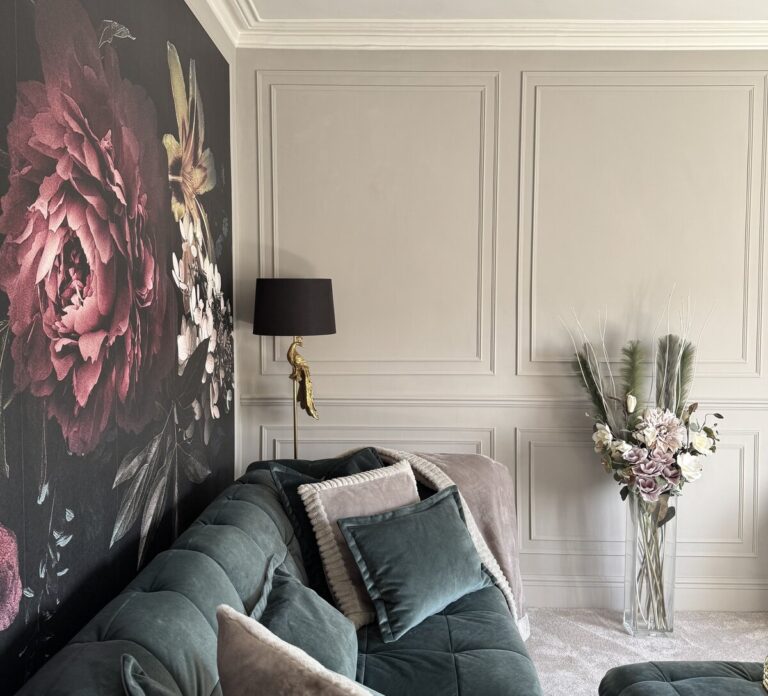
Living Room Renovation
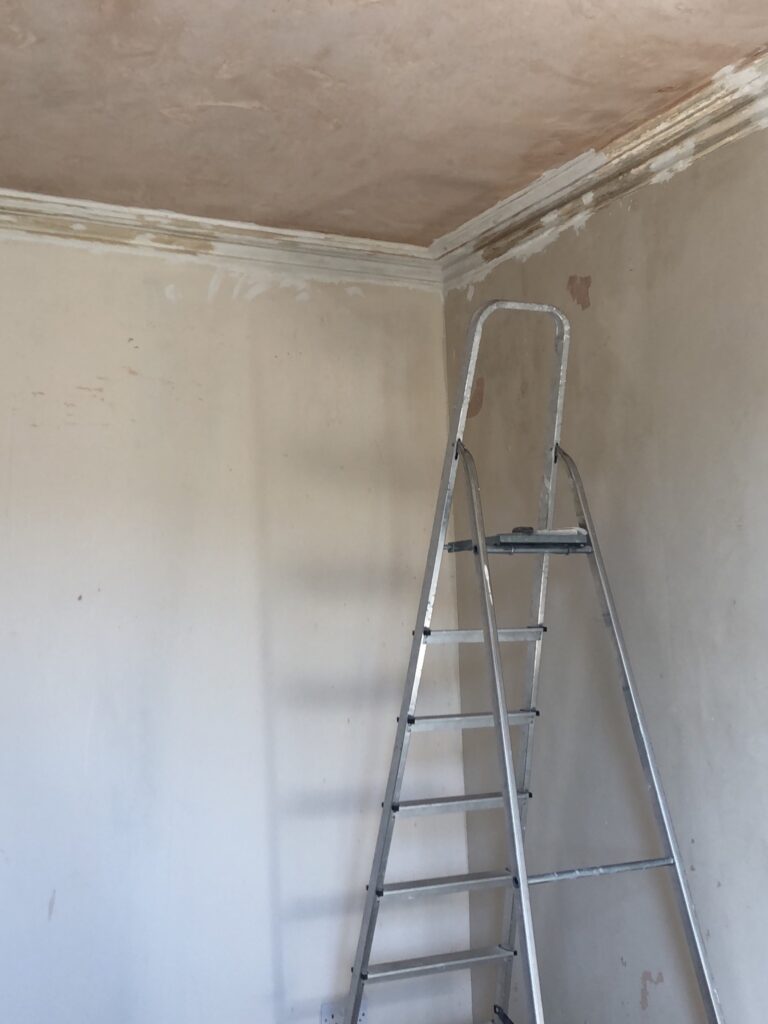
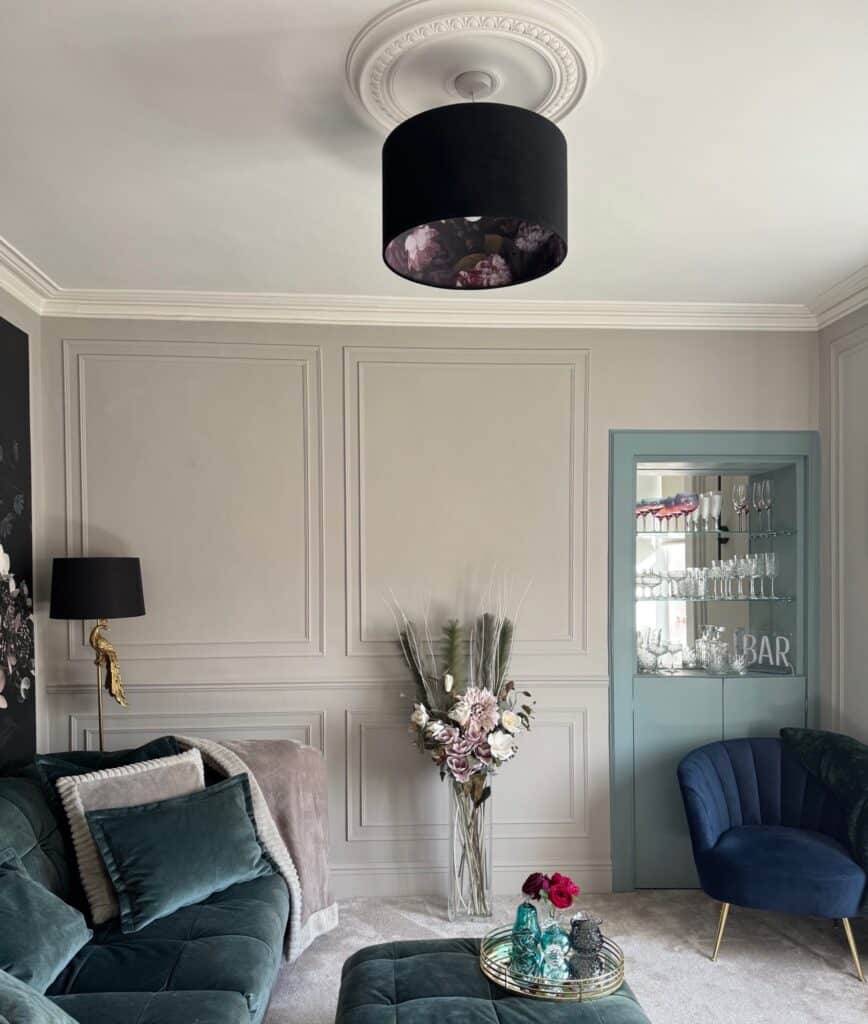
The living room ended up being my favourite room of the property. It needed a new plastered ceiling (the wallpaper on the ceiling practically fell off), original coving restored, new skirting boards, carpet and a new window. This room wasn’t intended to look like this. I visualised a metallic/textured wallpaper, but once I saw this floral mural wallpaper, I was in love! And everything flowed from there.
Before – mid reno
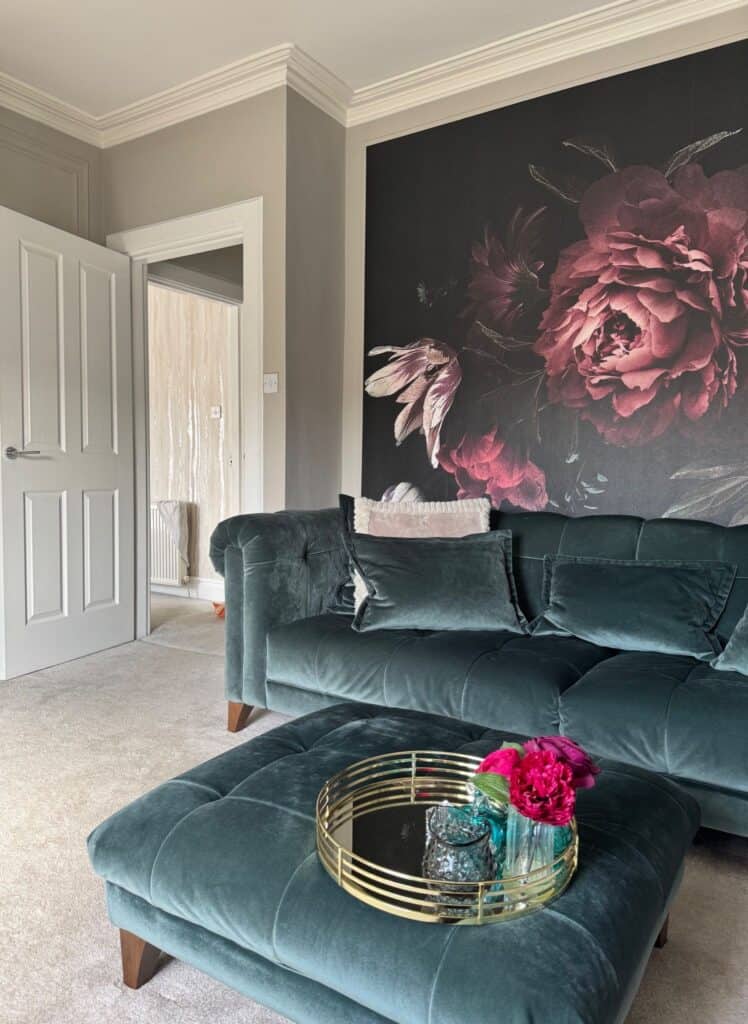
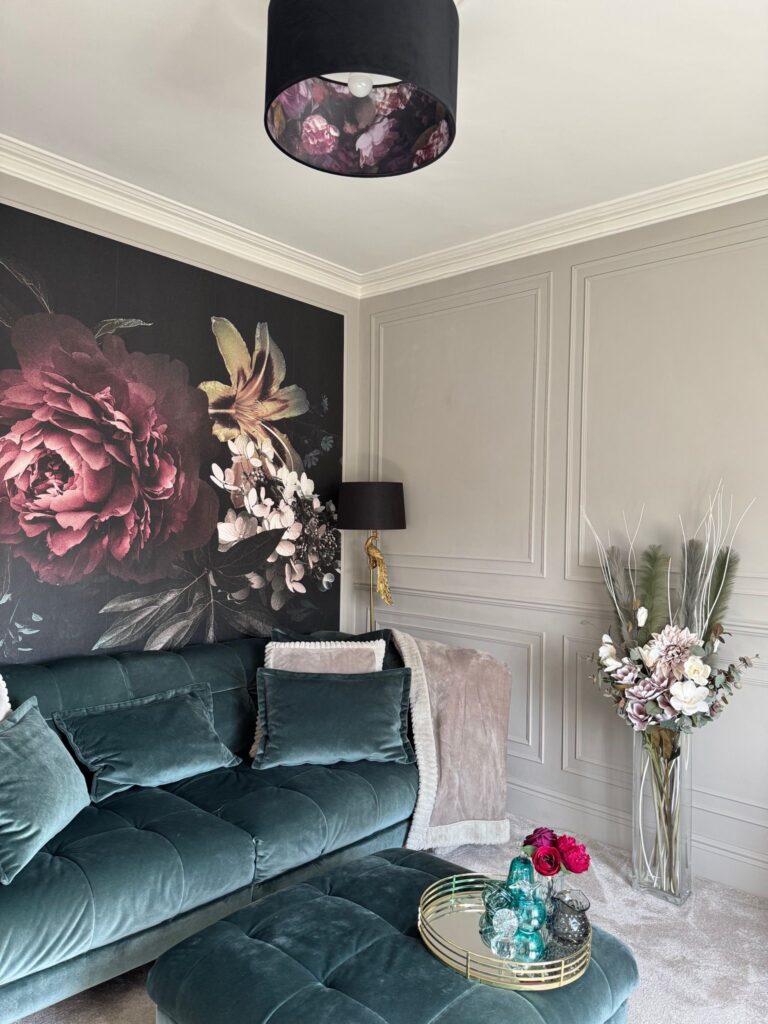
After
The coving was original and looking pretty bad. I’ll share in more details over on the individual room posts, but fixing it probably took up half the time of the whole room renovation.
The paint colour I chose – Purbeck Stone by Farrow & Ball – definitely caused a few panics, thinking that it would be too dark, as I was colour-drenching all the walls and skirting boards. But once the wall panelling, walls and skirtings were finished, everything lightened up perfectly and was a fantastic choice to create a warm and cosy room, day or night.
Before
After
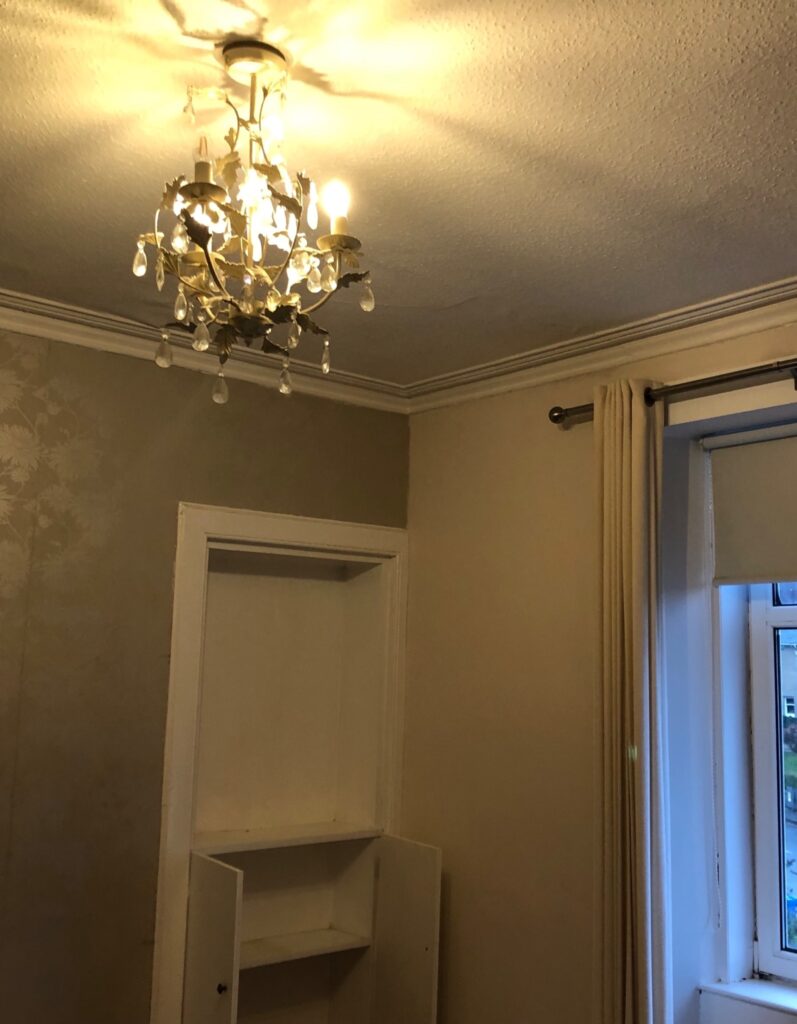
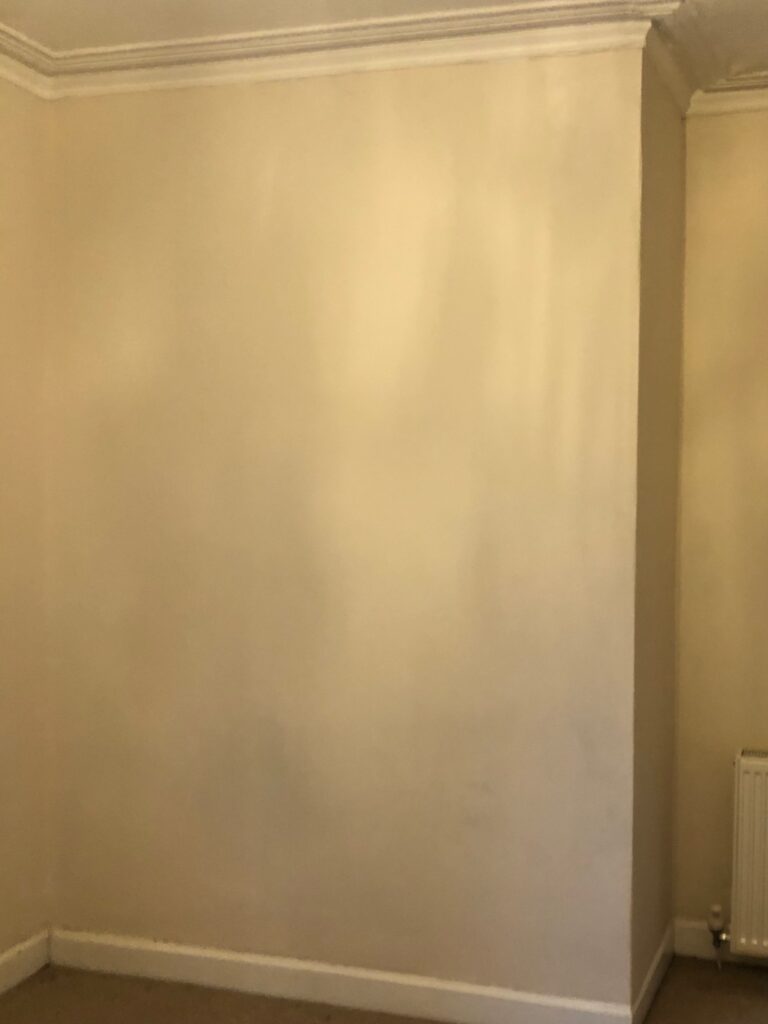
There was a large wardrobe against this wall when I was viewing the property, so the peeling wallpaper was definitely out of sight and another surprise on move-in day. I knew I wanted wall panelling in the property, but – me being me – I didn’t want it to be the same style I’d already seen trending on Instagram (circa. 2022).
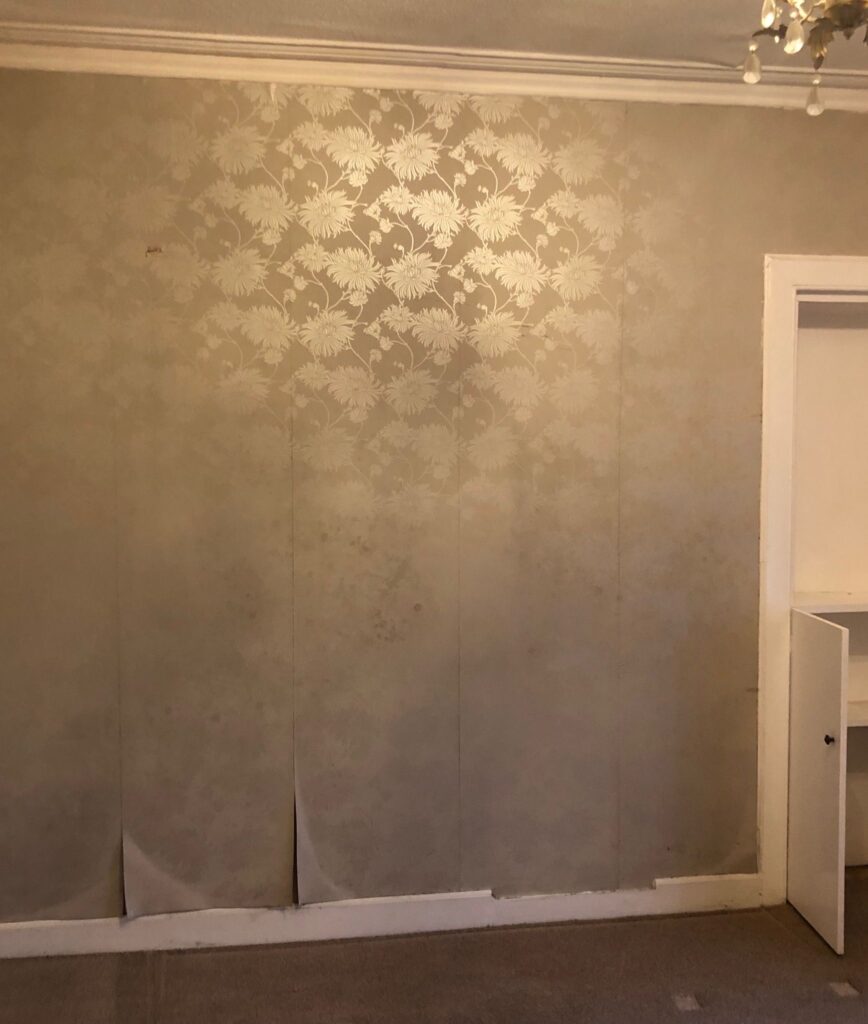
Before
After
I came across an image of a bar area and instantly fell in love with the colour, Oval Room Blue by Farrow & Ball. Pulling all my ideas together was definitely a challenge, but surprisingly, some combinations that shouldn’t have worked actually did once everything came together in the space.
Before
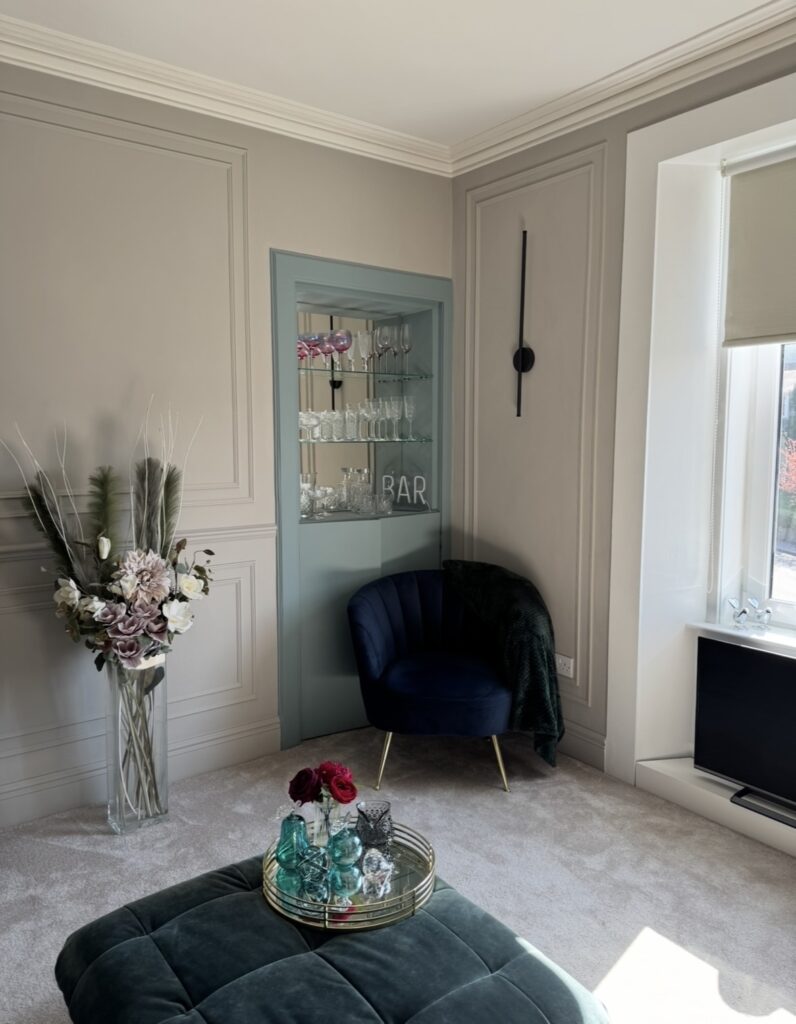
After
I used wall panelling throughout the living room (and other areas), and I still absolutely love it! There was so many twists and turns with the living room renovation. For example, I had silver furniture packed away in storage but I knew it just wasn’t what I wanted, I tried it but it was just a no. I then bought a gold console table (above) but again it just wasn’t right. I just didn’t want to like black! (This was way before black was as popular as it is now) But, I kept getting drawn to it, so the console table got spray painted and before I knew it the full property had accents of black!
Before
After
Guest Bedroom/Office Renovation
This room also had original coving which needed restoring, along with a new plastered ceiling, new skirting boards, carpet and a new window. This guest room/office is such a lovely bright space now, with a desk that can be tucked away when the sofa bed is required.
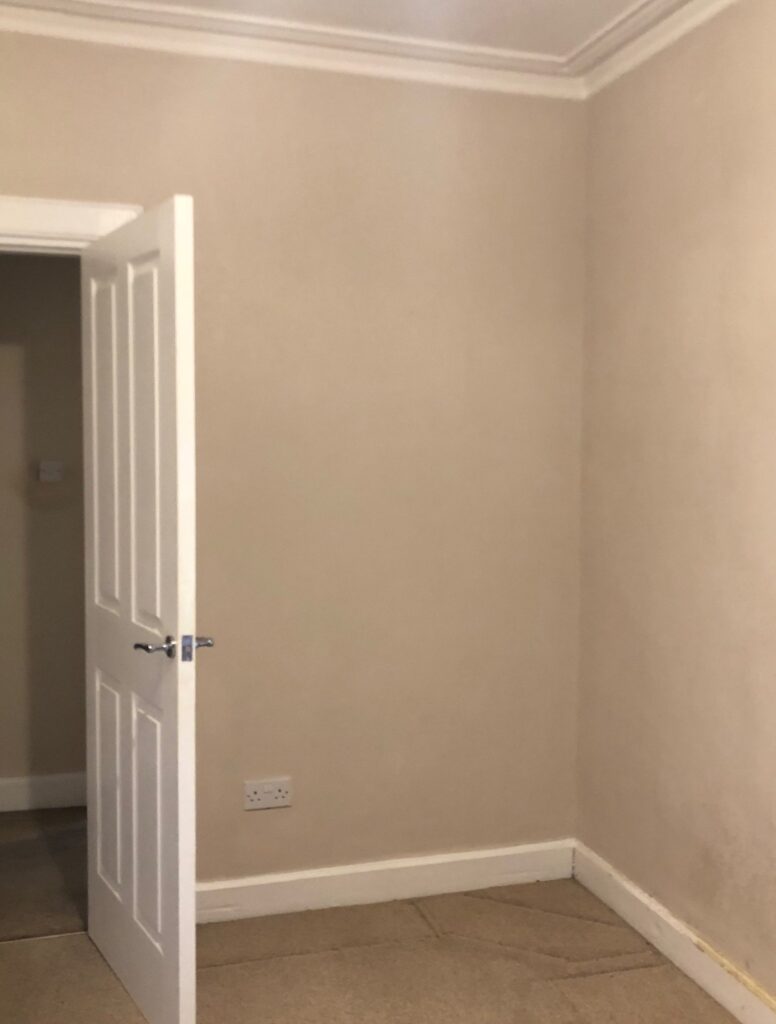
Before
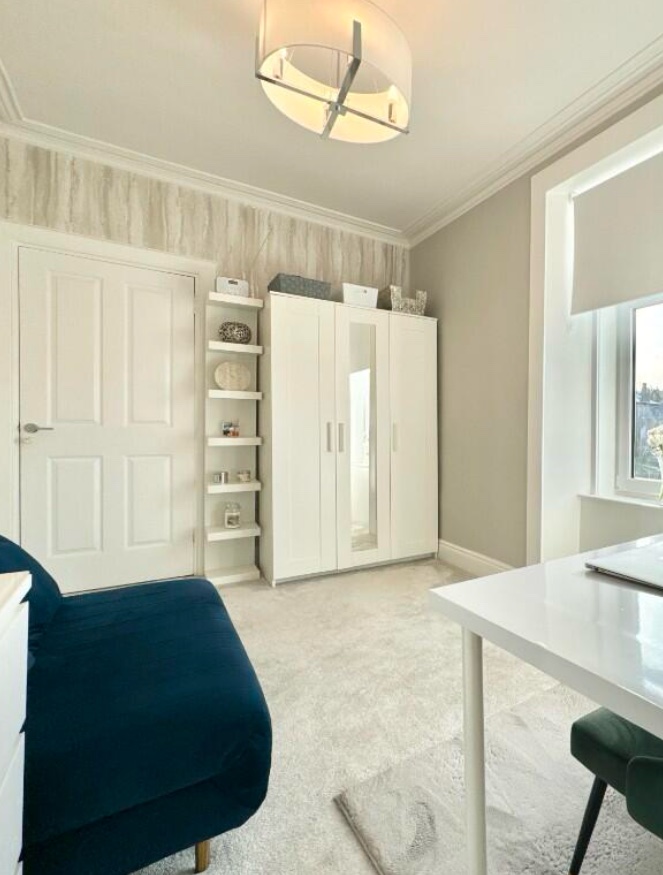
After – Image by Lindsey Archibald Estate Agents
The window surrounds in all the rooms were a feature by themselves that I didn’t want to cover up with curtains (even though I love fabric and already had swatches piled everywhere). A lot of wood filler, sanding paper and paint later – they were a great focal point in every room.
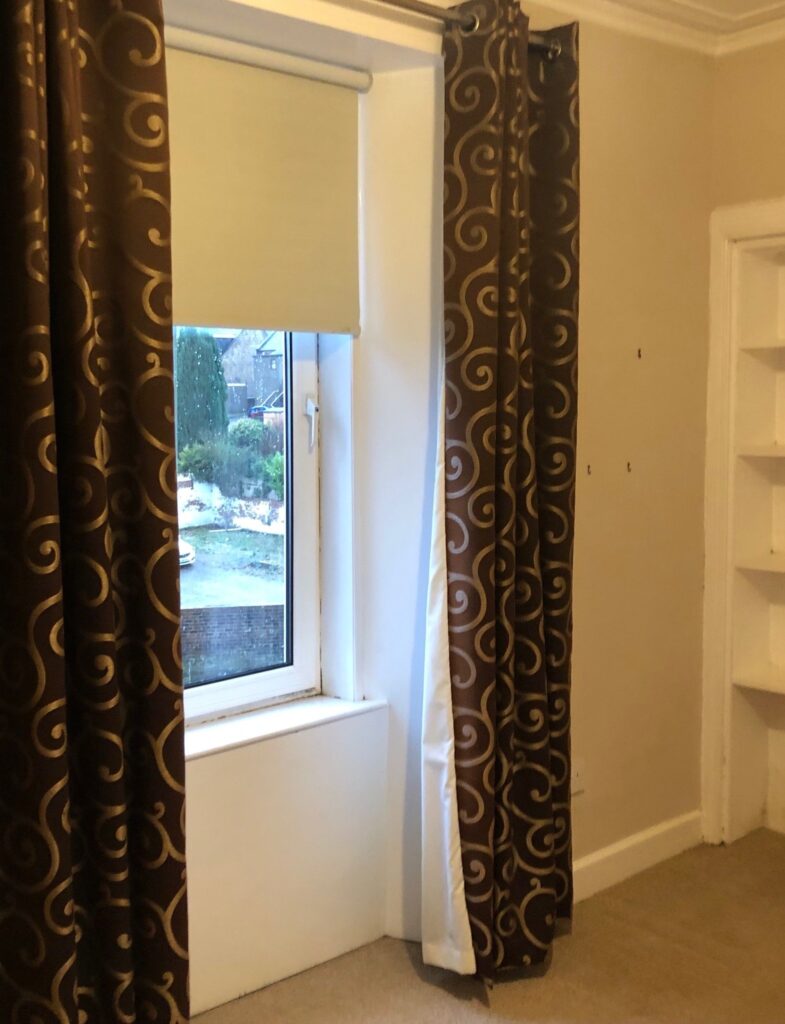
Before
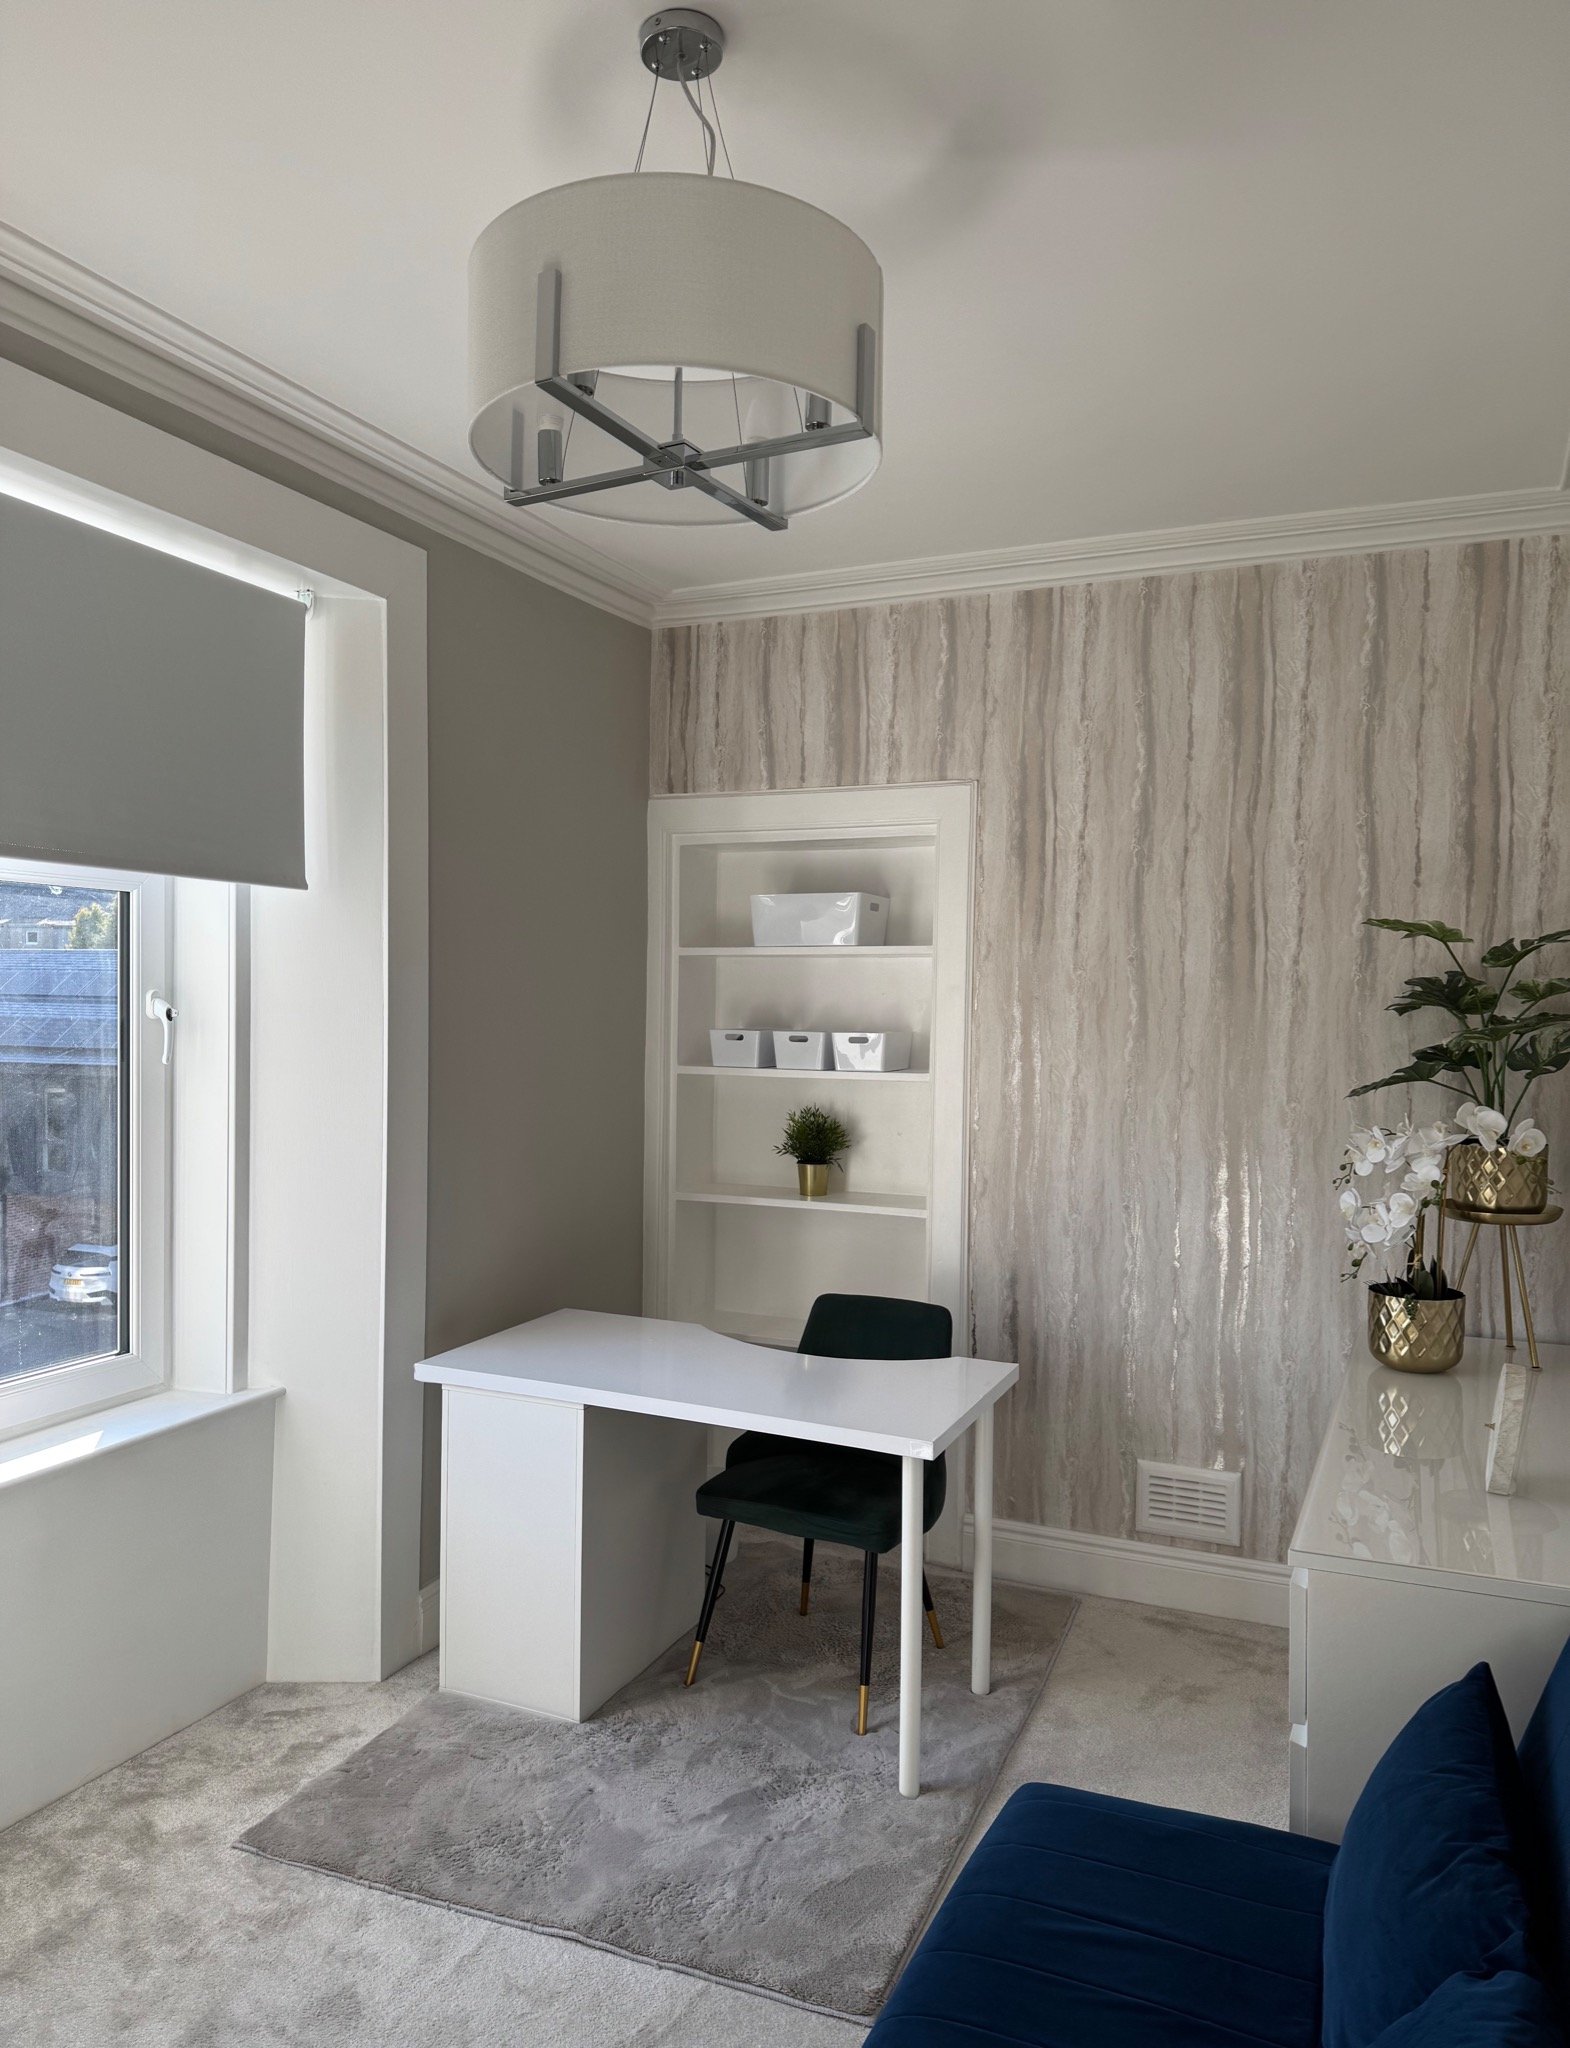
After
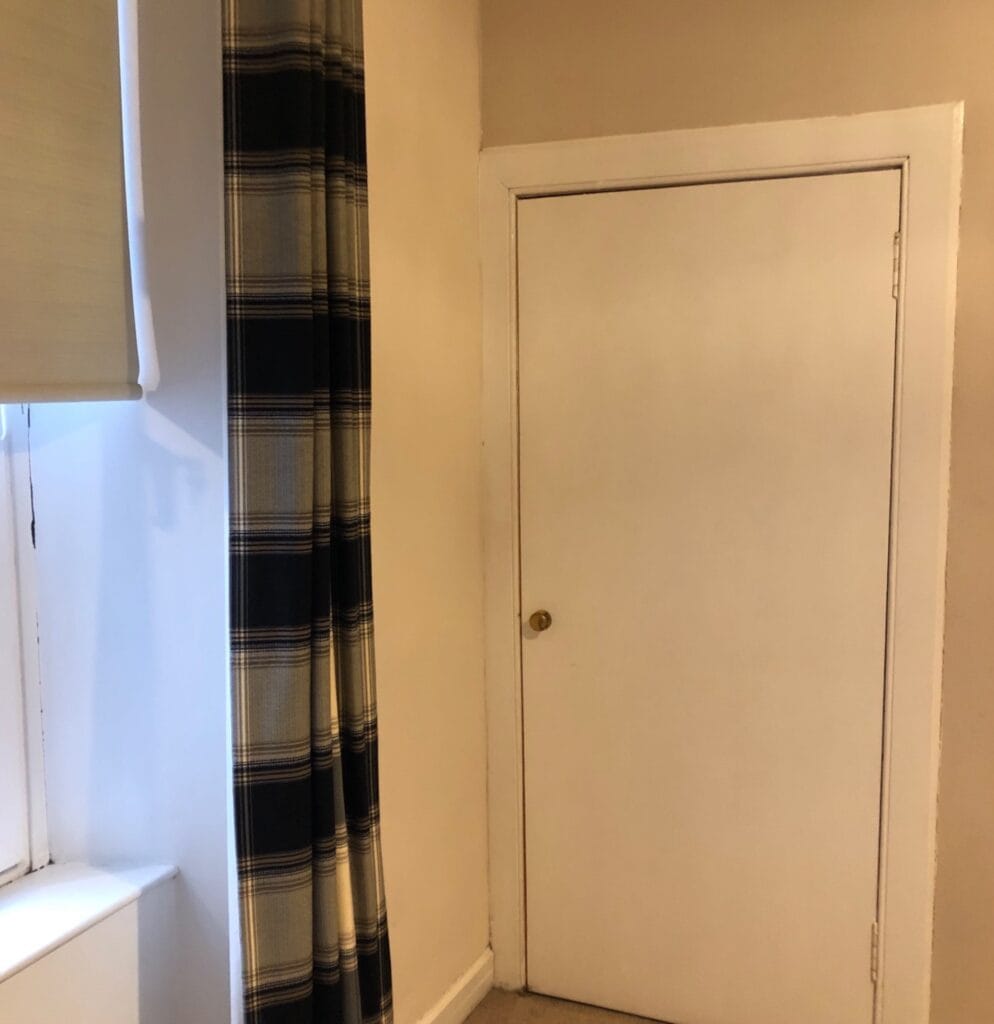
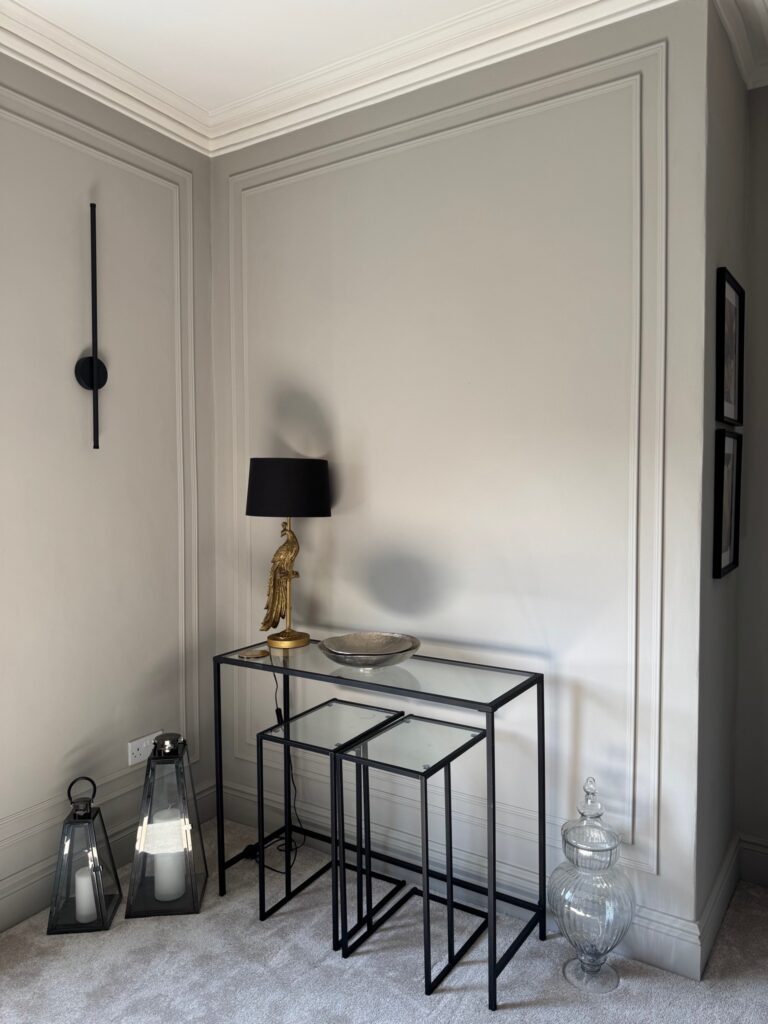
Entrance/Hallway Renovation
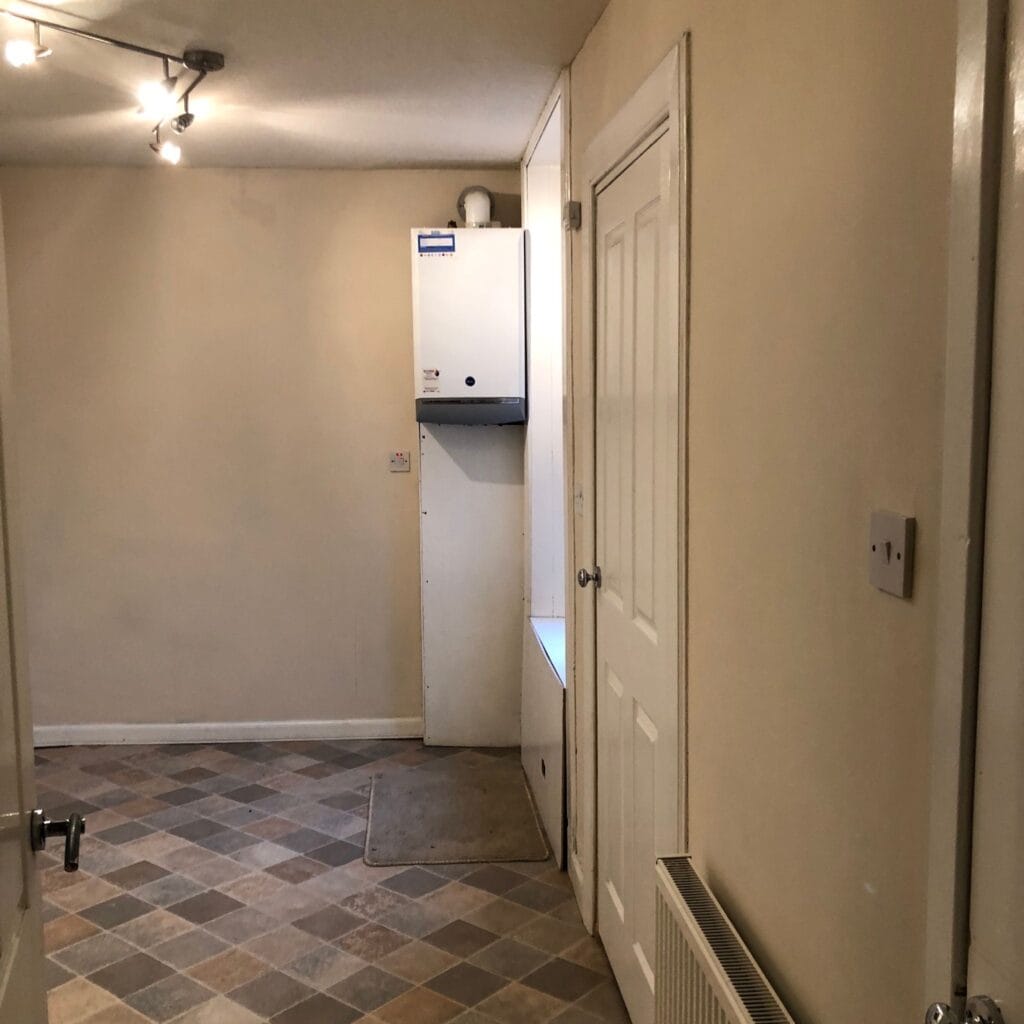
Well…….I can only laugh now. Clearly, no floor protection was used when the removers were in and out in the torrential rain the day before I got the keys! Leaves, dirt, just the welcome to your new home that you want!
I made the most of the small vestibule/entrance area by replacing the utility door with a frosted door to allow light through. This door was one of the last finishing touches I did, due to the slimness of the door it made it nearly impossible to find the size without paying a fortune……but I’m a determined gal! – and it does have a door knob now 😆
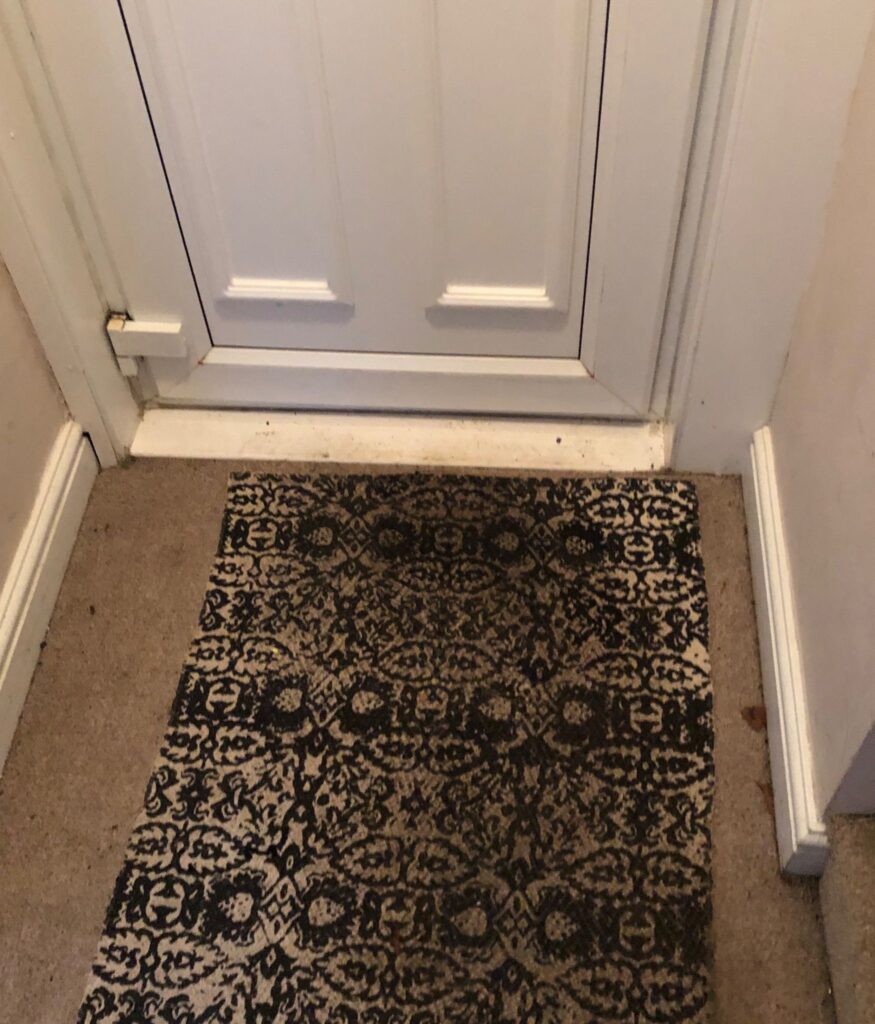
Before – move-in day
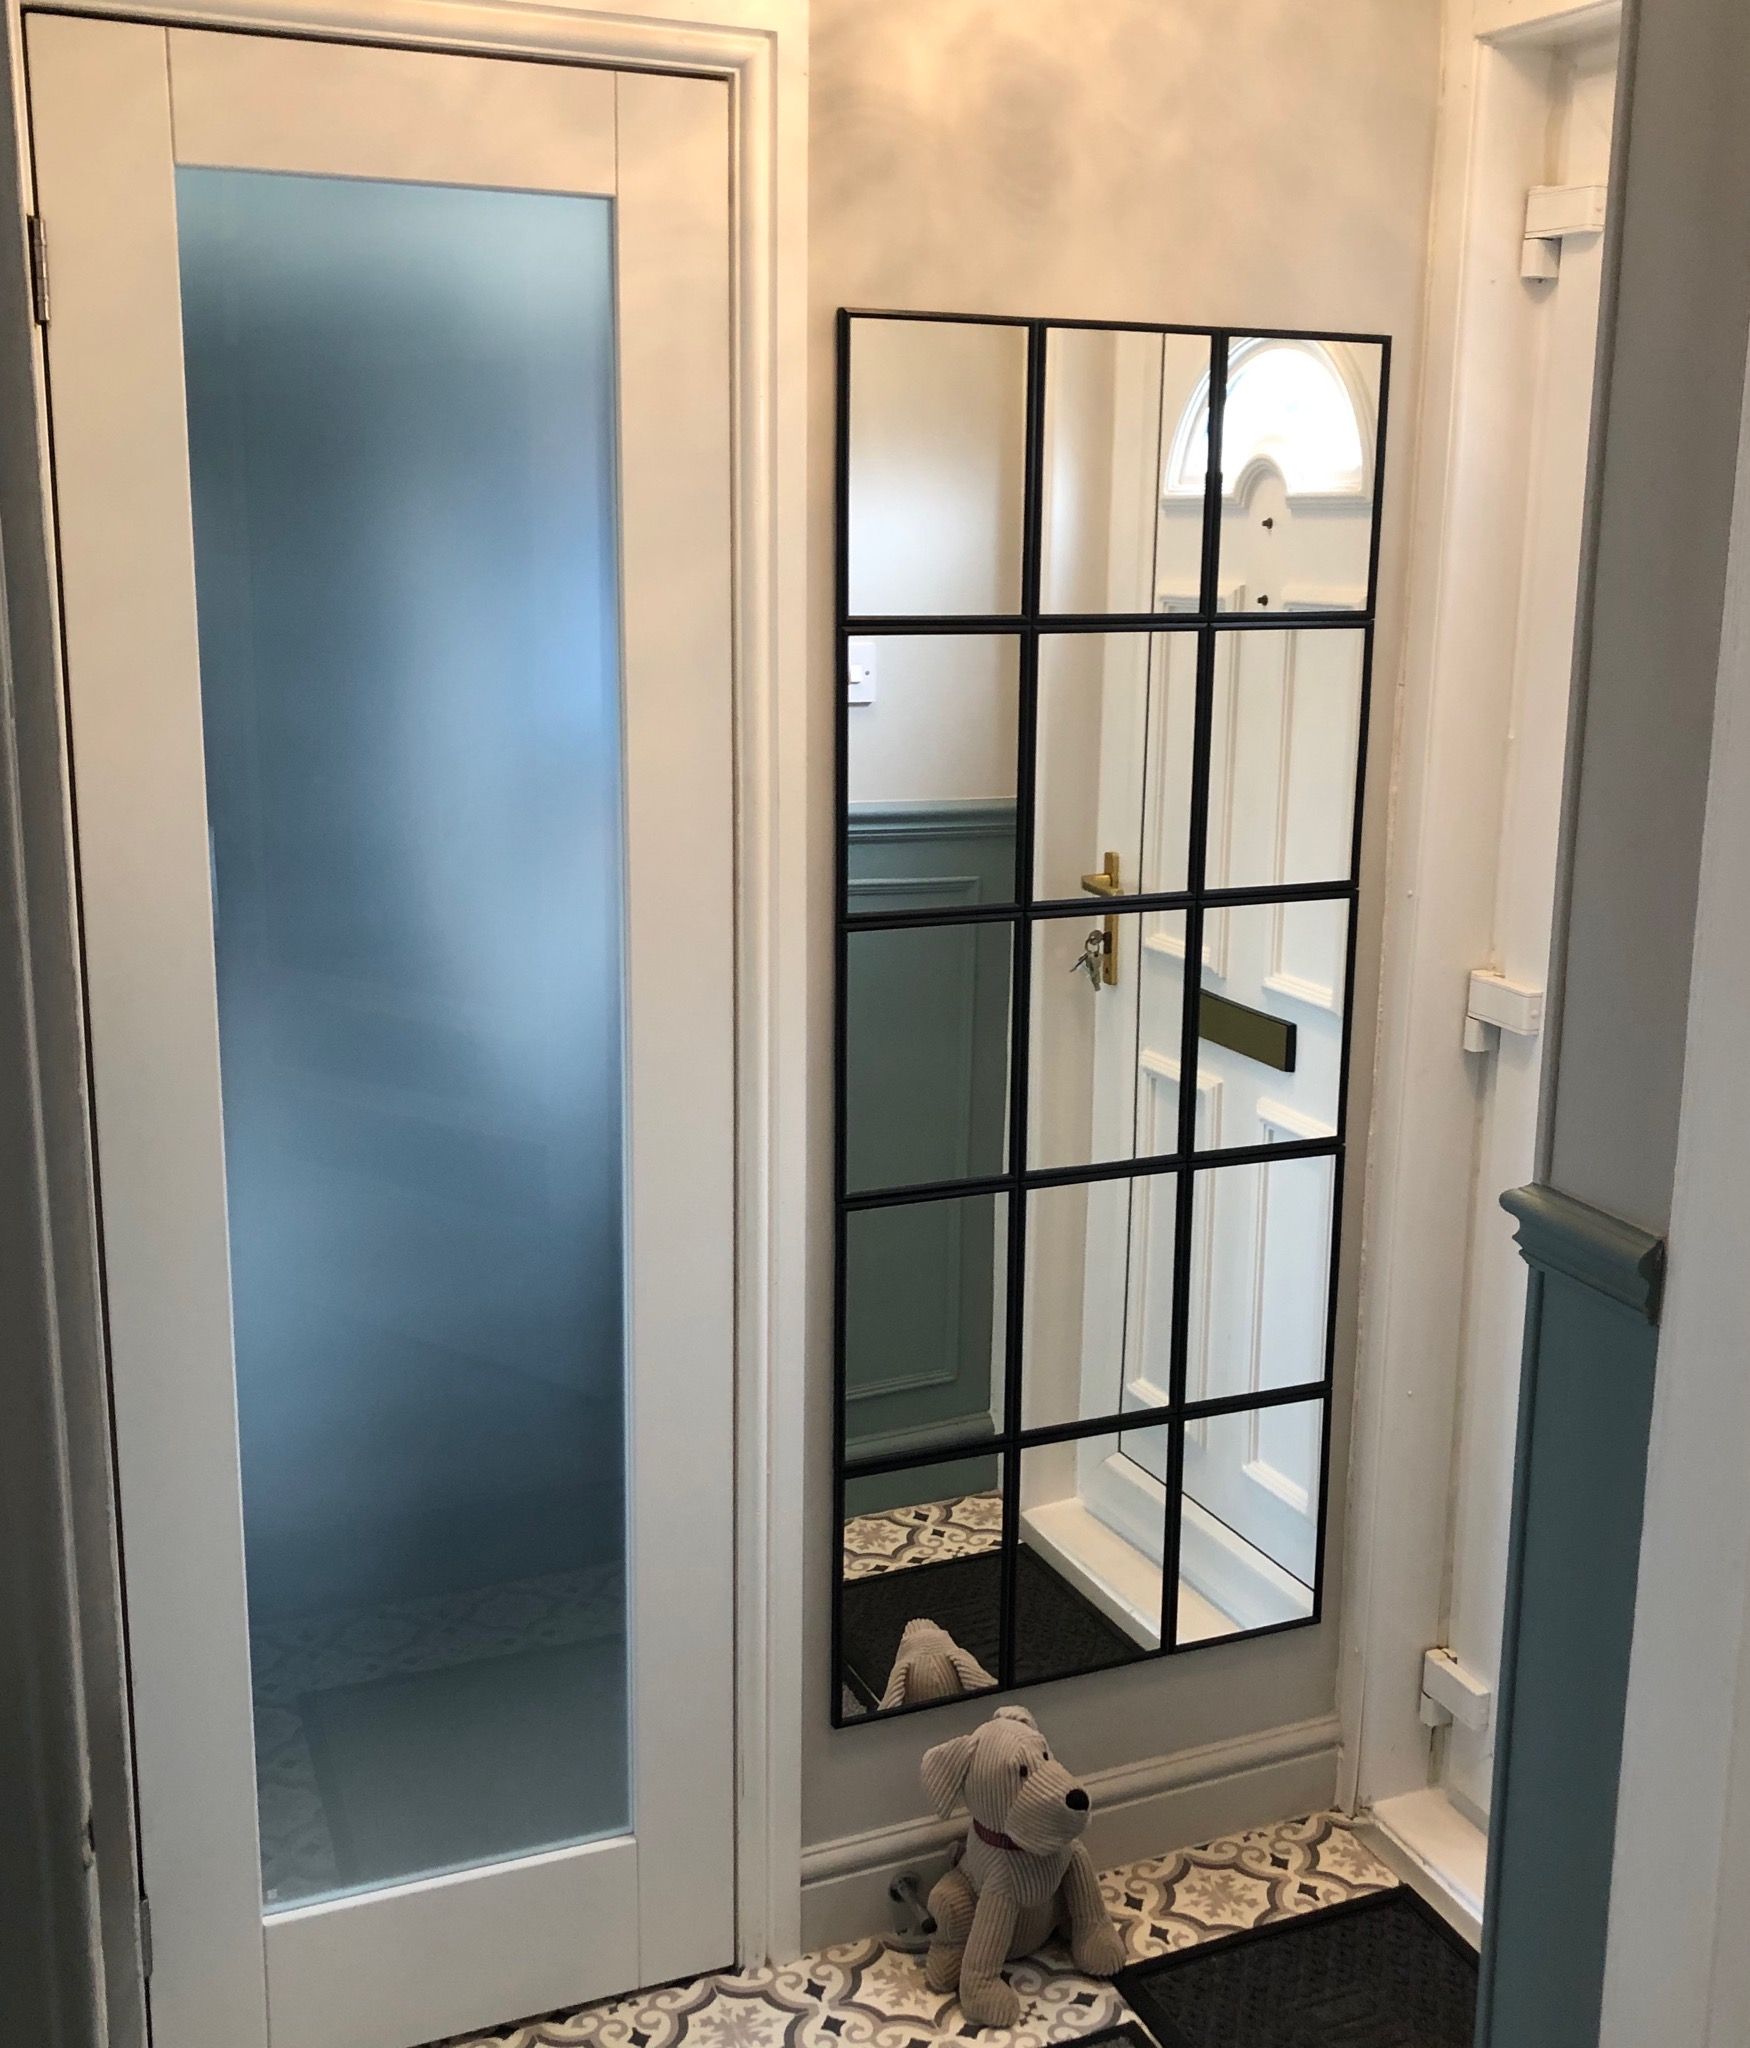
After
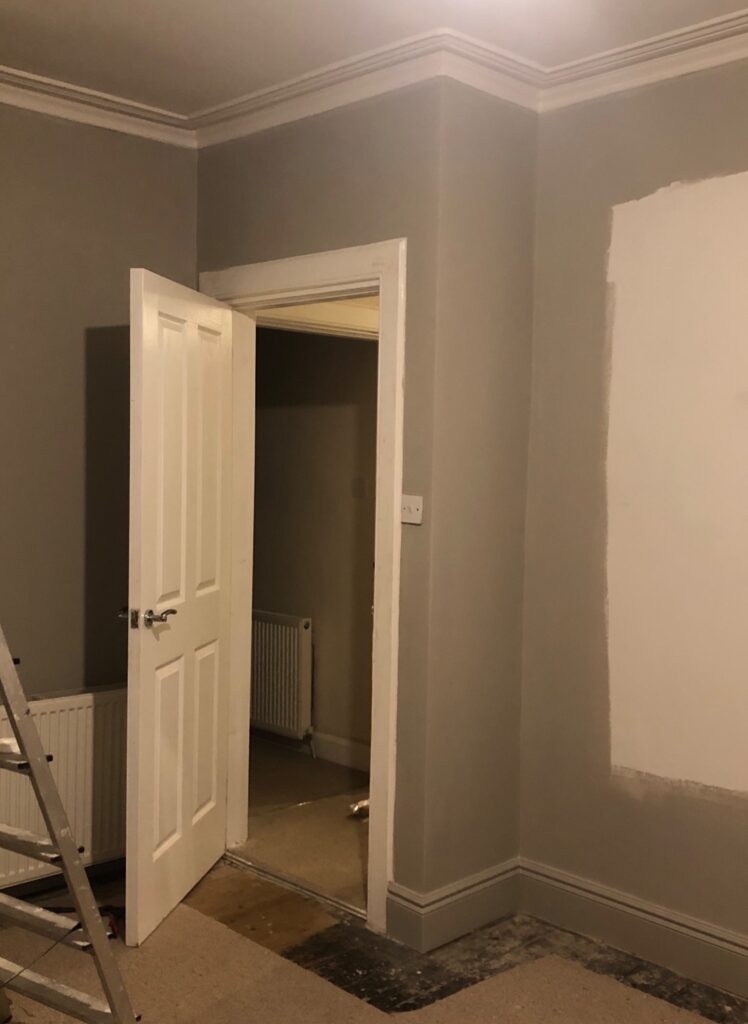
This dated, dark-looking hallway ended up being my favourite view inside the property. The difference a chandelier can make! The hallway renovation included a new plastered ceiling, new skirting boards, wall panelling, and I added a mirror to reflect the light around.
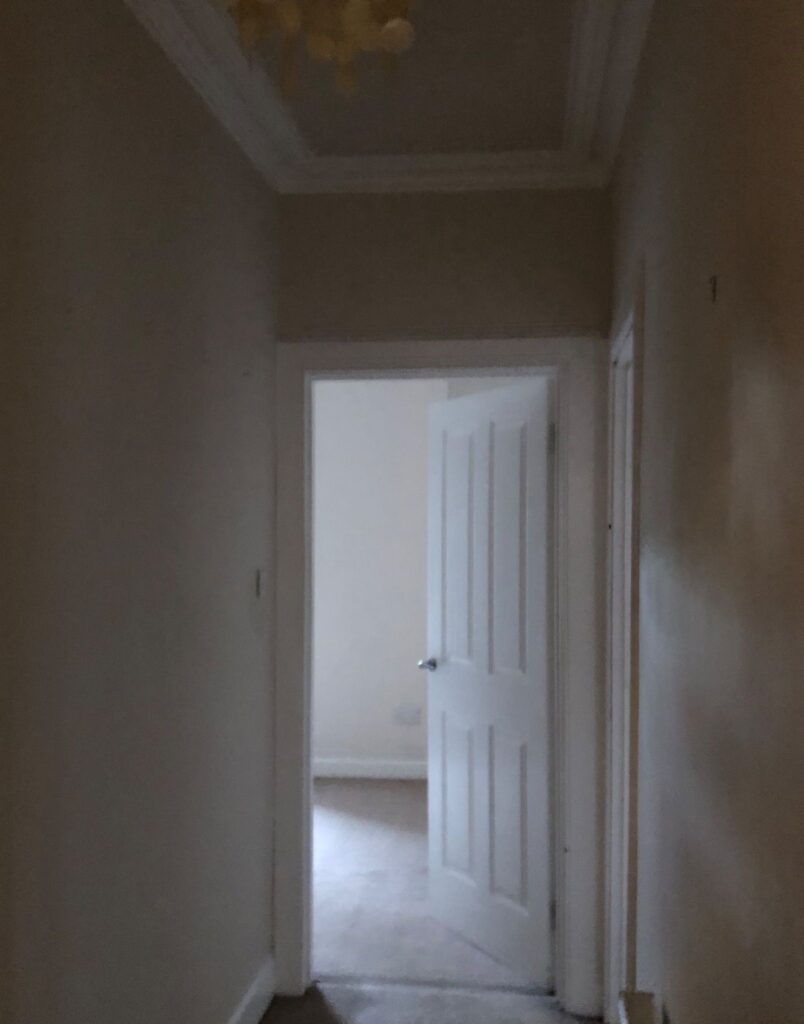
Before
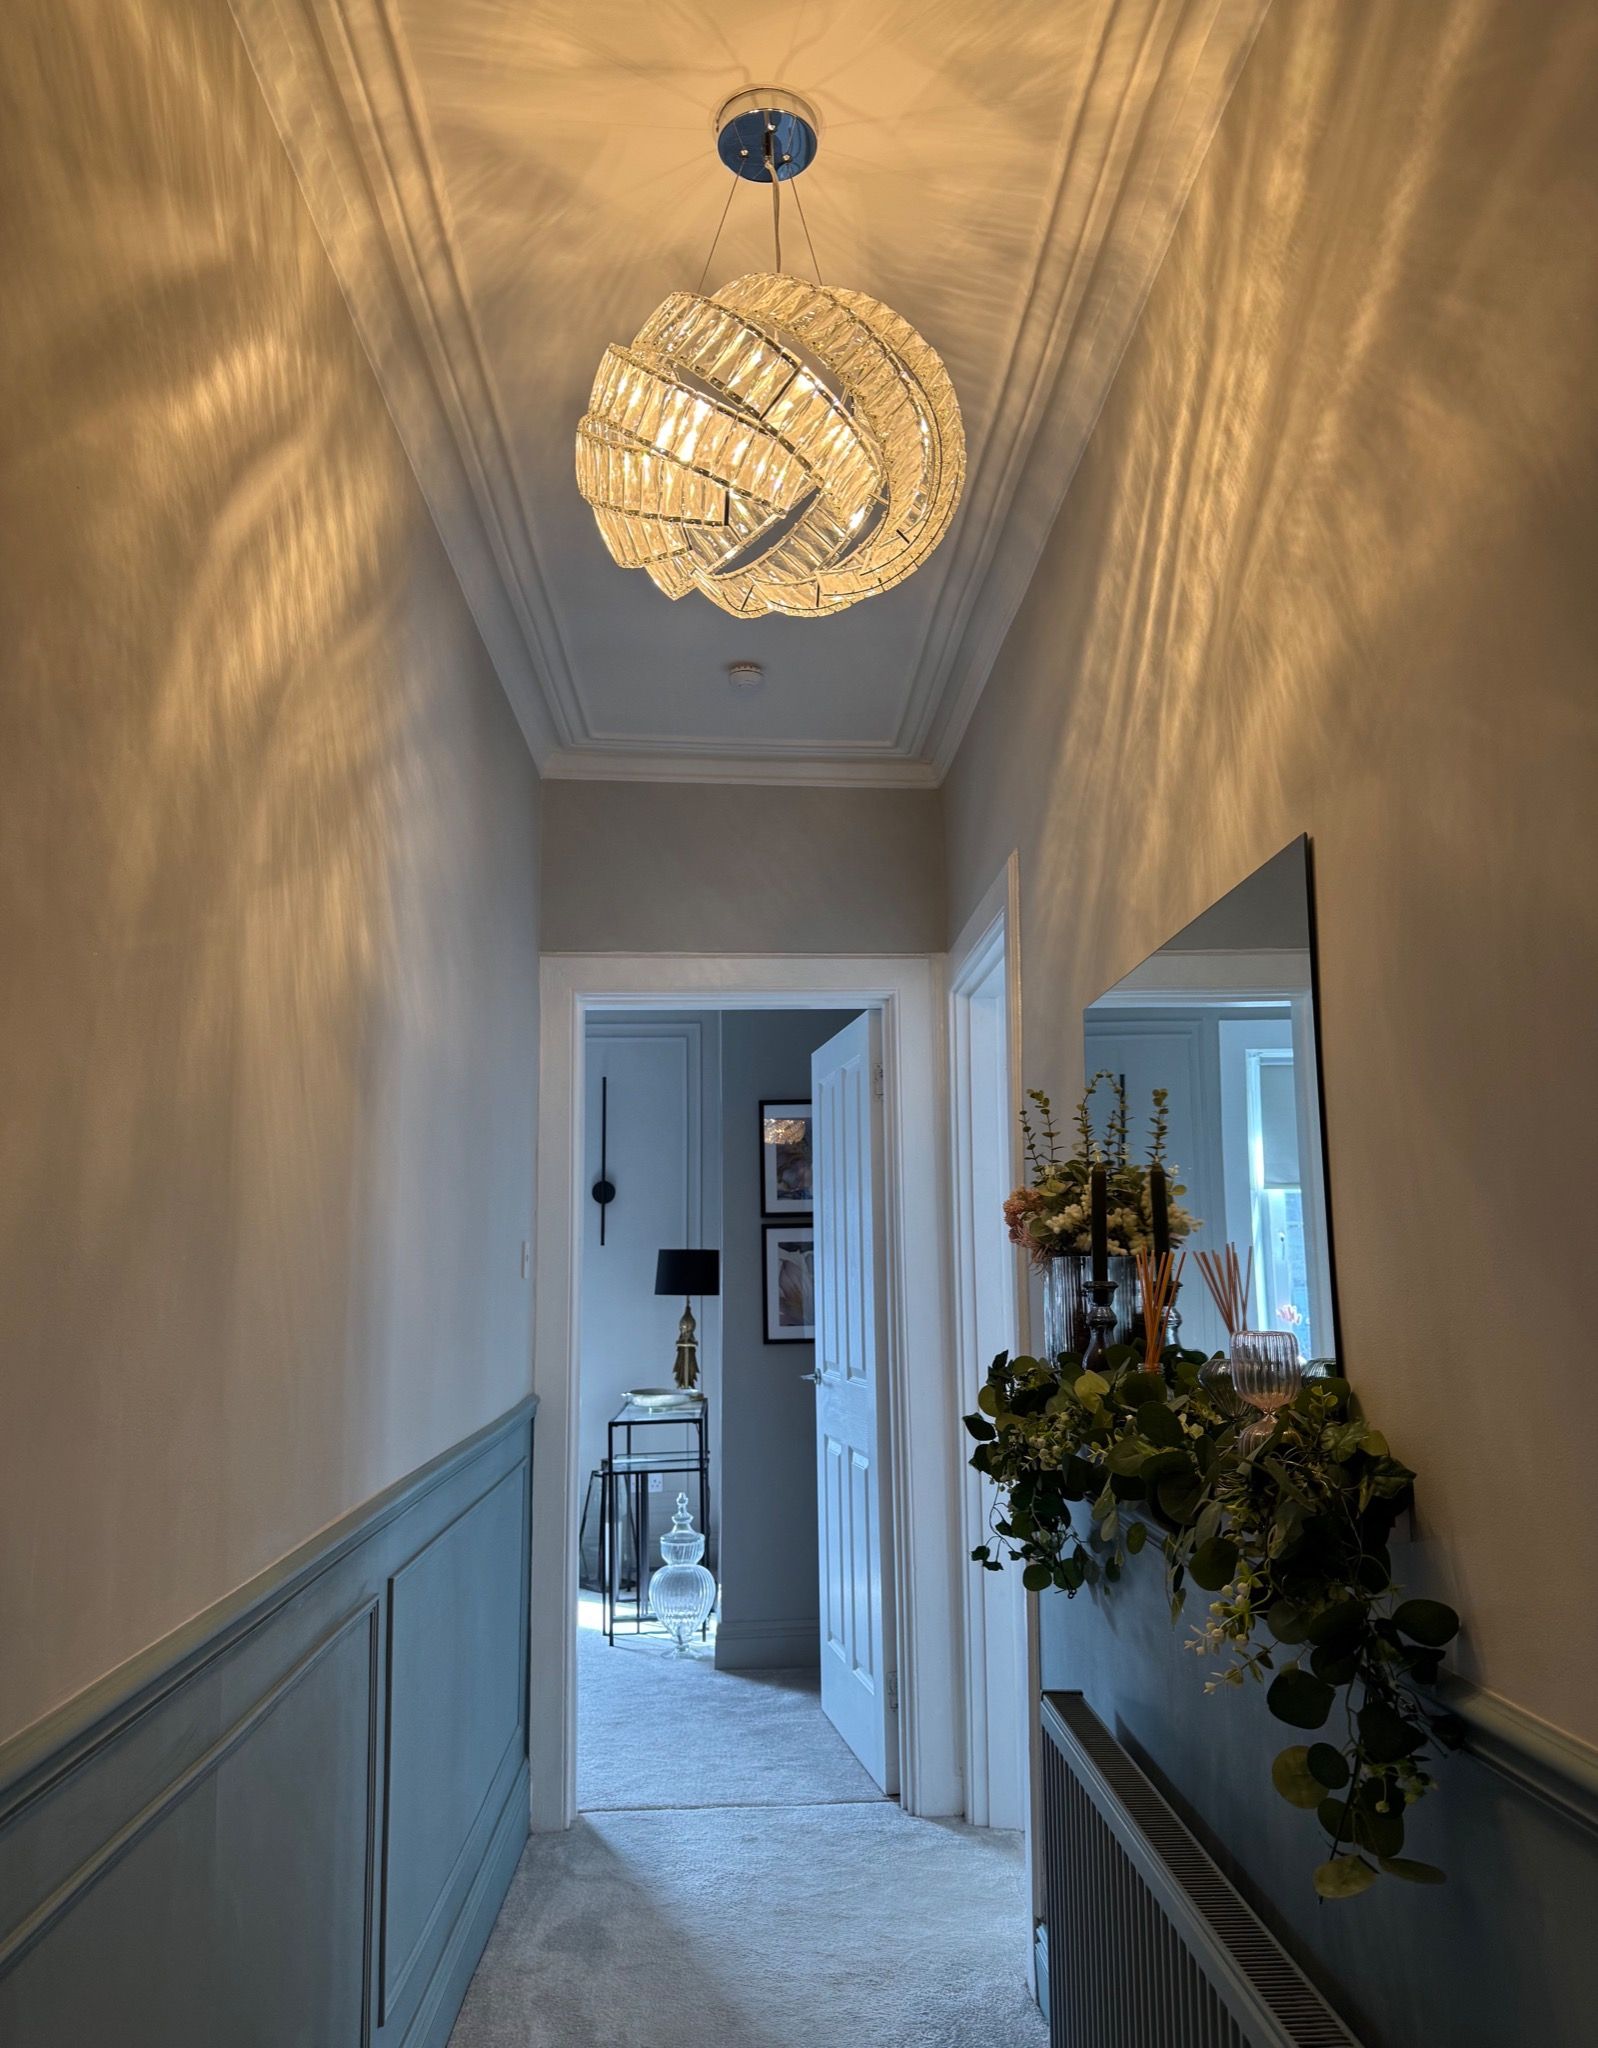
After
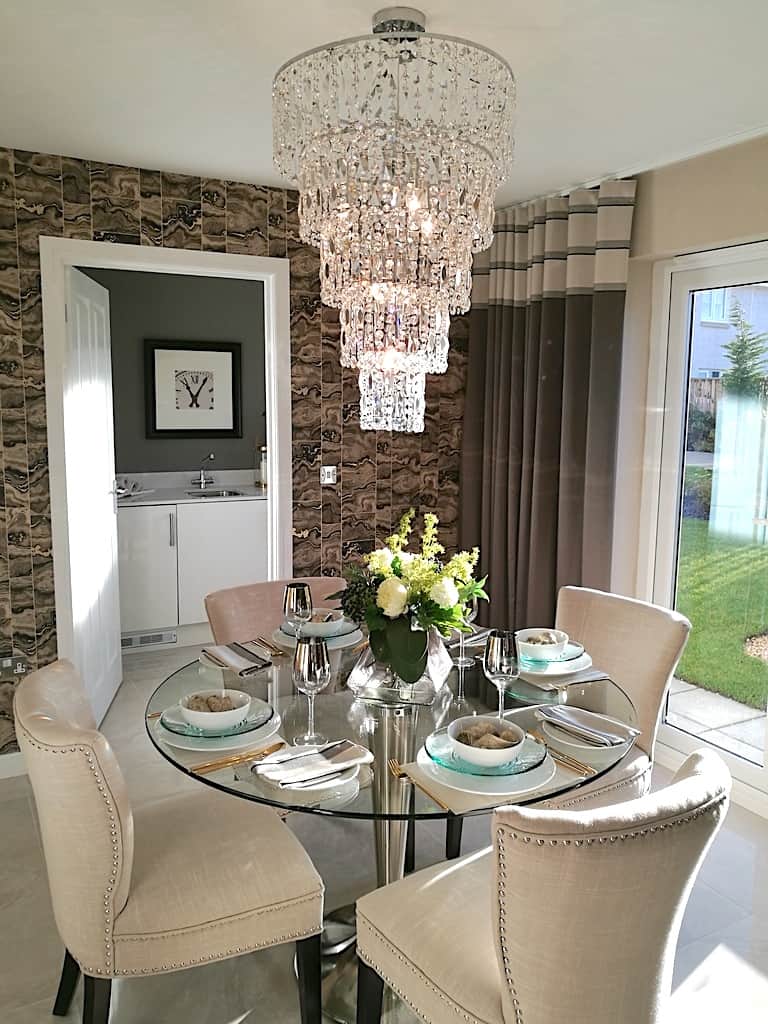
Kitchen Renovation
I knew that I was never going to live in the property long enough to justify adding a new kitchen, so everything got renovated except the units and worktops. The kitchen renovation included a new plastered ceiling, tiles, shelving, flooring and a feature wall and screen to hide the boiler.
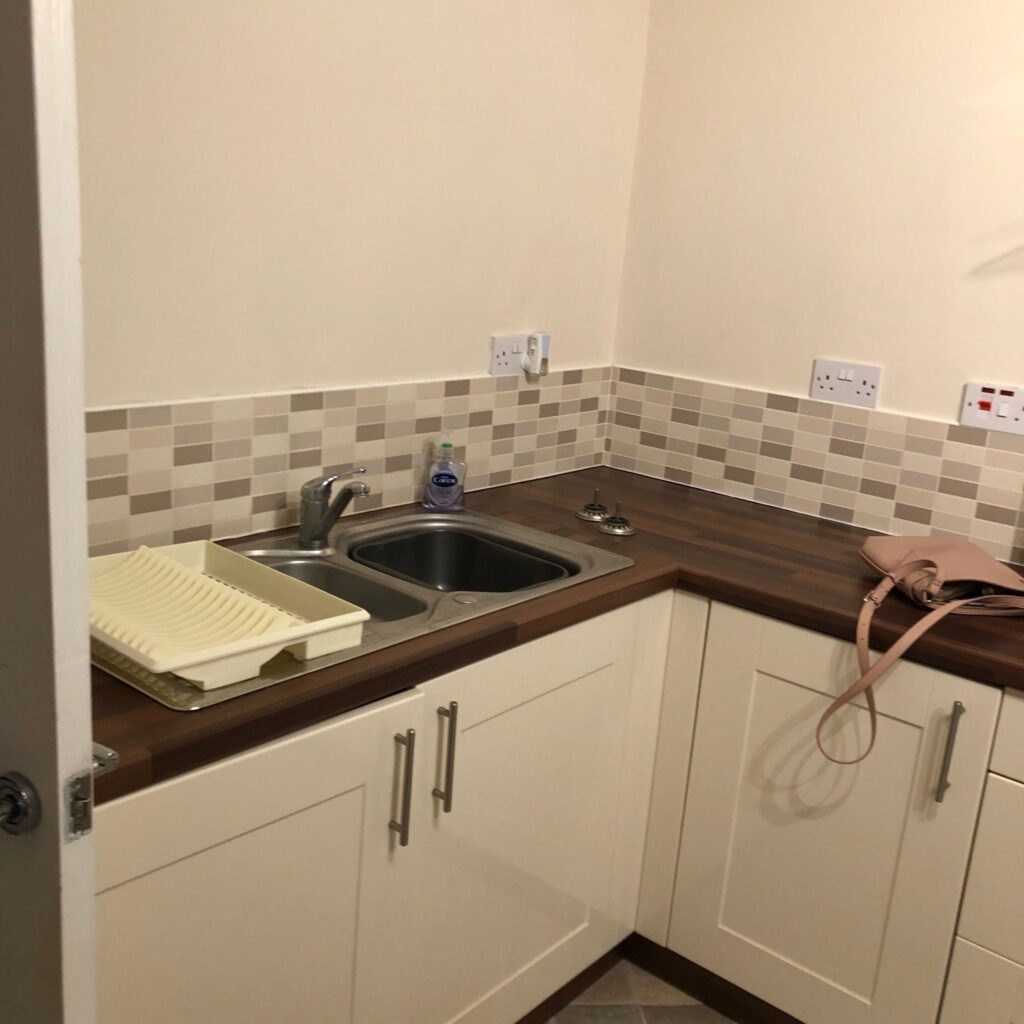
Before – move-in day
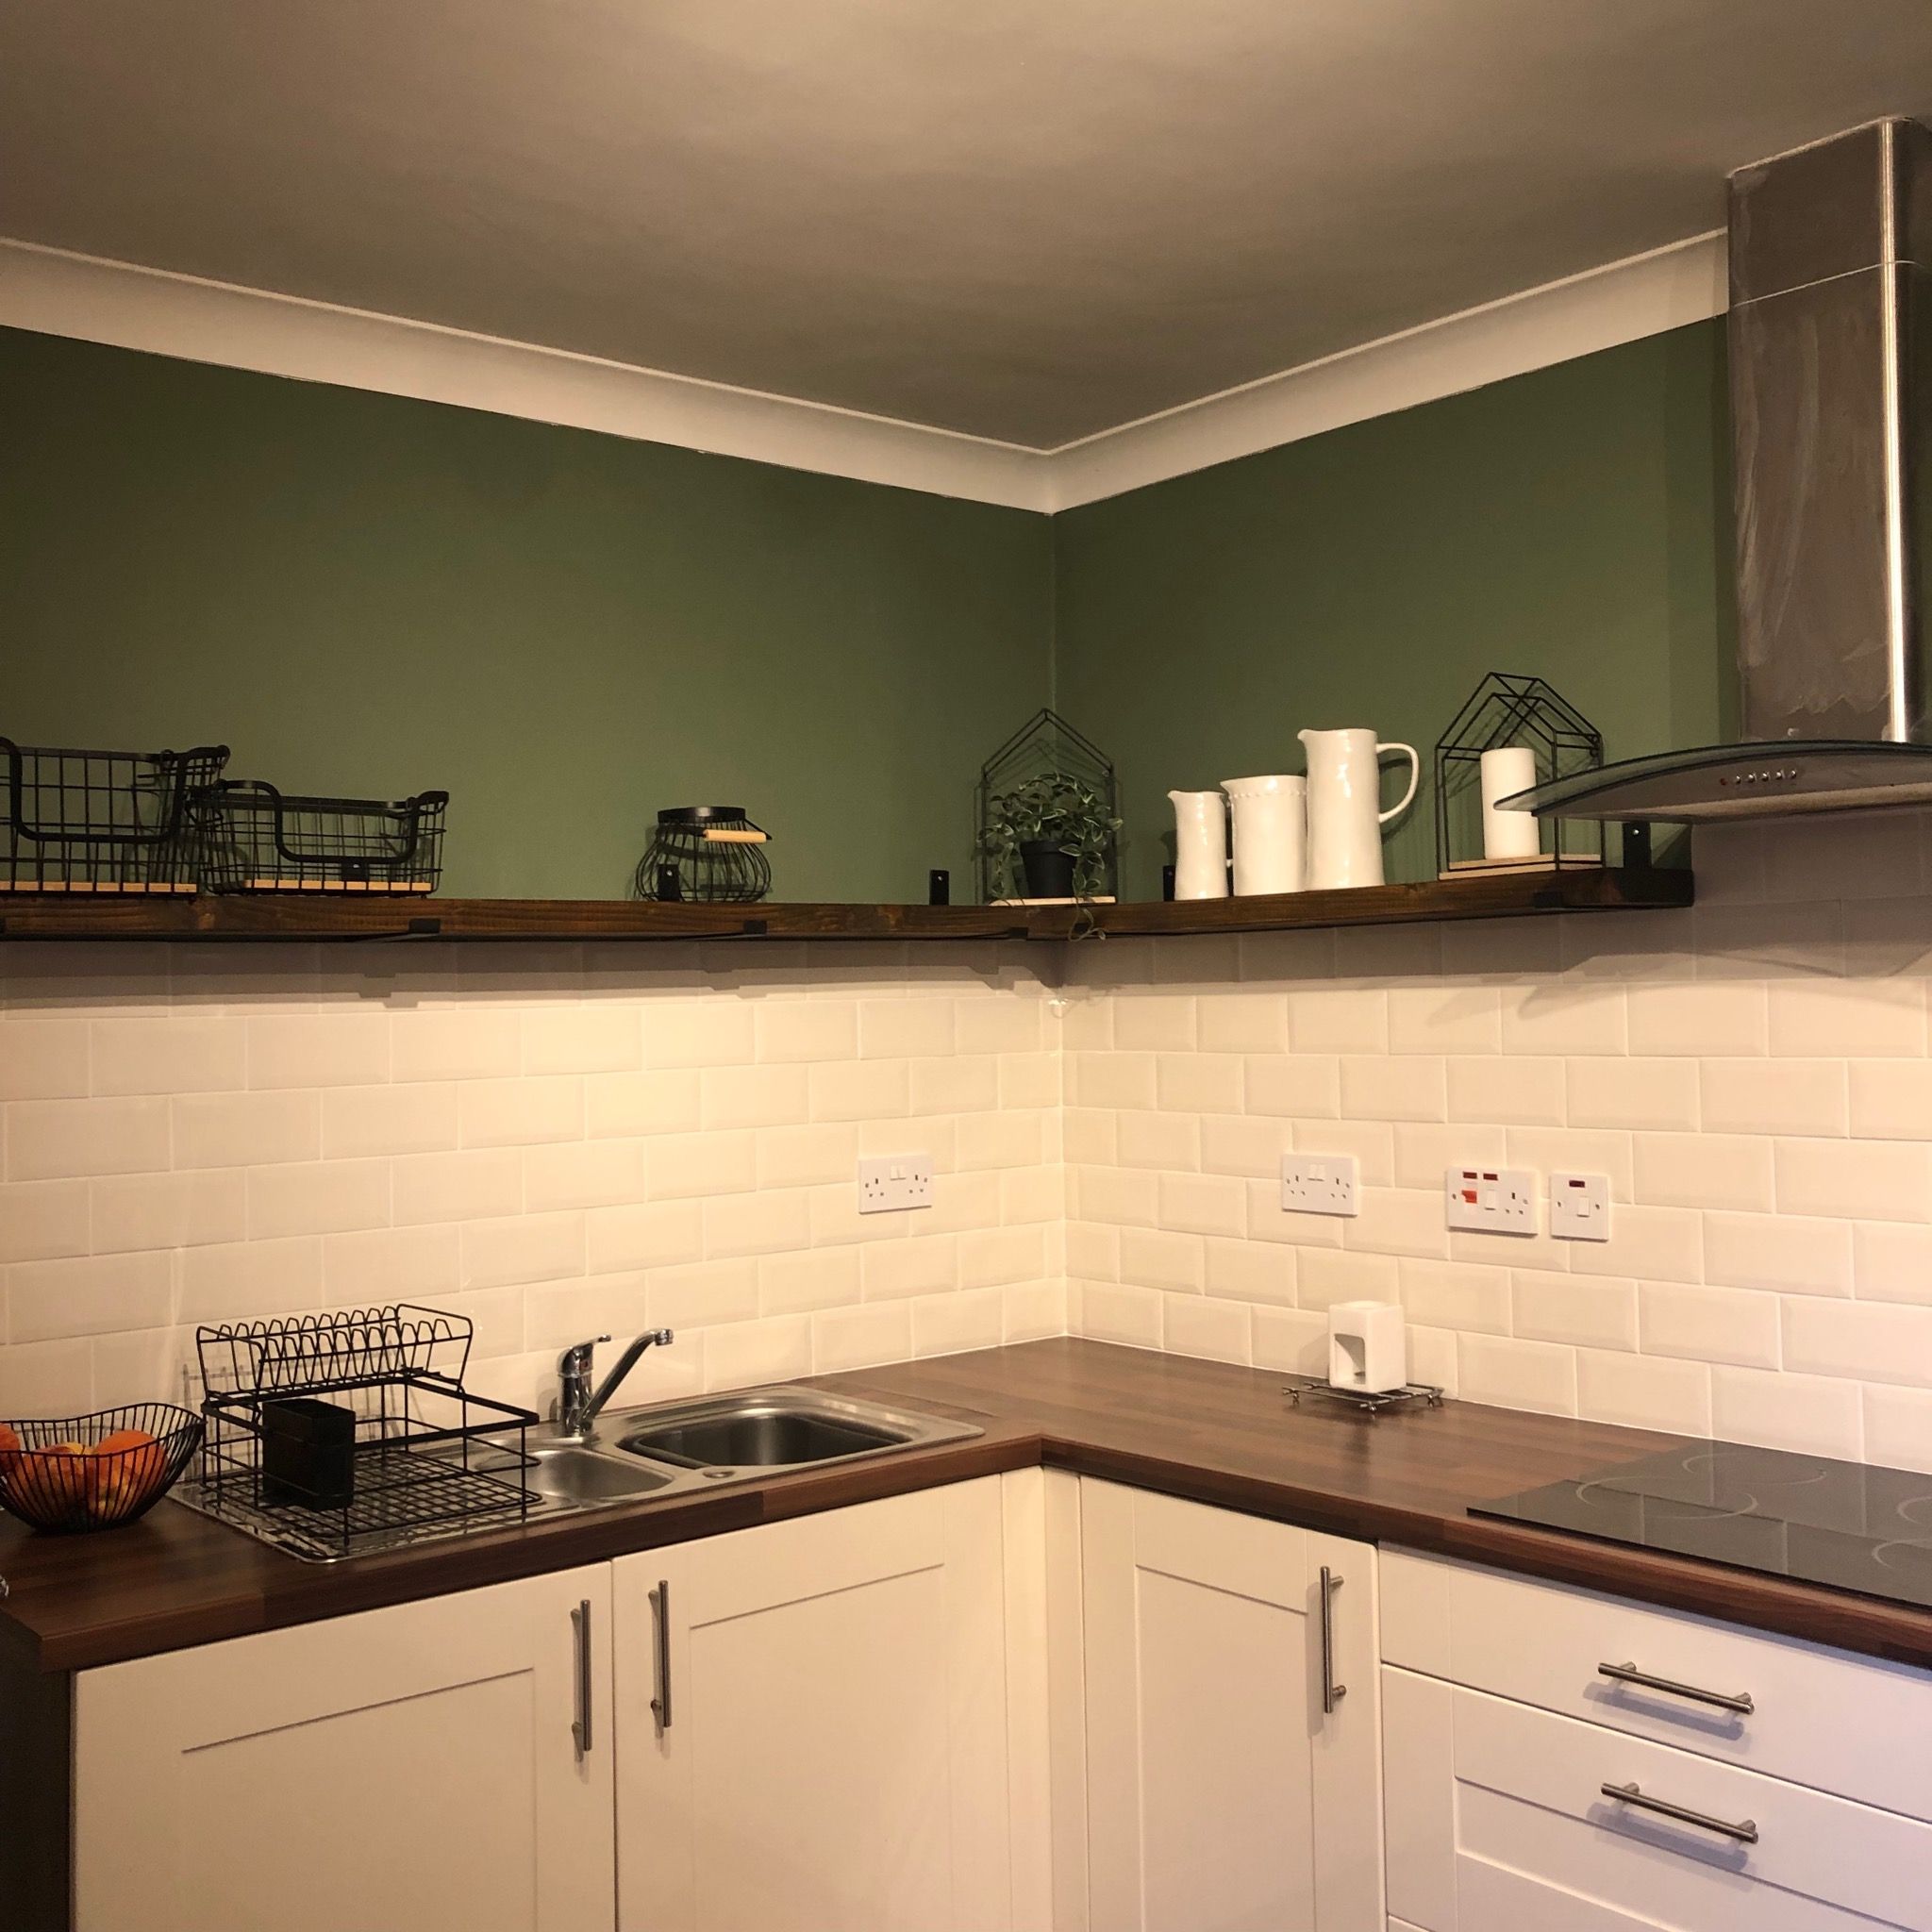
After
The details of the kitchen renovation were a bold move. I tried light, airy wallpapers, but I wasn’t feeling any of them. I had to work with the wood colour of the worktop and the cream kitchen units and dark green tied in with the bedroom and the living room. The seating area is such a relaxed, casual space that suited me perfectly, as I didn’t want a large dining table taking over the room.
Before
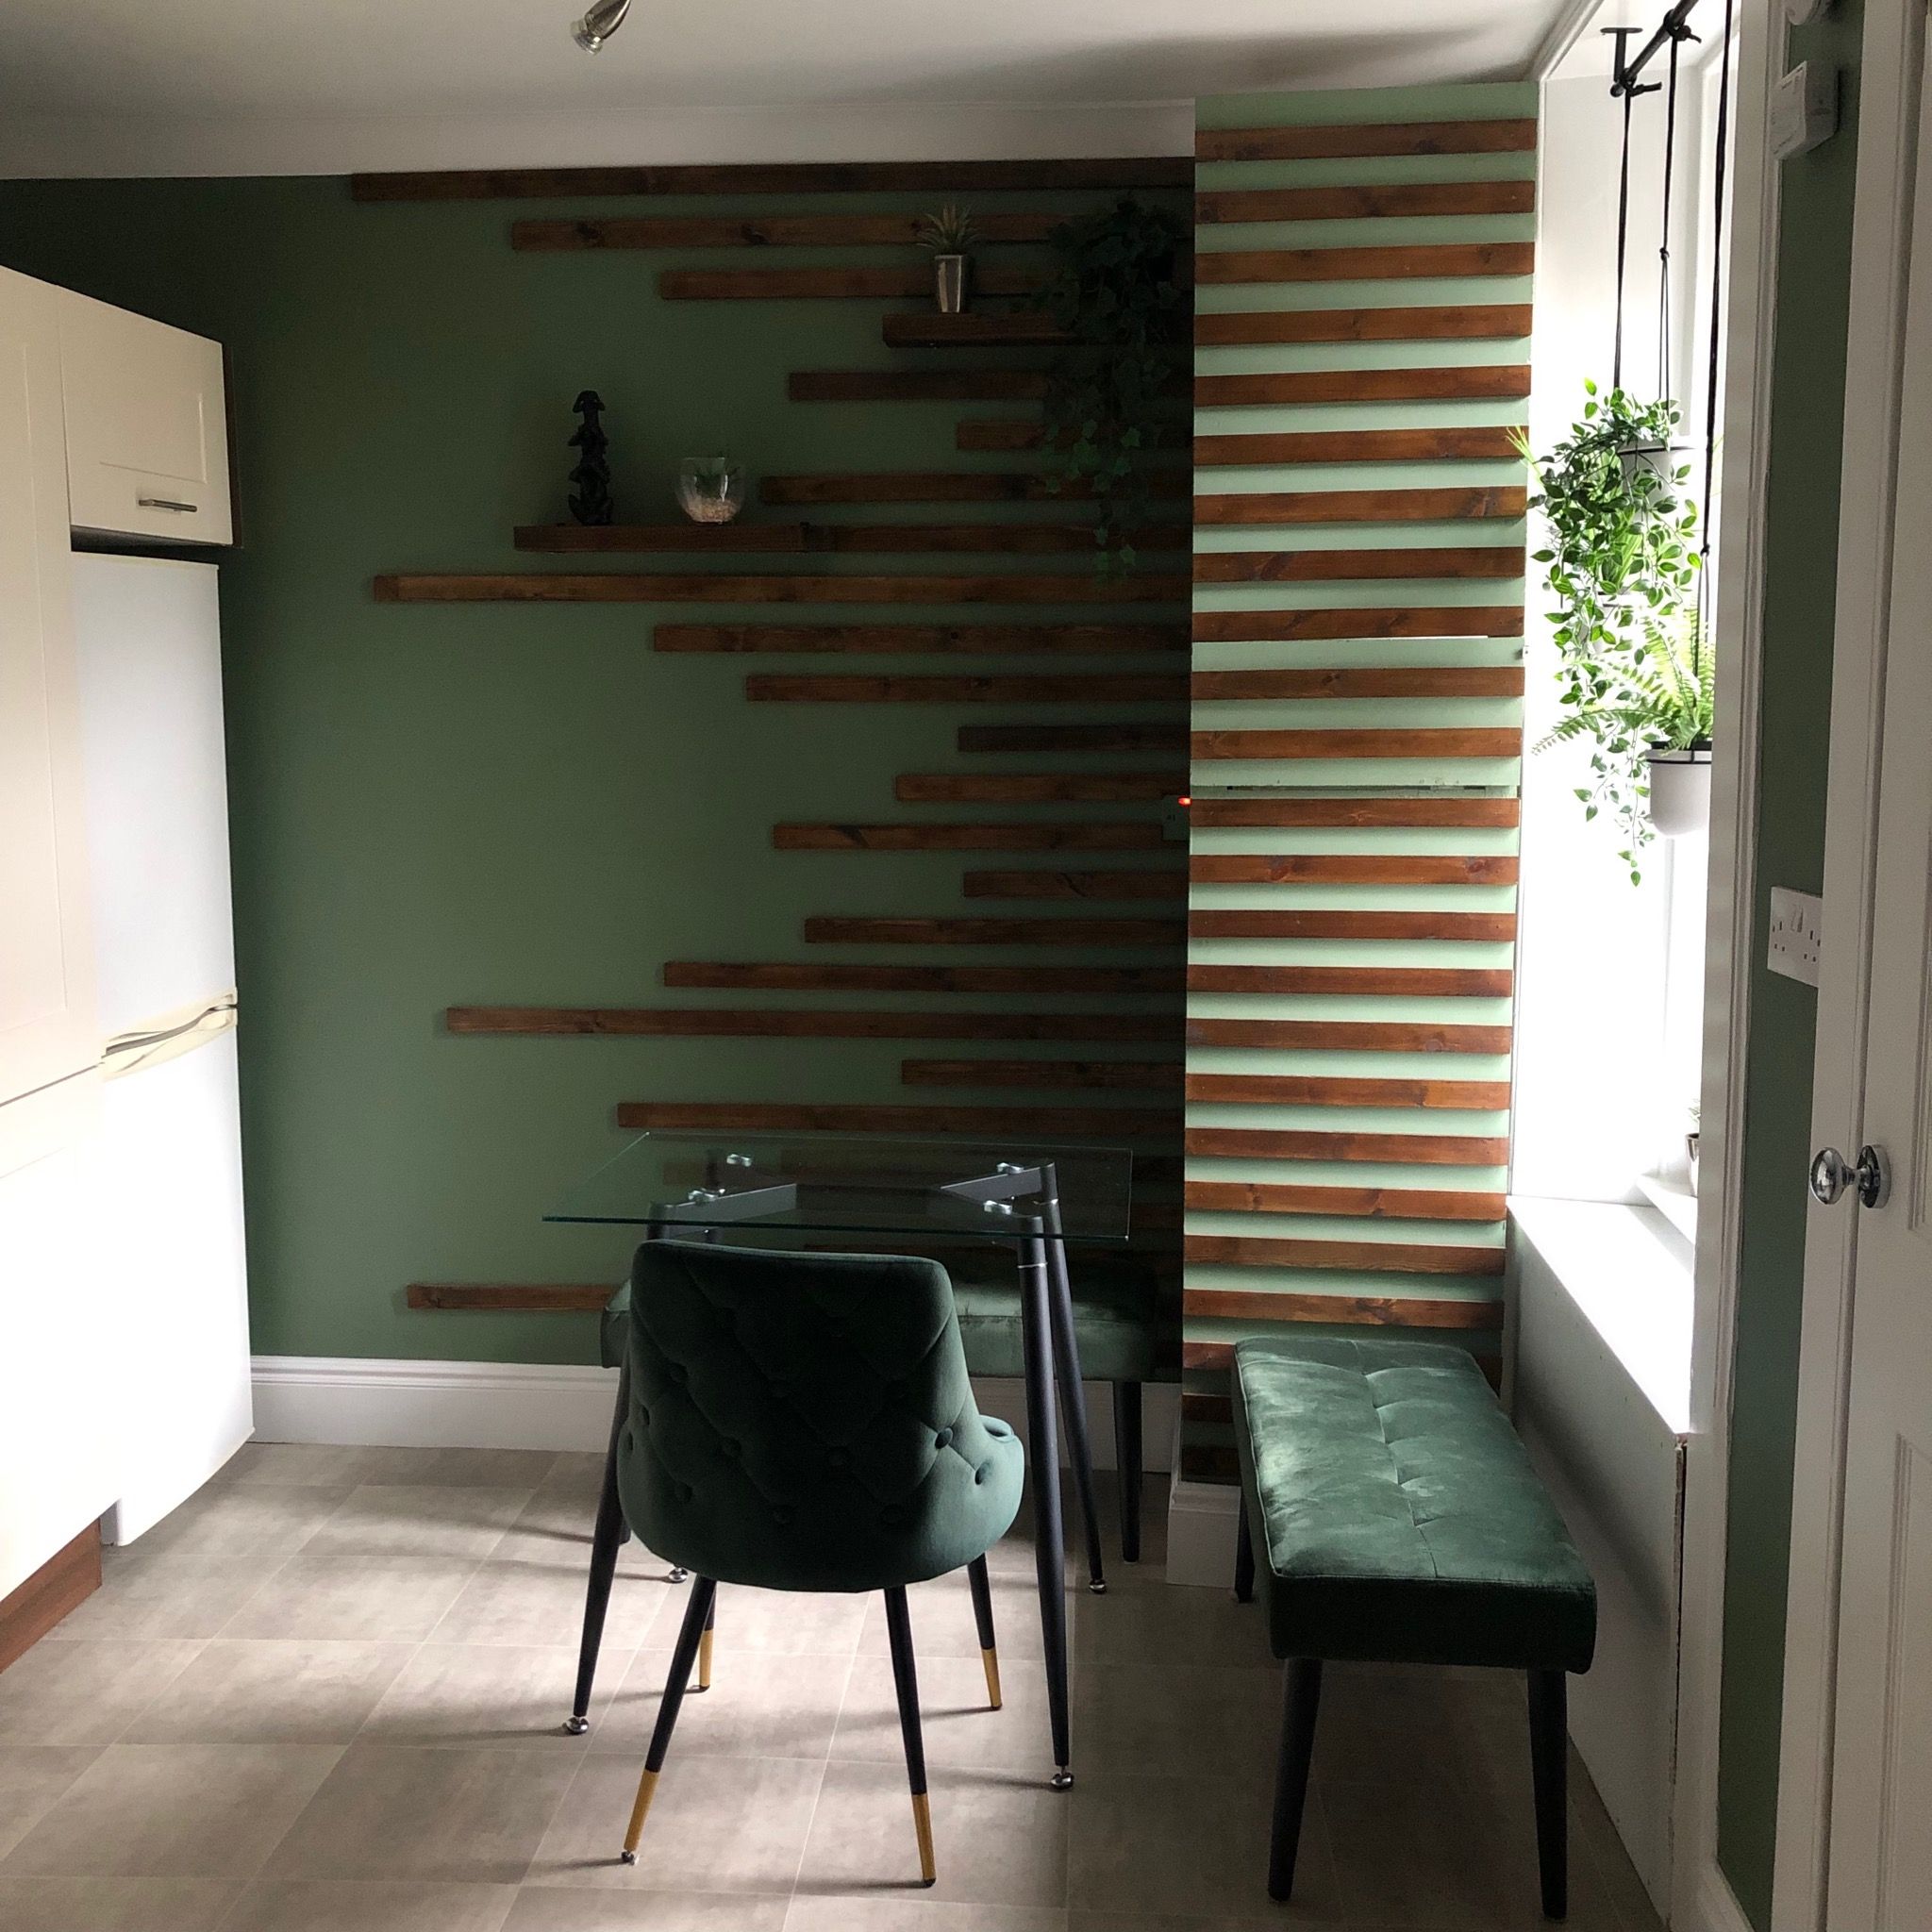
After
Final Thoughts on My Home Renovation
It was an experience.
I loved how the property turned out. Sure, there are always things you wish you’d done a little better – but that only comes with experience. And this home had a lot of personal firsts for me: my first full bathroom renovation, first time tiling, first time planning and manually doing a project of this scale -all while living in the property and squeezing in renovating when I could.
Would I Renovate Again?
The short answer? Possibly…. This home renovation was one of the most rewarding (and exhausting) experiences I’ve ever taken on. It was a steep learning curve, tested my patience, and taught me so much — from tiling and panelling to knowing when to pause and just breathe.
There were definitely moments I questioned everything (usually while elbow-deep in dust or sanding the coving for the fifth hour straight). But looking back at these before and after photos makes it all feel worth it. I’m so glad I trusted my gut with the design decisions (even the ones that felt risky at the time).
If you’re starting your own home renovation journey, I hope this post gives you some inspiration – and reassurance that the mess is temporary, but the transformation is so worth it.
Got questions about paint colours, DIY tips, or where I found something? Just drop me a message or leave a comment below — I’m always happy to share what I’ve learned (and what I’d do differently next time).
Come and follow me on Instagram/Facebook for real-life design, from moody interiors to light and airy spaces and plenty of behind-the-scenes peeks. And if you’re in the planning stage, my Pinterest boards are packed with lots of inspiration to help you along the way. Here’s to creating a home that feels like you. ✨
If you liked this post you’ll love the House Tour one, check it out!
Take care.
If you like it, pin it!

What an impressive transformation! Seeing the full journey really highlights how proper planning, quality materials, and careful execution can turn a renovation vision into a stunning reality.
Thank you. I really enjoyed this project and it increased the value of the property so much.